Welcome to our community

Be a part of something great, join today!

  • Hey all, just changed over the backend after 15 years I figured time to give it a bit of an update, its probably gonna be a bit weird for most of you and i am sure there is a few bugs to work out but it should kinda work the same as before... hopefully :)

Strange-clip-Monstro

One more thing to add: it is very difficult to explain the relationship between RGB levels after the fact. It is much more instructional to simply play around with WB/T settings in a live real-world scenario like setting up a simply lit shot. Having access to a RGB waveform is a must. Adjust WB. Adjust color temp of your key and fill lights. Notice how the RGB levels change in relationship to each other. For a better understanding of what is happening put a simple 18% grey card in your scene and light it with a separate light to medium grey base exposure. When properly exposed your RGB levels should be equal right in the middle of the waveform for the grey card. Now shift WB to extremes and notice that the luminance of the card changes even though you have not changed your lens exposure. Set it back to neutral and then change the color temp of your grey card light. All of it is inter-connected. Simply playing around during a prep day can be quite illuminating.
 
Adrian,


I don't own a red camera, but what do you feel would be the best way to get the most accurate colors at th point of image capture?

1) a chip chart from someone like DSC Labs or X-Rite and refine it in post

2) filling the frame with a high quality White Card and Auto white balancing and refine it in post

3) Using the default Temp presets from the Camera manufacturer for a specific lighting scenario and refine it in post

4) Do everything in Post
 
Last edited:
I'm surprised that people are so new to this. We've been discussing it for two years now..

So, this is very strange, that I completely forgot about the discussion, even though I had participated in it... a lot:smiley:
Anyway, I am actually very surprised, that this two step dance actually works. Too bad it takes a bit of work and I wish it was more straight forward, but as long as it works I am no complaining.
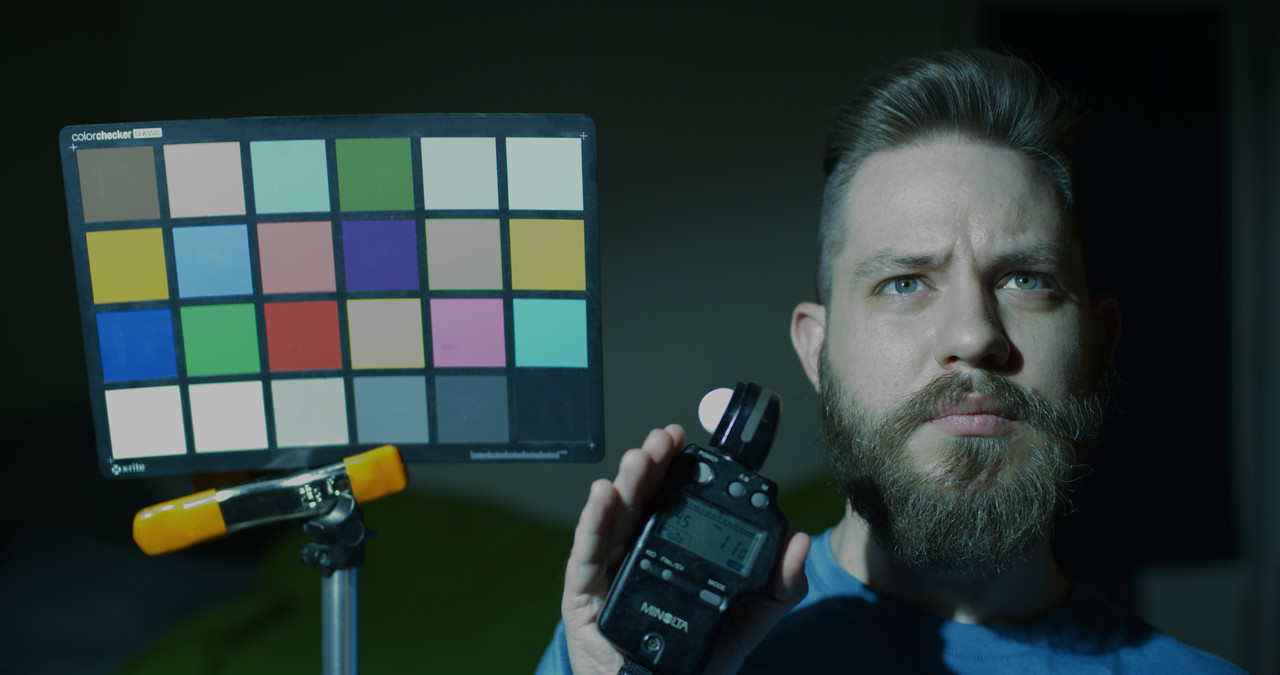
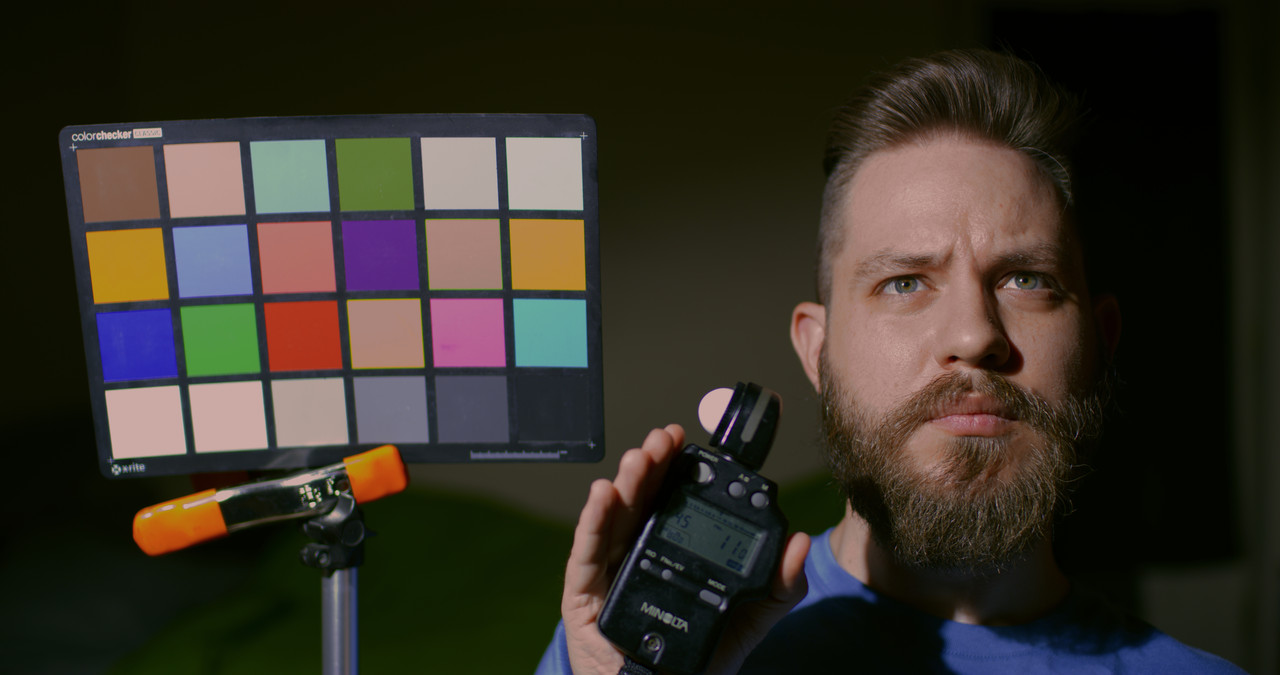
So, here are the six shots all the way to +5 stops over, that I tried to match. Obviously the +5 is an not ideal result, but I think, in a pinch, it's passable.
FSkTig.jpg

piFQr0.jpg

mgls5Z.jpg

0wYbqf.jpg

v26gtM.jpg

cssfap.jpg
 
For some reason, when doing this test, at +5 over some colors go completely white and some go to a peach color.
 
Heh. Nice one guys. Thank you Rand, Aaron, and Jake for the examples highlighting exactly what this is about too.

Just to add some more useful information to all of this. This is actually a case in point example as to why you do want to shoot with REDCODE RAW over say ProRes. The Highlight Extension Algorithm is indeed tapping into the raw data to come up with it's result (It's part of IPP2) and it's likely useful to have the higher bit depth processing/codec in this specific case.

But please, general advice, don't over expose by 5 stops :)
 
Thank you Phil, Adrian and Aaron for explaining it "Technically"!
 
Last edited:
Kind of arriving late to the party here but wondering what the original image was shot with as far as OPLF filter. I know the issue is beyond and were dealing with it now in the post workflow but I was wondering if a different OPLF's might bring some of the highlights a little closer in some color temps and minimize the issue dealing with it in post.????
 
Kind of arriving late to the party here but wondering what the original image was shot with as far as OPLF filter. I know the issue is beyond and were dealing with it now in the post workflow but I was wondering if a different OPLF's might bring some of the highlights a little closer in some color temps and minimize the issue dealing with it in post.????

The metadata states Standard OLPF in this case. Since the OLPFs are tied to their own unique color science and effect what's in coming and captured yes you might have better experience to a degree or worse depending on the filter and even the color temperature of the light source. Again though, this is one of those "don't shoot this way things" if you can avoid it.

The OLPFs are all pretty sensibly named in terms of what they are good at and ideal for.

Low Light Optimized
Standard
Skin Tone - Highlight

Personally, I mostly work with the Standard and Skin Tone - Highlight from Monstro on. It's been a long while since I've slung the LLO in there outside of camera tests.
 
After all this testing, I'm still not convinced, that there is not a better way of addressing this.
So, essentially, it seems, color temperature, tint and exposure needs to be changed first in order to keep Red and Green channels out of a clip. So, essentially, we reduce the overall gain and reduce R and G, essentially adding B, which everyone knows, never a good thing, as B channels is always the noisiest. Then we need to do the opposite using the primary controls. So, why not do it all in metadata the in the first place without the need of going back and fourth? I think, Red needs to come up with a mode, where as you adjust the colorimetry, software would automatically adjust the gain in RGB channels automatically in order to prevent RGB channels from clipping. As an example of this idea one can see the way it works in Resolve in RGB Mixer. There is a mode called "Preserve Luminance". When used, no matter how far RGB channels adjusted, Luminance of the image never clips. Easy and clean...
 
Adrian,


I don't own a red camera, but what do you feel would be the best way to get the most accurate colors at th point of image capture?

1) a chip chart from someone like DSC Labs or X-Rite and refine it in post

2) filling the frame with a high quality White Card and Auto white balancing and refine it in post

3) Using the default Temp presets from the Camera manufacturer for a specific lighting scenario and refine it in post

4) Do everything in Post


The best way to get the truest colors from any camera is to light your subject with a source that is close to the native color temp of your camera sensor (usually cooler ie 5600K) and expose your subject well without clipping any of your RGB channels. Ideally your RGB channels should appear on a waveform to be "full" and somewhat close to overlapping each other. It is also important that your light source is full spectrum and not a cheap LED fixture that might not be emitting certain wavelengths. This is why just about every camera looks great under sunlight. Notice, however, that your RGB channels combine to make up color so if you are photographing something that is a primary color like a red sports car you should not shift your white balance cool to align RGB. Instead you want to make sure the Red channel is well saturated with exposure without clipping and that there is enough exposure/gain in your Blue and Green channels that a white object still appears white within the context of the scene.

Chip charts and white/grey cards are helpful to align color balance and exposure but remember that you are after a creative muse not a technical one. The tech charts and waveform monitors can help but ultimately your artistic choices are more important.

Also I've found default color temps to be somewhat arbitrary when in a real-world shooting scenario. I get better results by shifting WB and exposure on a scene to scene basis (including from camera to camera when shooting multicam of the same scene). Using default WB settings and then shifting things in Post usually will provide less than optimal results.
 
After all this testing, I'm still not convinced, that there is not a better way of addressing this.

I wouldn't be shocked if there's more development on the feature. It's not exactly so cut and dry as the algorithm and properties are a bit scene dependent, but I can certainly imagine some creative implementations to tap into this down the line. Even some involving AI or different methods as part of the localized color solve.

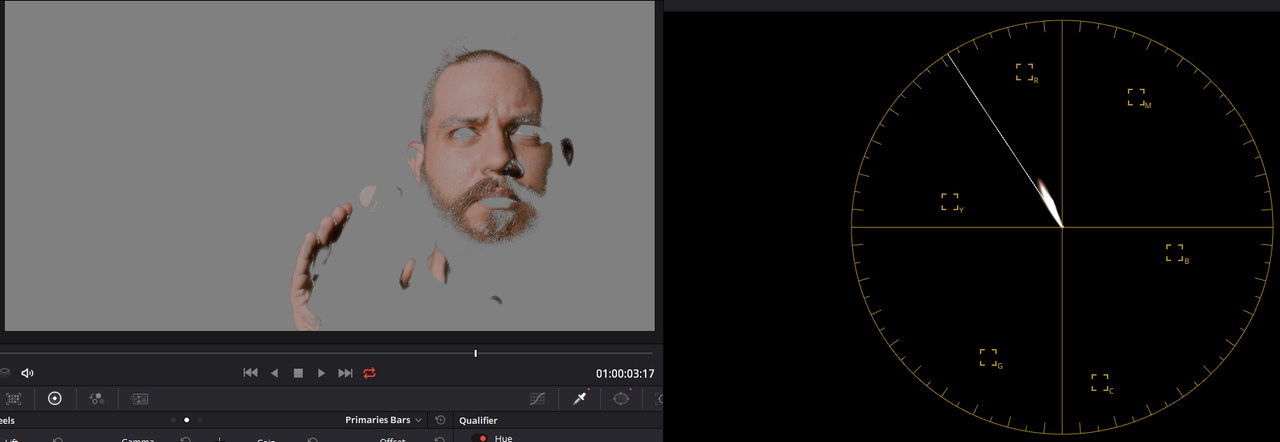
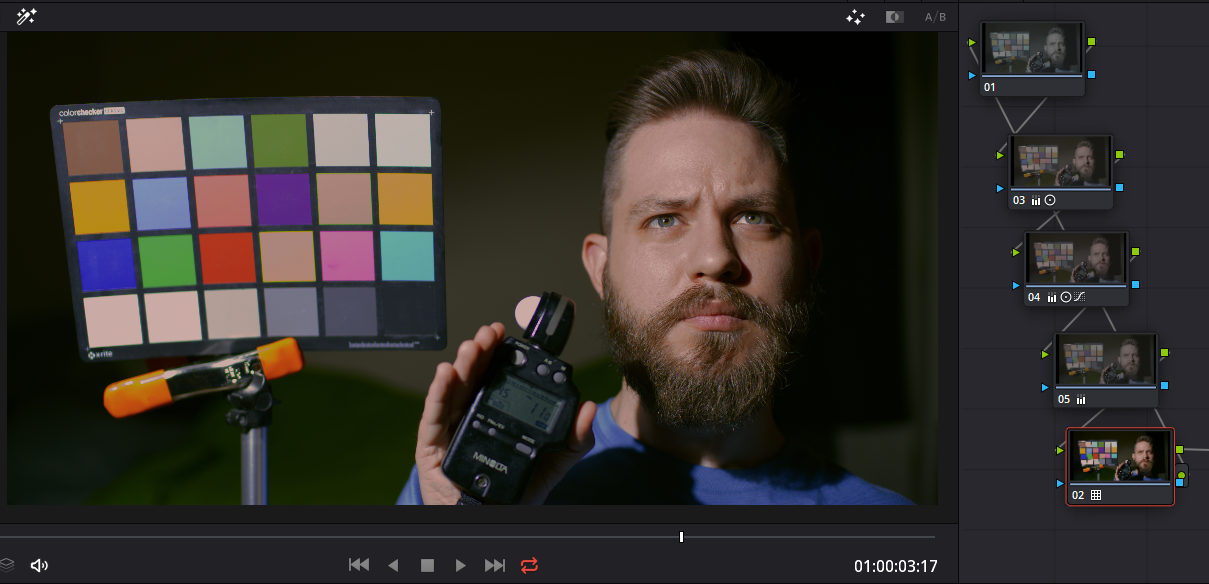
Even in the test example most here didn't power window the chip chart back to neutral, so in a scene where a variety of colors could be clipping in what I would call a rather reckless way of filming a scene, you'd want to tend to that a bit more on an element by element basis within the frame.
 
Adrian,


Thanks again for providing you knowledge and expertise as a DIT and a creative artist. All of R3d files I have access to are from other individuals since I dont own a Red Camera. I always wondered if I was to rent or ever own a Red camera what would be the "Best Practices" to adhere to for the best possible color results.

The things I understand you to be saying are try to always use Default Temp as close to the Native color Temp of your Sensor as possible. I believe I understood that to be about 5000K for Red Cinema Cameras. Next, use the highest possible CRI rated lights that you can afford to rent or own. I see most upper tier lighting products use a CRI rating of at about 98CRI With the sun having a perfect 100CRI. So maybe in daylight lighting, use reflectors / bounce cards as much as you can and whenever you can or just high CRI rated HMI lighting. Maybe also use something like a Sekonic C-800-U Spectromaster Color and Illuminance Meter to help choose the best lighting products for your specific scene scenario.

I was a drawer/painter many years back, mostly dark art, when I got involved in using NLEs and color corrections .Years later, I had to try to learn how to confine the creative within the Technical, which is one of the reasons I joined Reduser. It's good to hear a DIT who has to adhere to strict technical guidelines on a daily basis encourage creativity along with technical adherence. Sometimes I think some people forget that.
 
I wouldn't be shocked if there's more development on the feature. It's not exactly so cut and dry as the algorithm and properties are a bit scene dependent, but I can certainly imagine some creative implementations to tap into this down the line. Even some involving AI or different methods as part of the localized color solve.

Even in the test example most here didn't power window the chip chart back to neutral, so in a scene where a variety of colors could be clipping in what I would call a rather reckless way of filming a scene, you'd want to tend to that a bit more on an element by element basis within the frame.

I definitely think more can be done in that area.

A simple example, overlay two versions debayered at two color temperatures and use a blending mode apply the color of the 5600K version to the luminance of the 3200K version and you instantly have some texture info back in the speculars without having to do a lot of color grading trickery to get the color back.

A+B=C
48477030611_ced96c7372_o.jpg
 
I'm a man of two thoughts for sure on this Aaron. Graeme is incredibly bright guy, so much so when IPP2 dropped two competing manufacturers complimented him on keeping them on their heels via social network.

This is something at the moment will save your butt potentially if you are going to these extremes and certainly for now is unique to IPP2 in many ways. As a filmmaker and educator though, I truly want people to work smarter even in difficult situations when it comes to exposure. I do want to see more development with Highlight Extension as I like the idea of tuning what's going on in your clipping data, but as a self promoting bastard, I am indeed tapping into some of this for a few of my Creative Cubes to flavor those extreme clipped highlights. Outside of my LUTs though, this 100% puts an experienced colorist into a position to recover what in many ways should have been lost from the get go.

The journey of this thread has been somewhere between thinking something is wrong, but others showing exactly why a technique like this is empowering. The method certainly can evolve and be built upon. And for that a deeper dive must be done on the development level. Knowing Graeme, he's haunted by similar ghosts that I am, but about 15X more intelligent in his focused arena. I'm sure he's got something brewing to make this more powerful than it even is today.

You're highlighting that in your example for sure, but it's hard to really tackle with people clipping various colors outside of even a skin tone under "every lighting condition", though many of use likely mostly work within a tame spectrum.
 
Last edited:
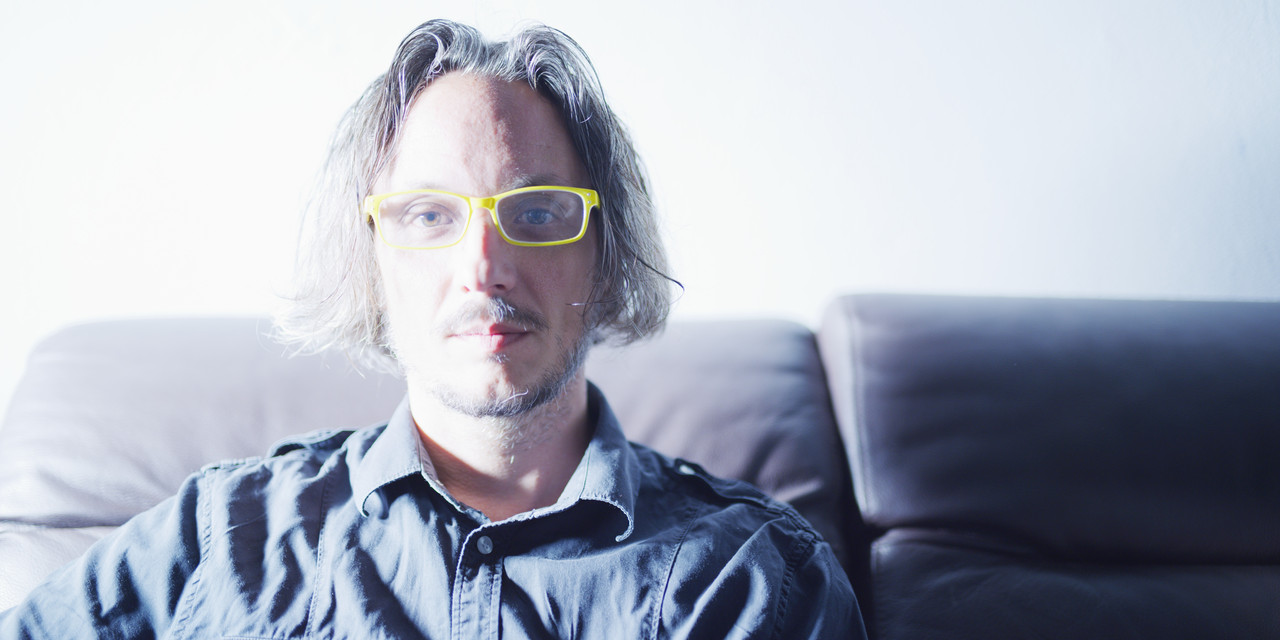
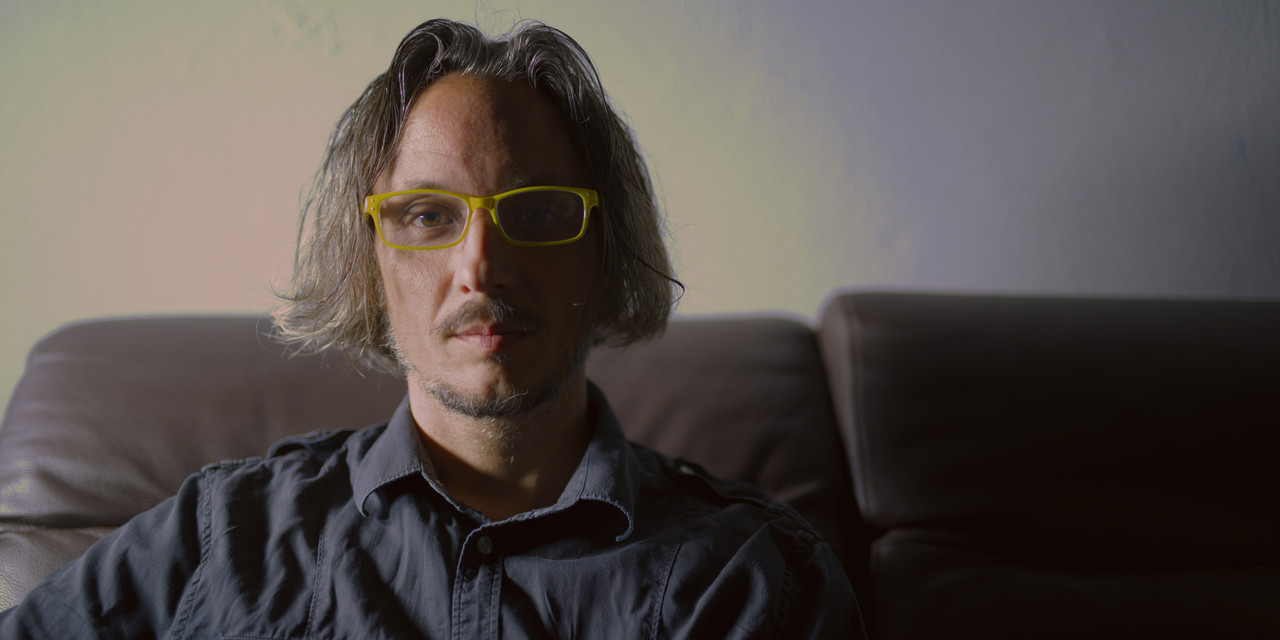
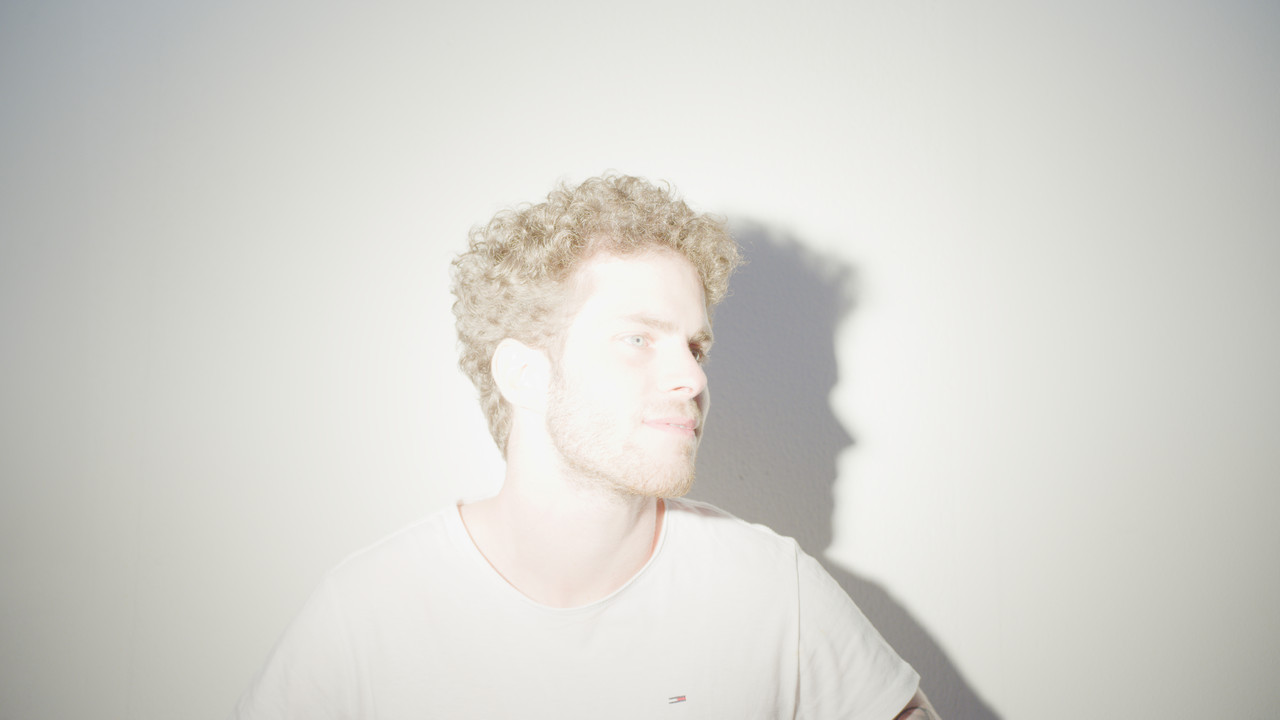
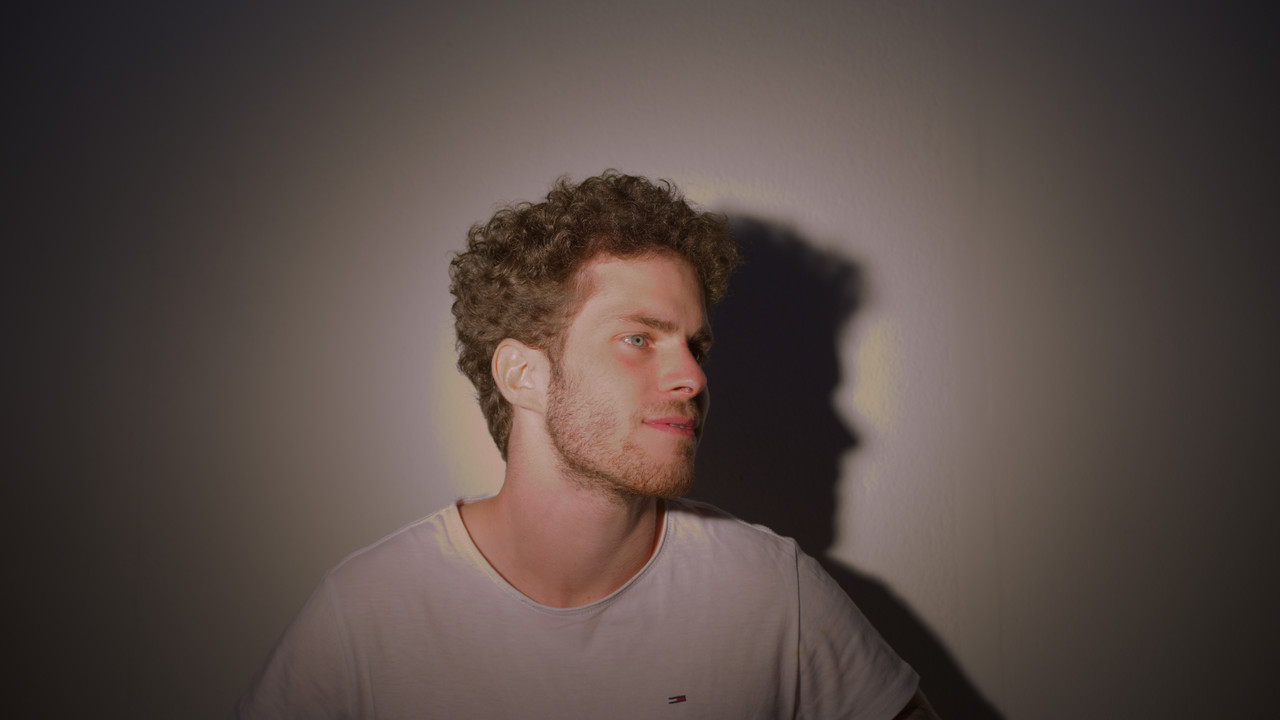
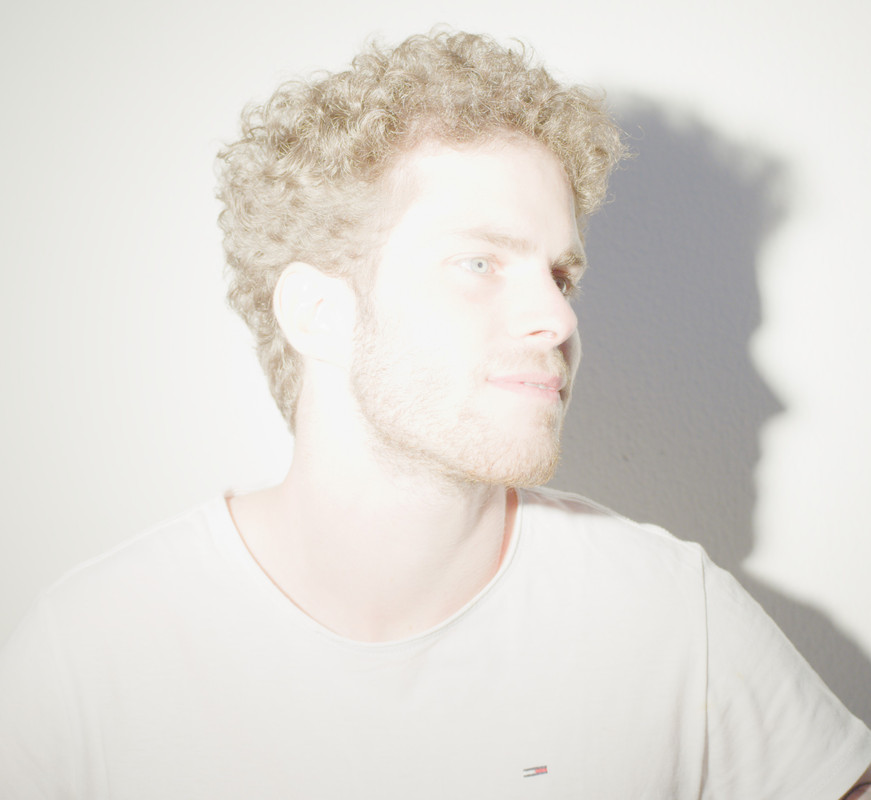
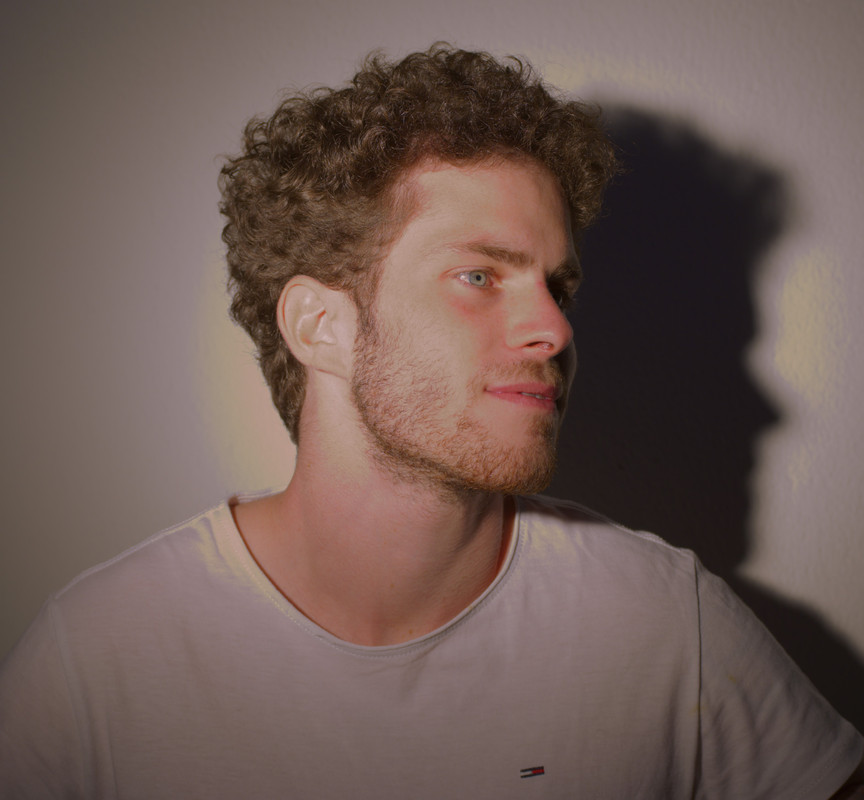
Here's an Old Monstro clip from last year from Luigi recovered in Redcine-X and corrected back with the CDL tool


Luigi is seating in chair against a White Wall it looks evenly blown out. However, when you try to recover the image, those white wall recovered look like shit. the moral of the story don't try to recover Highlights in an image with White Walls predominately displayed in the scene.


Here's the R3D still Frame

https://we.tl/t-jLnePeTop0


A001-C007-0113-Q5-0000002-F-0000000j.jpg


A001-C007-0113-Q5-0000002-F-S000-0000000j.jpg


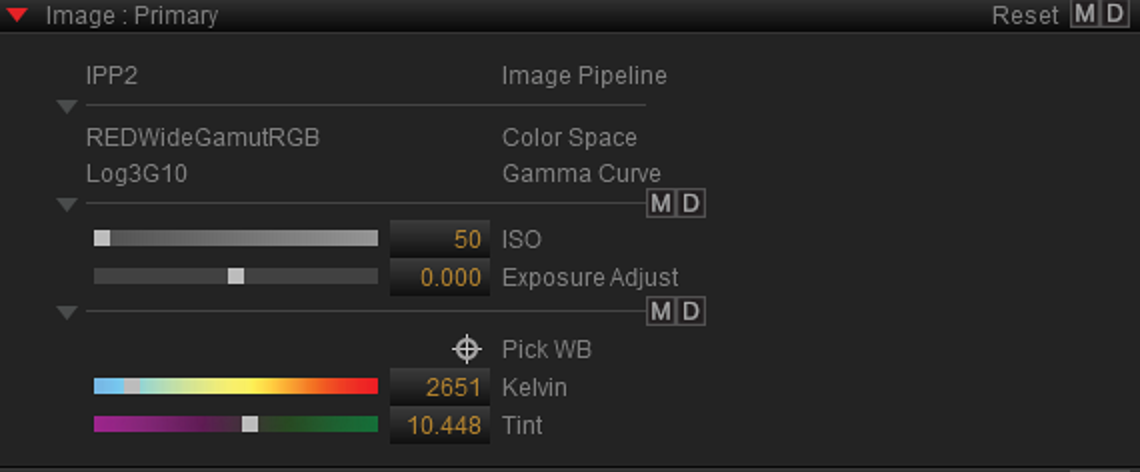
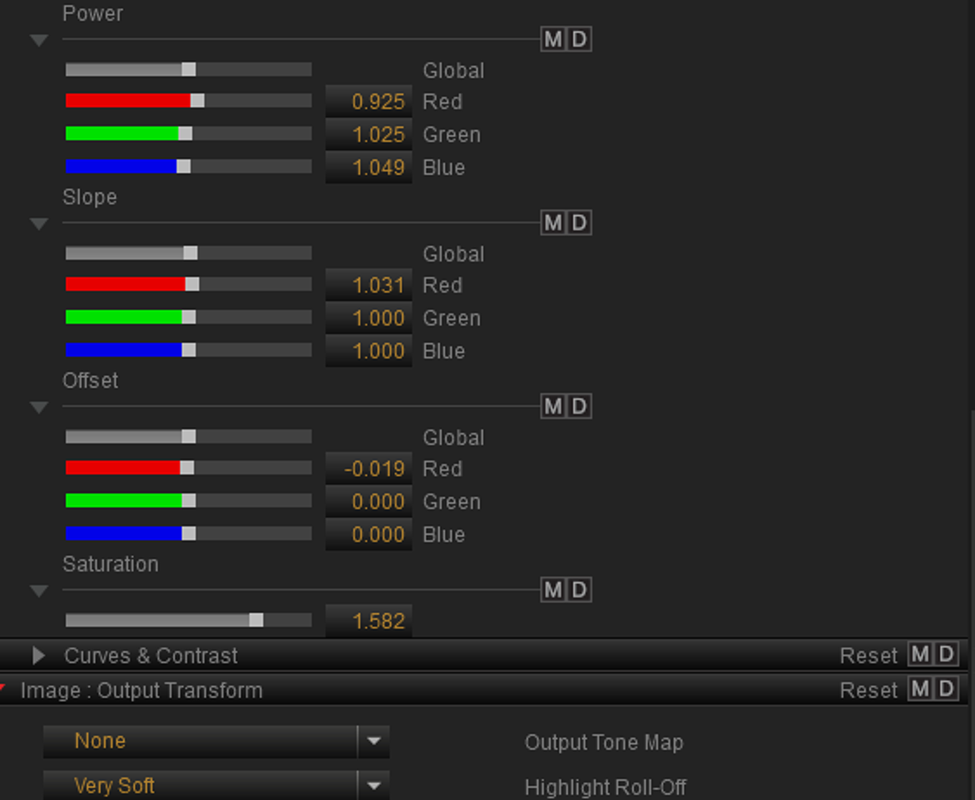
Here's the primary and CDL Corrections in Redcine-X


679.png


Screenshot-143.png
 
Last edited:
For some reason, when doing this test, at +5 over some colors go completely white and some go to a peach color.

For a bunch of reasons, related to light, sensor, base colour science, transformations and what you do with the image.


However, when you try to recover the image, those white wall recovered look like shit.


You cannot "recover" what is not captured.


the moral of the story don't try to recover Highlights in an image with White Walls predominately displayed in the scene.


The moral of the story: don't have unrealistic expectations and attempt to make out of the image what it isn't.
 
Or as Phil already said, and I paraphrase don't shoot like this, people.
I mean, it's ok to "have" some frames overexposed, even by 10+ stops, (think sudden light bursts such as search lights or strobes) but only if the script's asking you to. And when it does, you don't go "recover" things...
 
Good, interesting discussion.
So in the extreme exposure I could recover by moving the cooler temperature and correct the tint, and go to Davinci correcting the primaries.
Actually in this image the traffic lights were not lit yet, it was exactly before the green light was switched on.
. So I trusted.
So I realized that as soon as I see the traffic lights I can close 1 stop, doing so I have the signal with a lot of margin in post production.

I wonder, wouldn't it be better at this point to have the traffic lights that light up first?


https://drive.google.com/file/d/1acXmunKXhHTaRrFdpUr_E-JoMK5X4sug/view?usp=sharing
 
Luigi,

Yes, but as been said by Phil and others, its best to get the correct exposure in the first place. This method should be used only as the very last resort if ever at all.

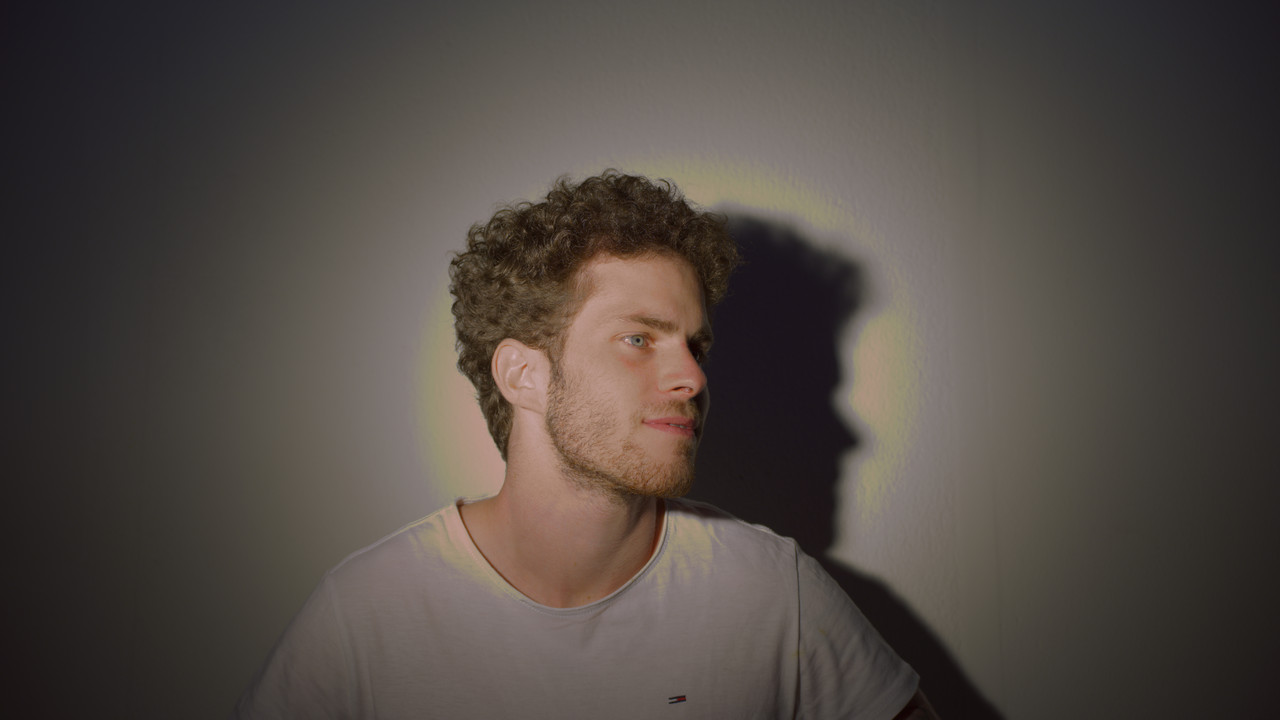
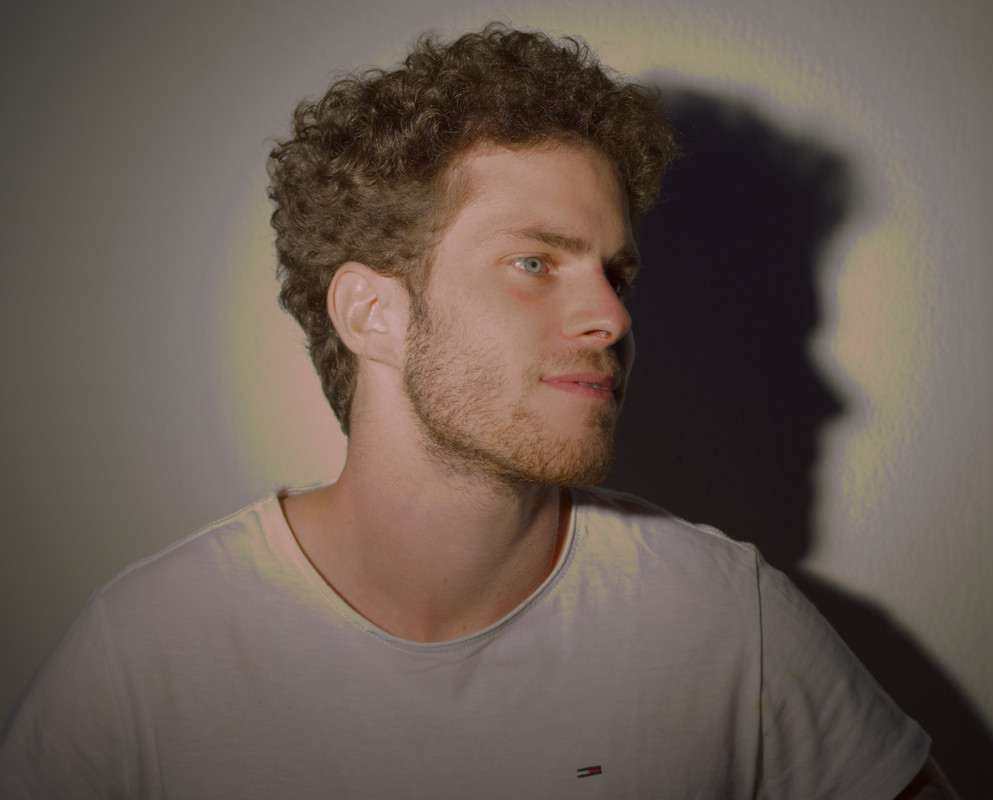
here is an attempt to recover your new .r3d file. I was too lazy to go find my Resolve Studio dongle so I did this again in Redcine-X. It still seem to have that Halo around the male Subject. Maybe I just captured yours and the male subject in this scene divinity. HaHa


A010-C057-07112-G-0000000-F-0000000.jpg


A010-C057-07112-G-0000000-F-S001-0000000.jpg


A010-C057-07112-G-0000000-F-0000000-2.jpg


A010-C057-07112-G-0000000-F-S001-00000002.jpg


Here's less banding in the skin but with an even worse halo and it always seems to blow out in that same Greenish color with each recovery attempt


A010-C057-07112-G-0000000-F-S000-0000000.jpg


A010-C057-07112-G-0000000-F-S000-00000002.jpg
 
Last edited:
Back
Top