Finn Möller
Well-known member
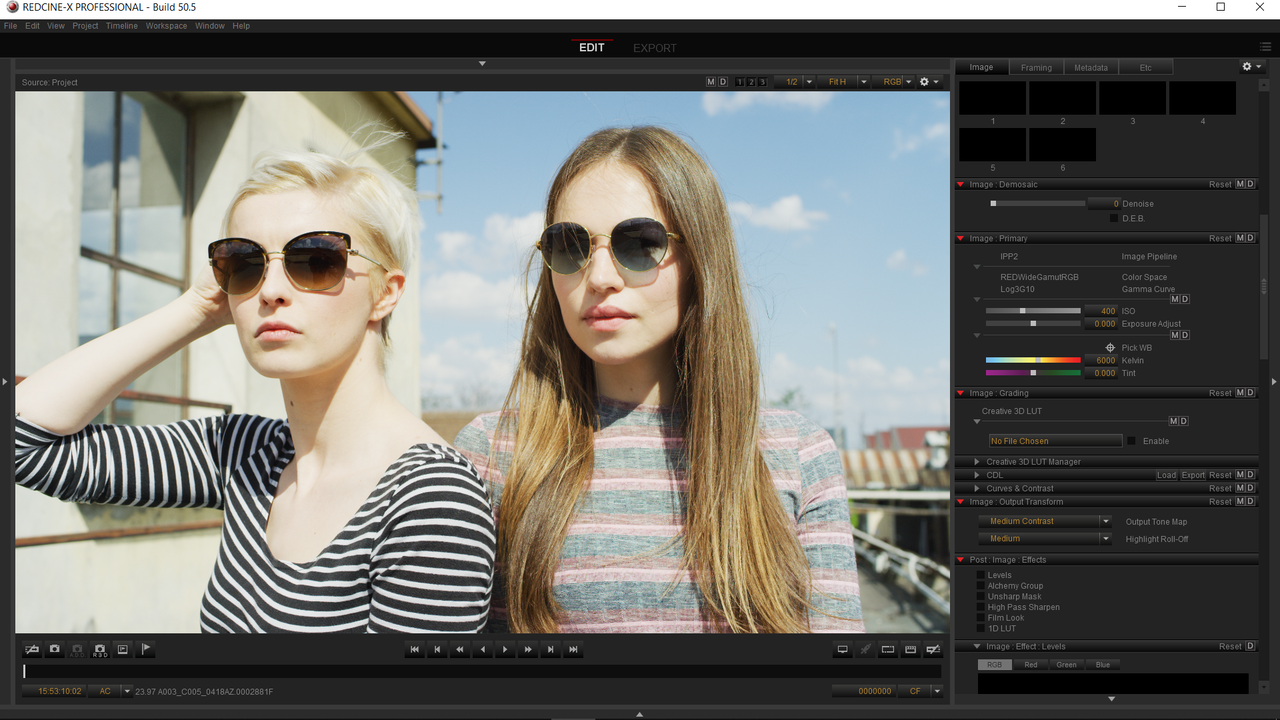
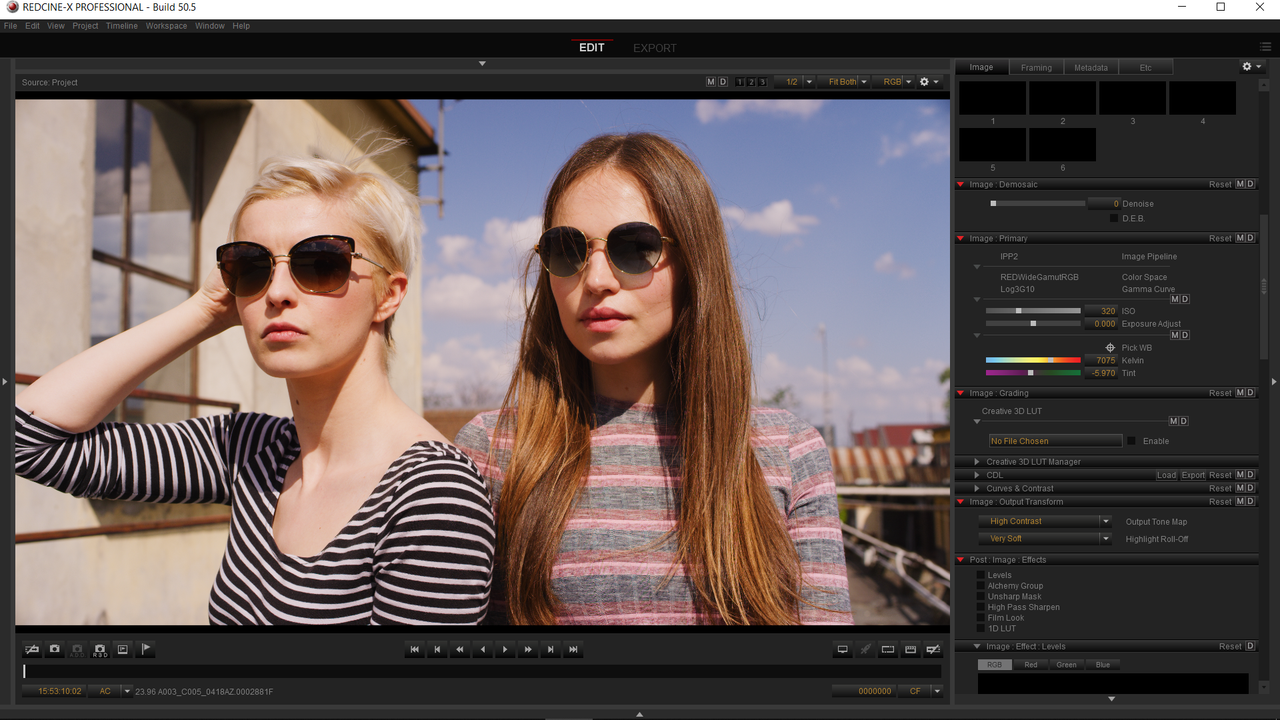
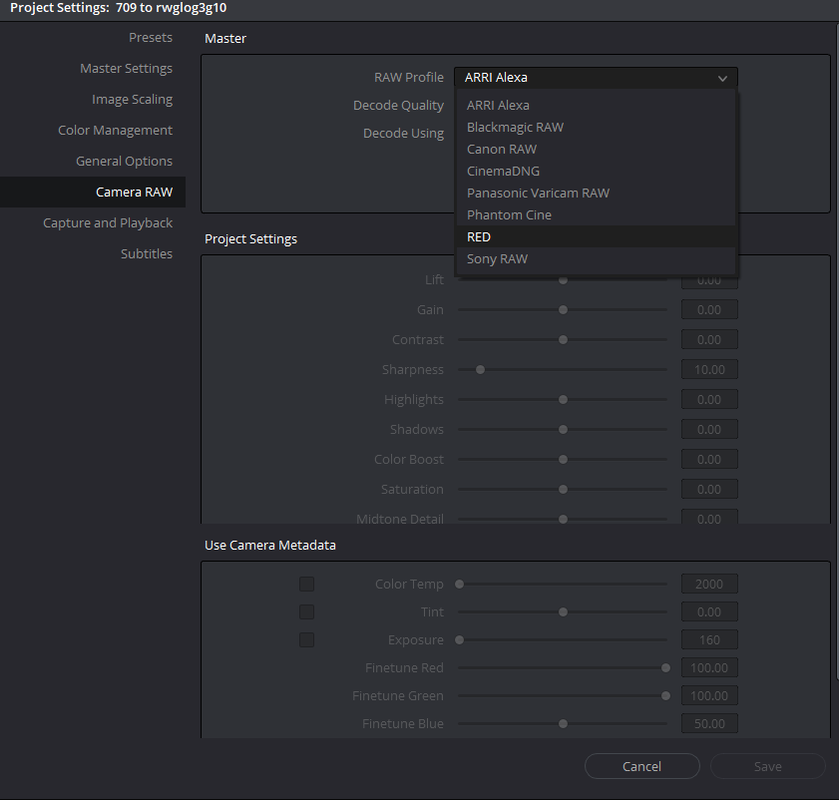
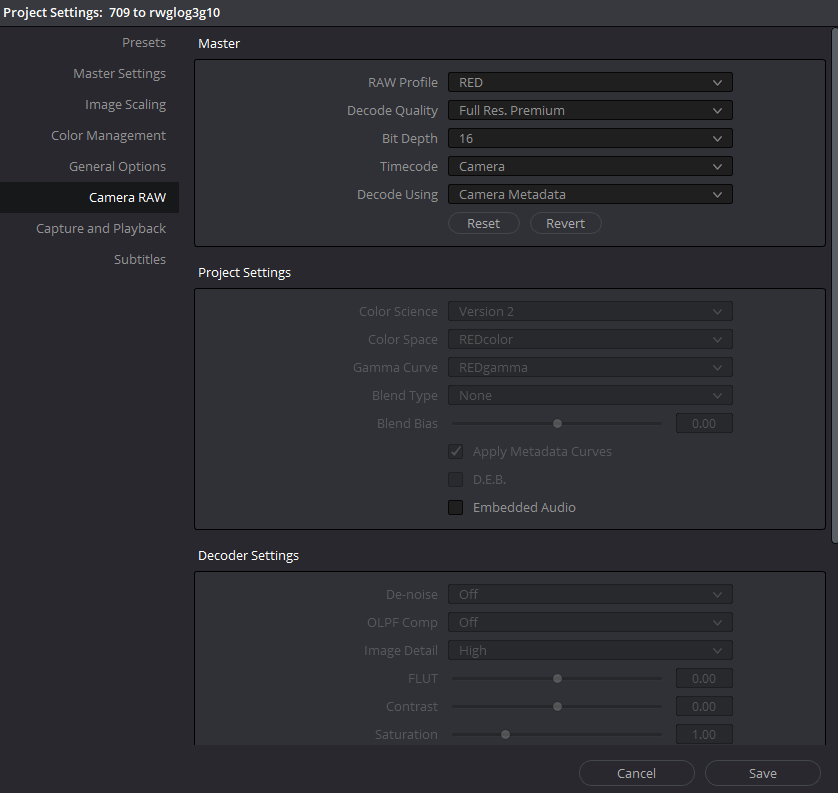
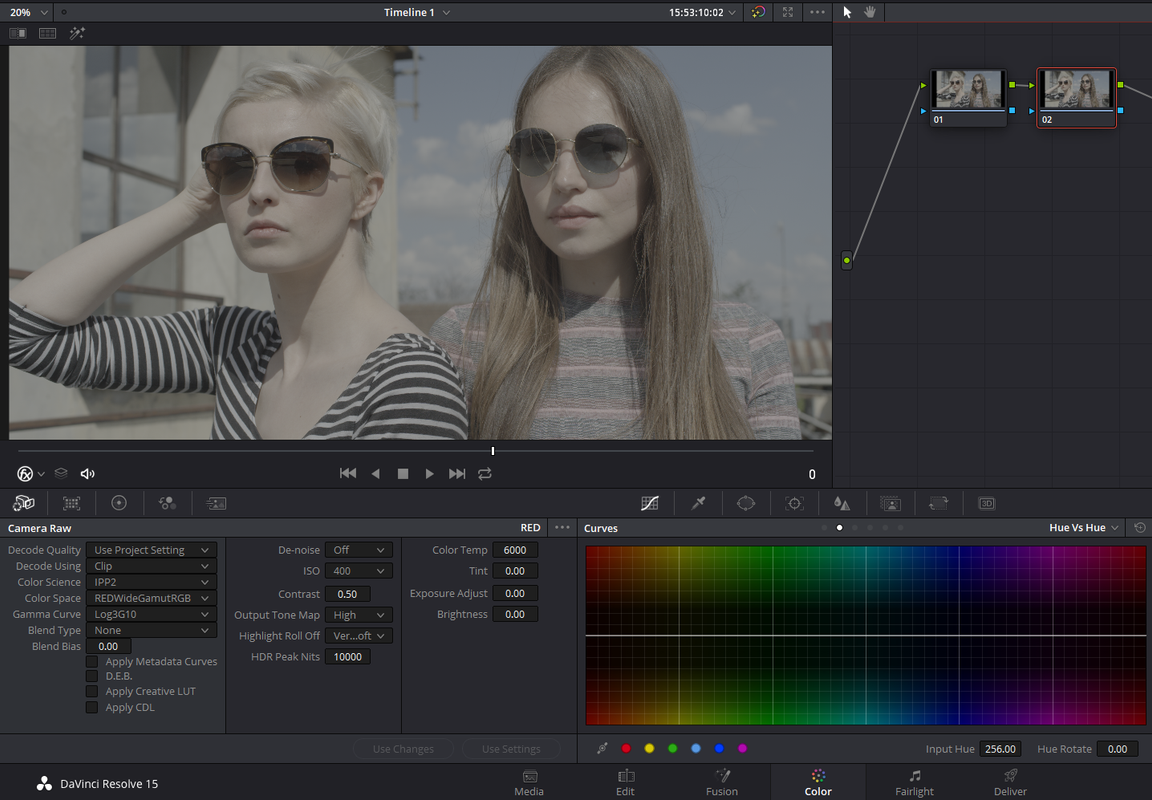
Wonder if there is a fast workflow where i can transform my graded footage back to a flat profil.
I am pretty new with DaVinci so looking for some advice !
Best regards!
I am pretty new with DaVinci so looking for some advice !
Best regards!