Welcome to our community

Be a part of something great, join today!

  • Hey all, just changed over the backend after 15 years I figured time to give it a bit of an update, its probably gonna be a bit weird for most of you and i am sure there is a few bugs to work out but it should kinda work the same as before... hopefully :)

Best settings for IPP2 in Resolve

AndreasOberg

Well-known member
Joined
Oct 30, 2011
Messages
1,674
Reaction score
31
Points
48
Location
Leicestershire, United Kingdom
Website
www.obergwildlife.com
Hiya,
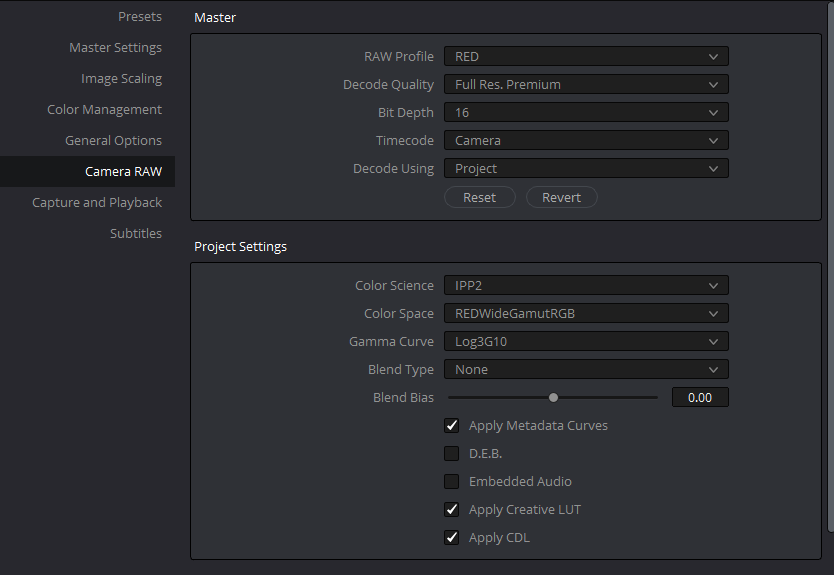
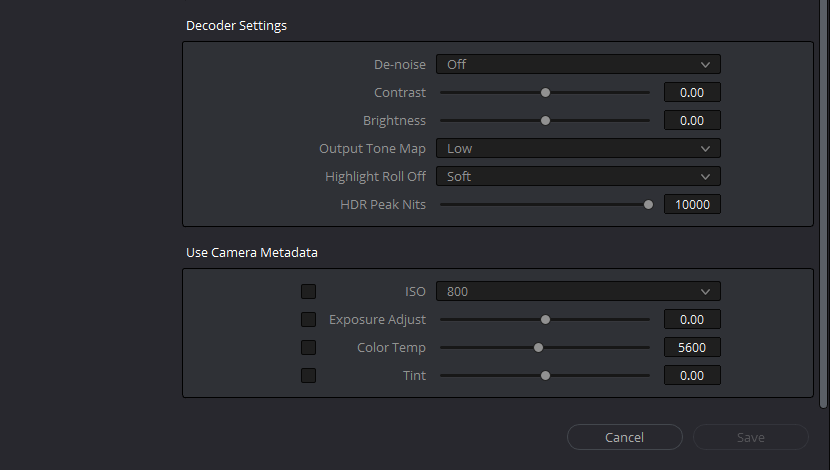
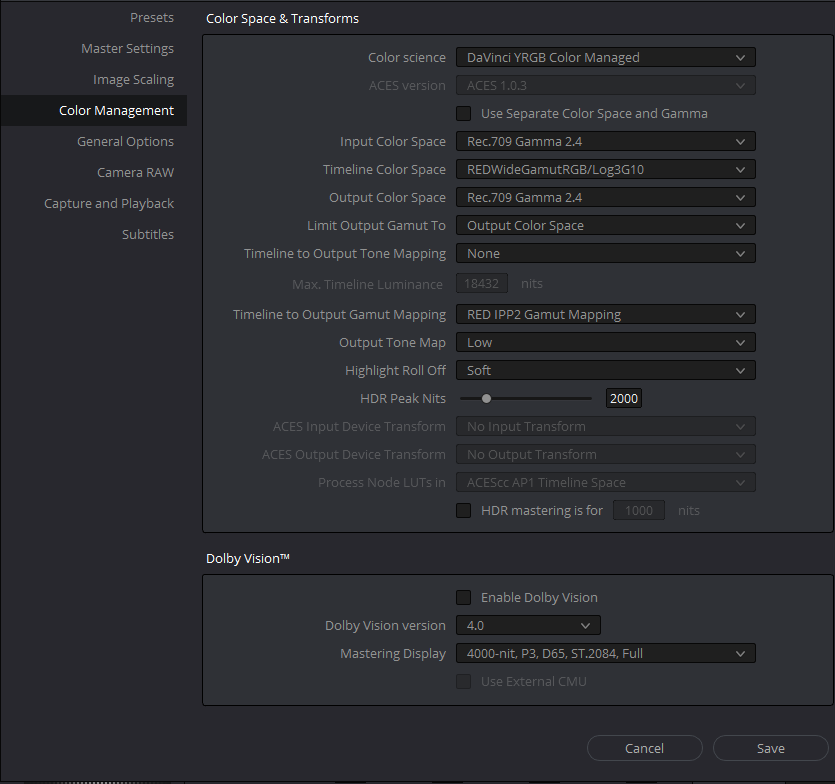
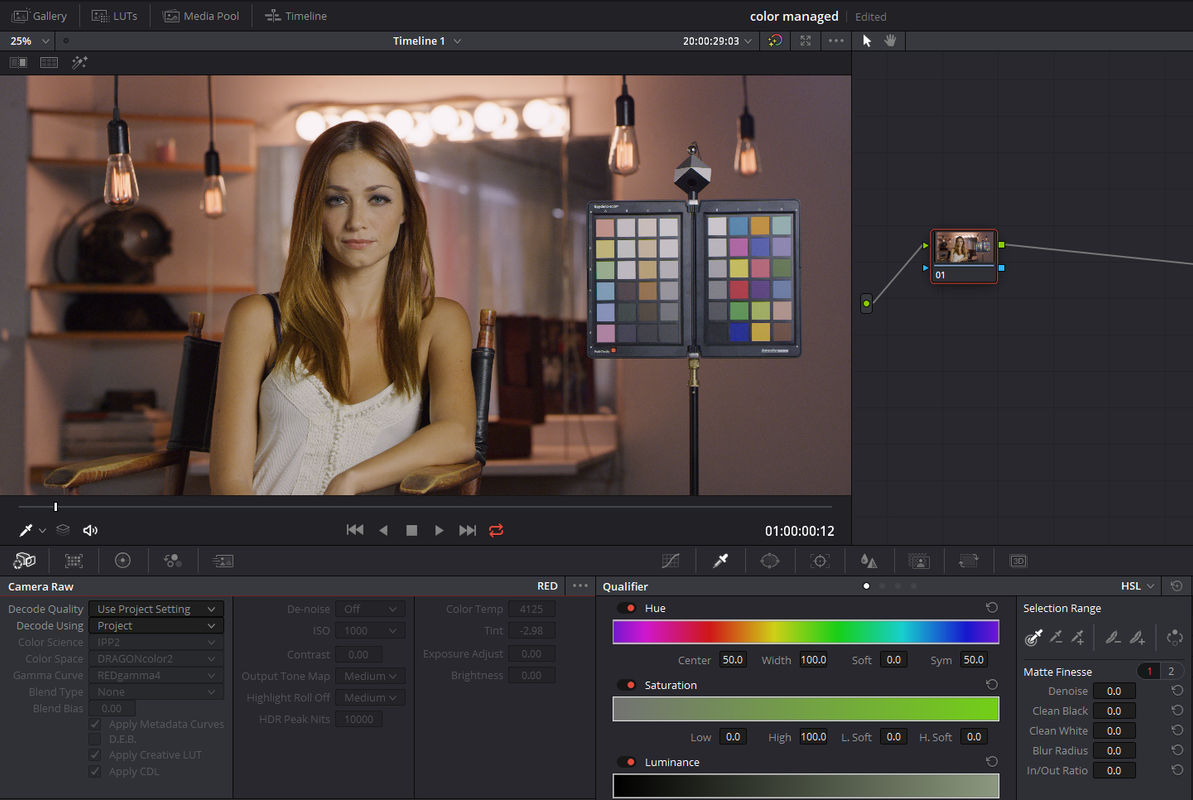
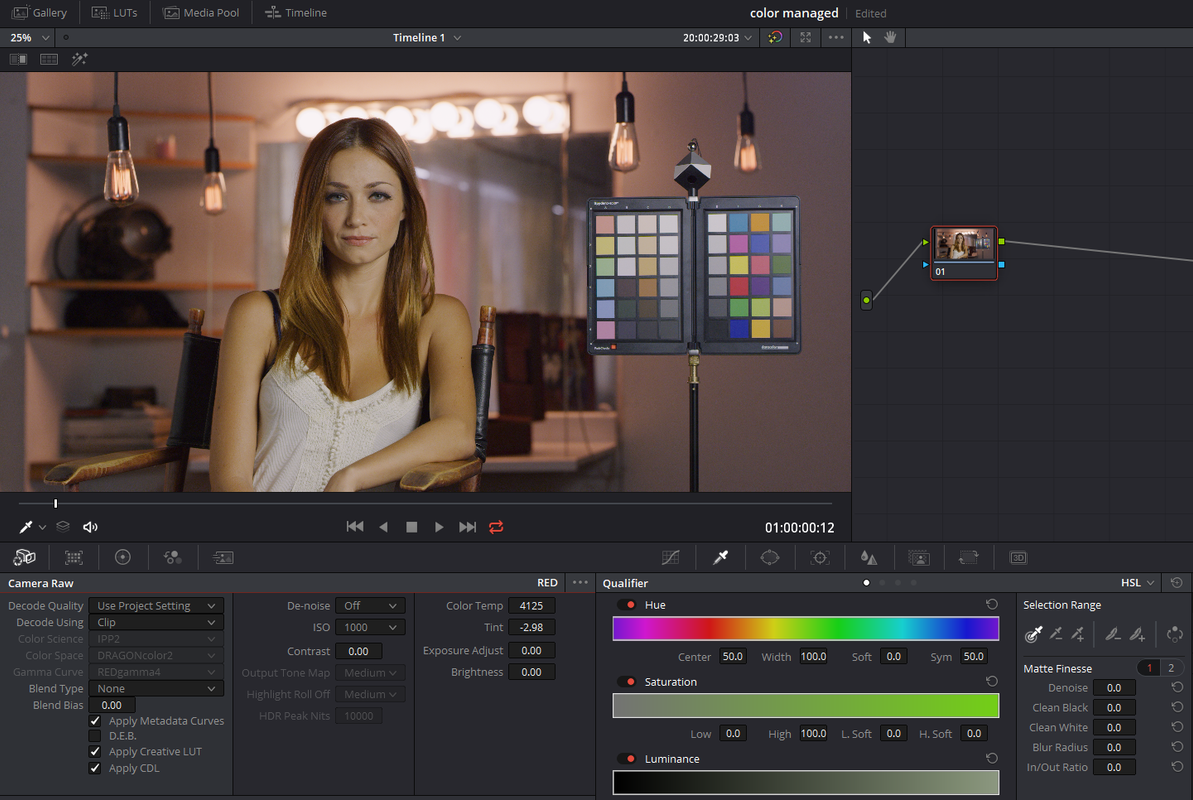
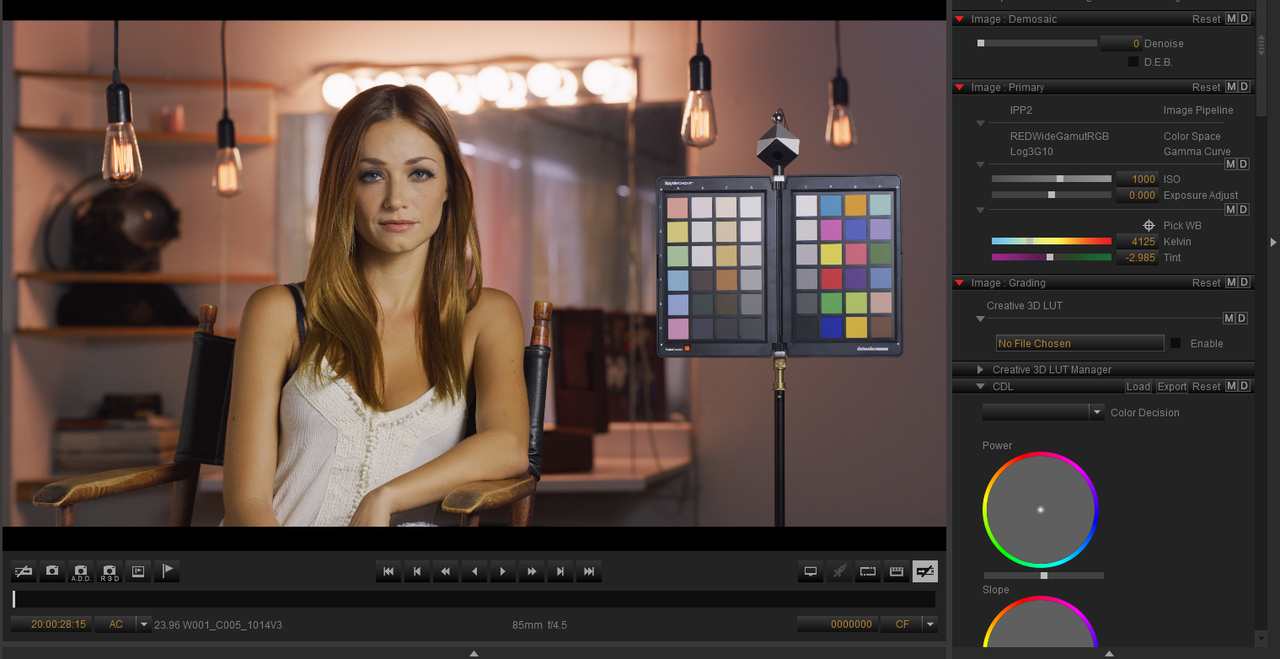
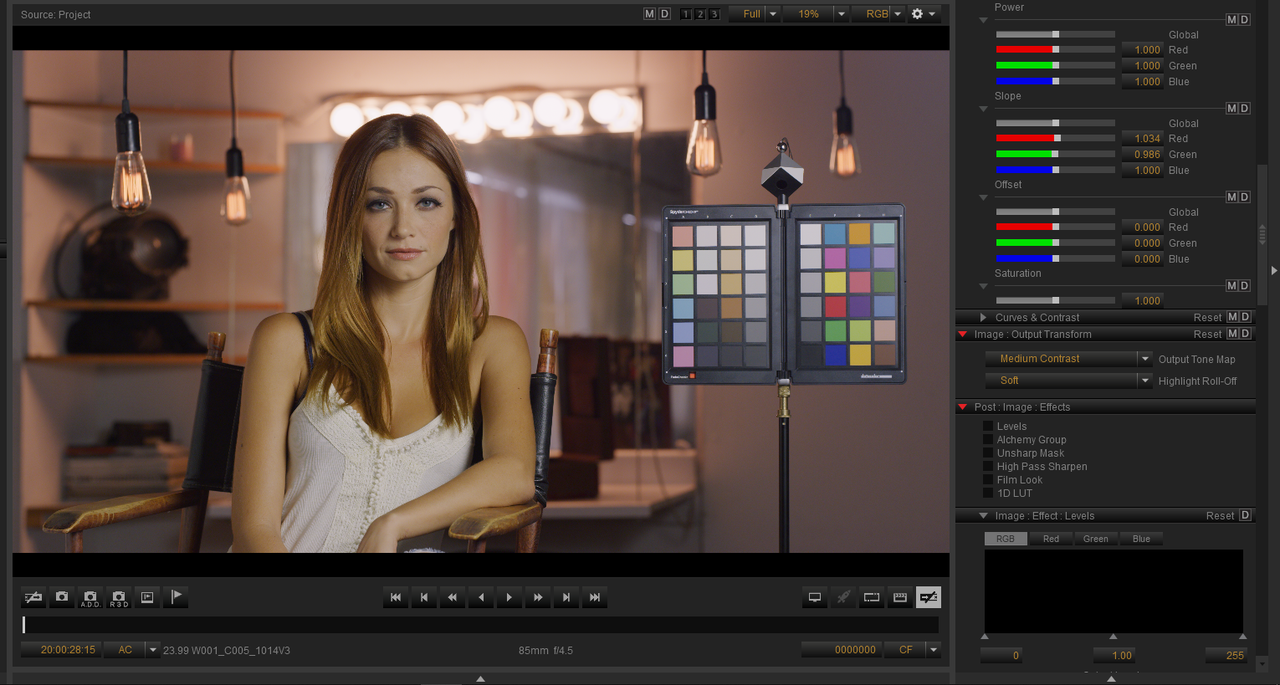
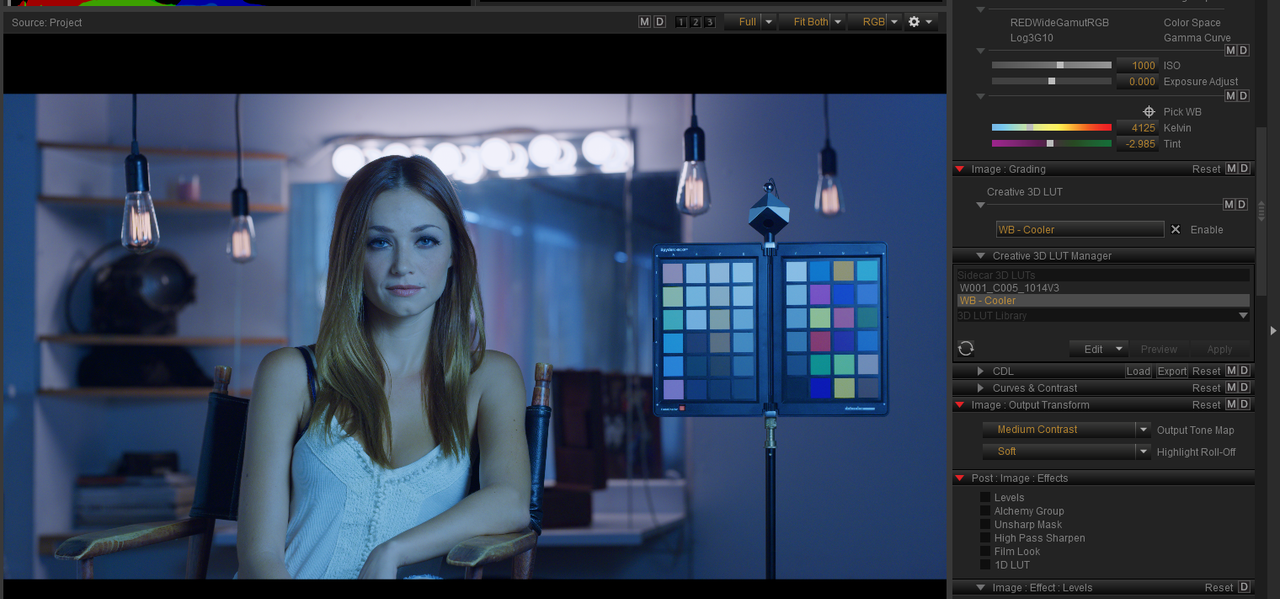
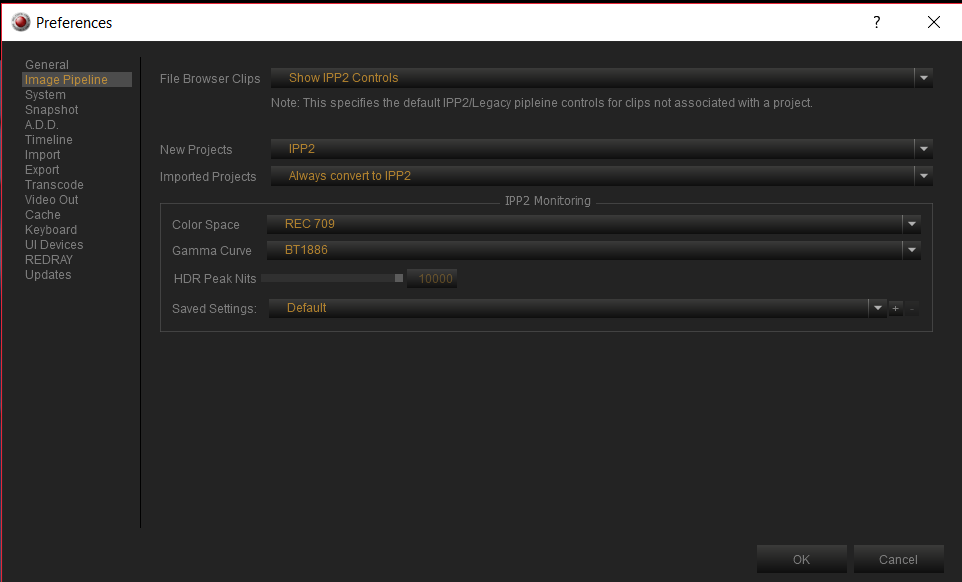
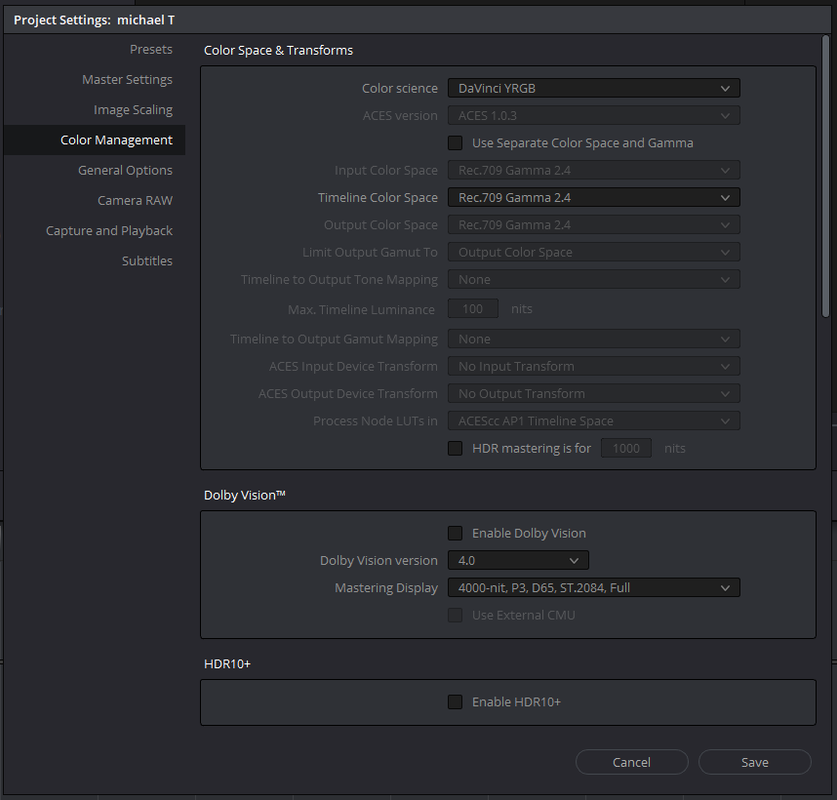
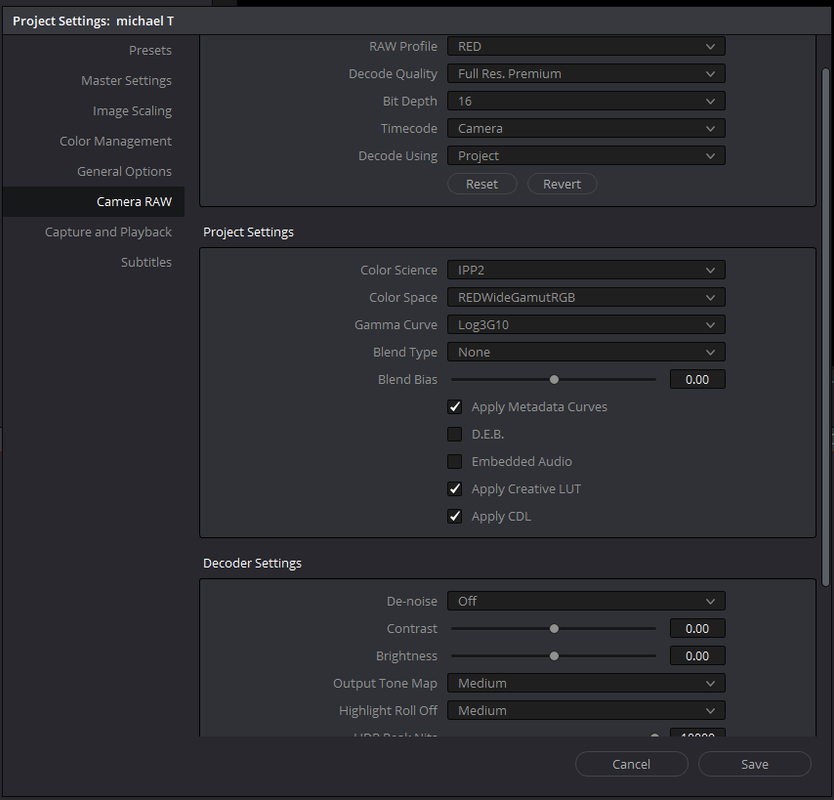
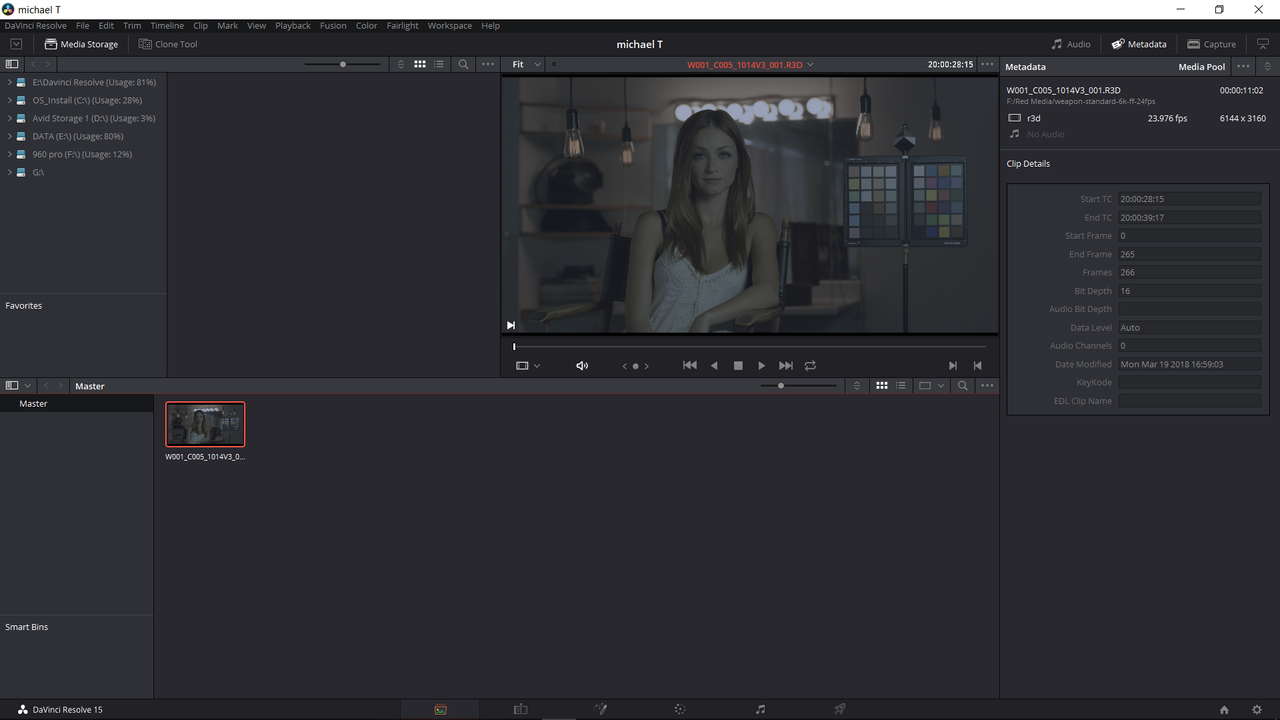
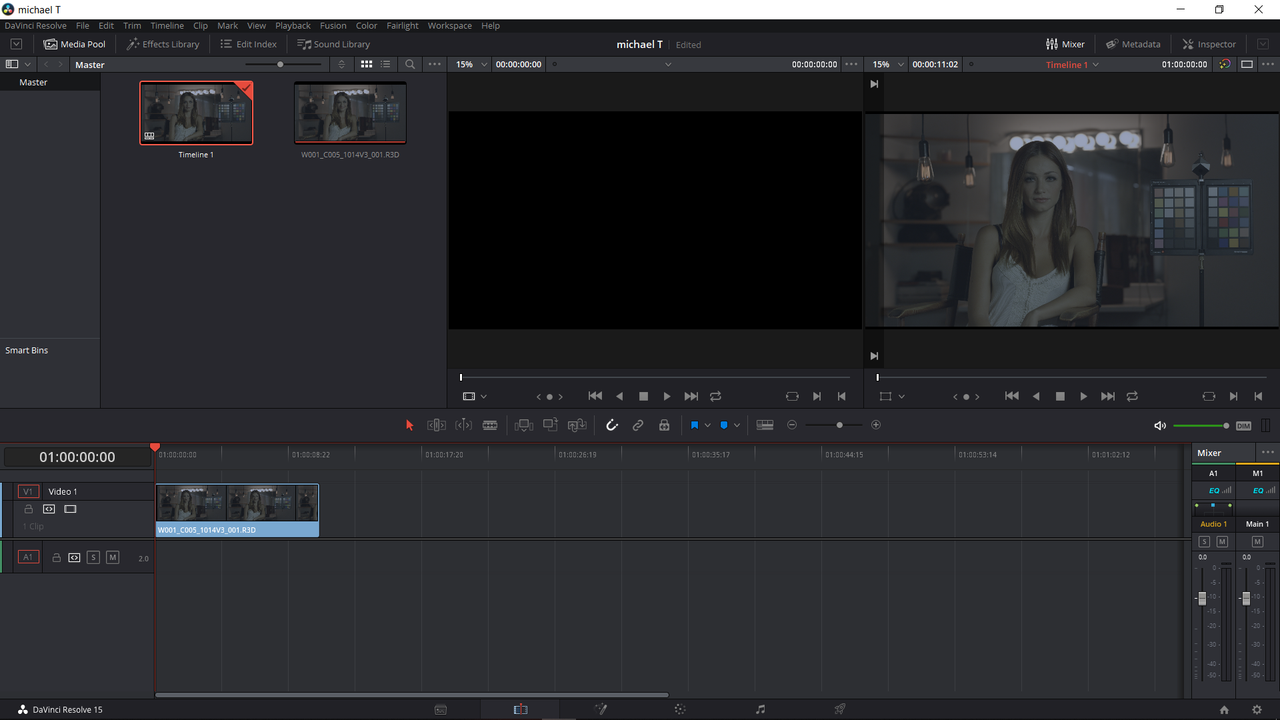
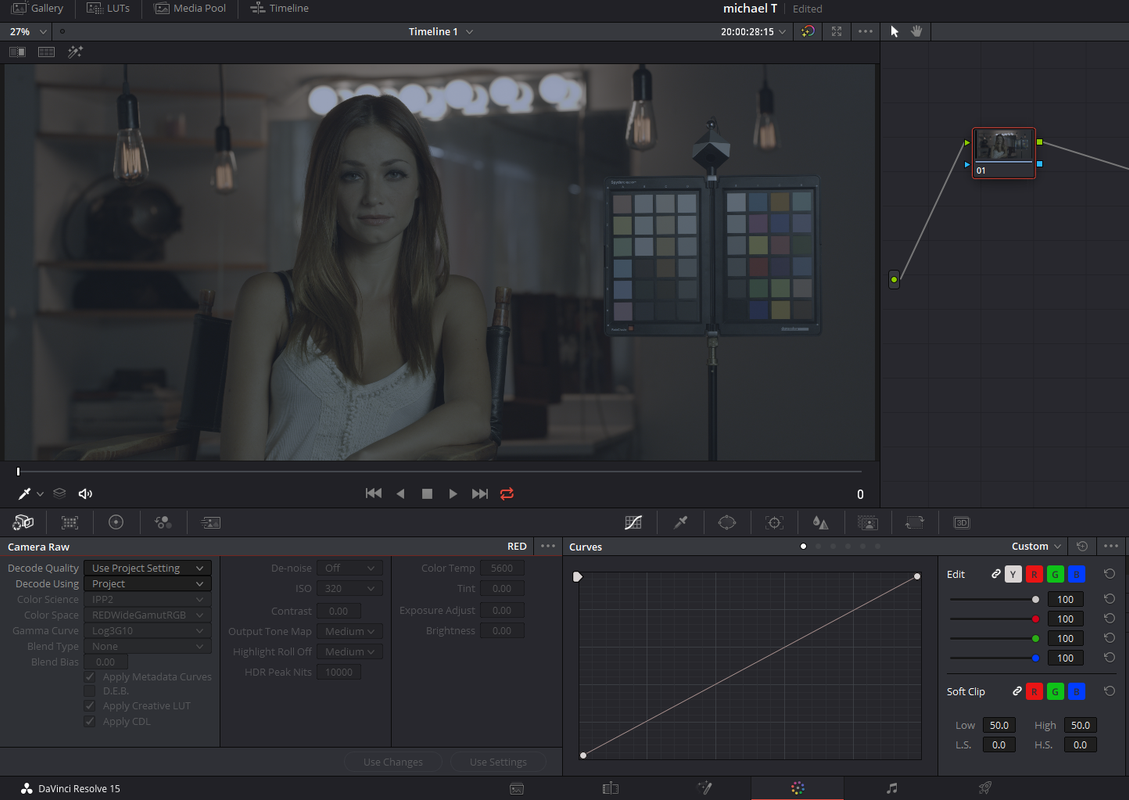
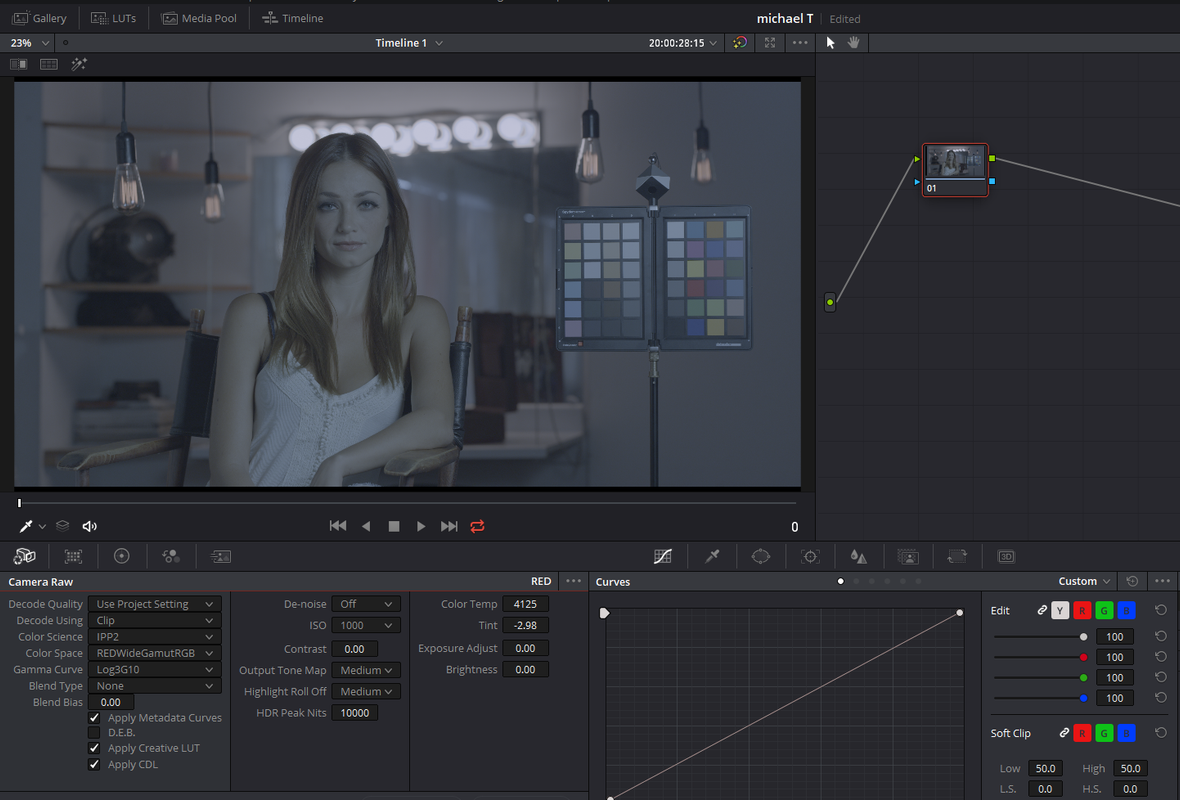
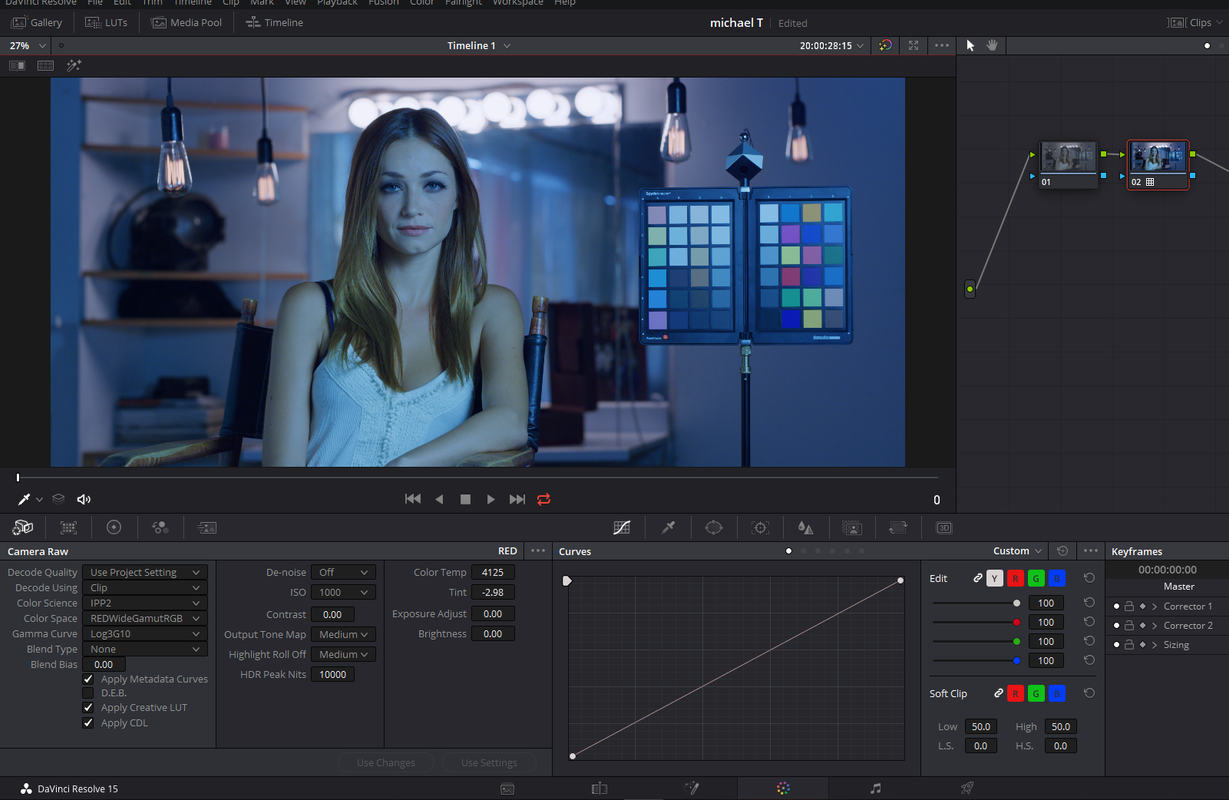
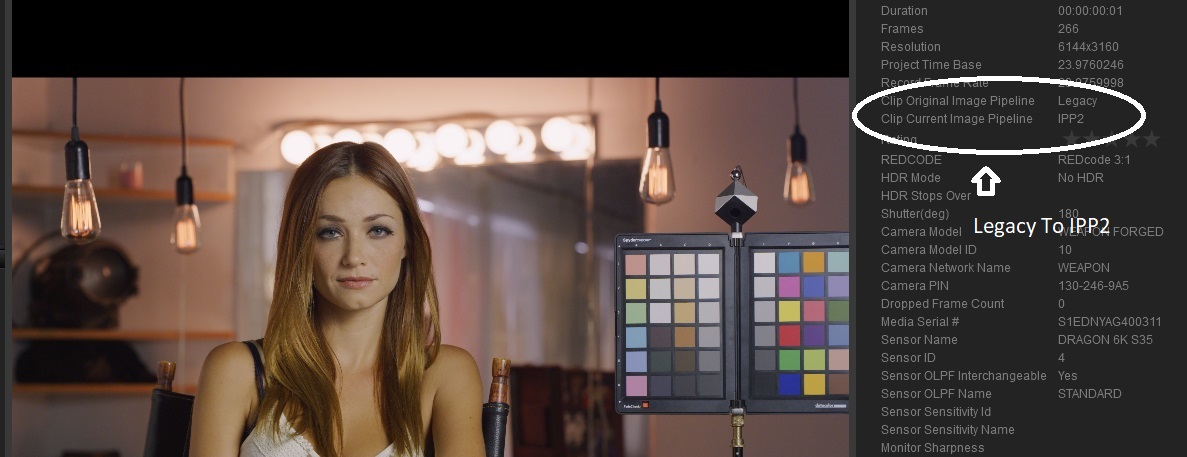
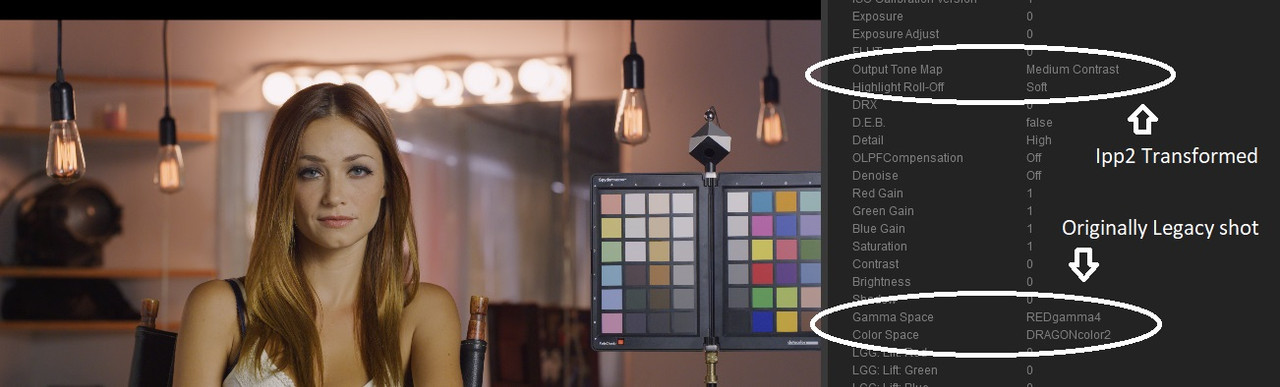
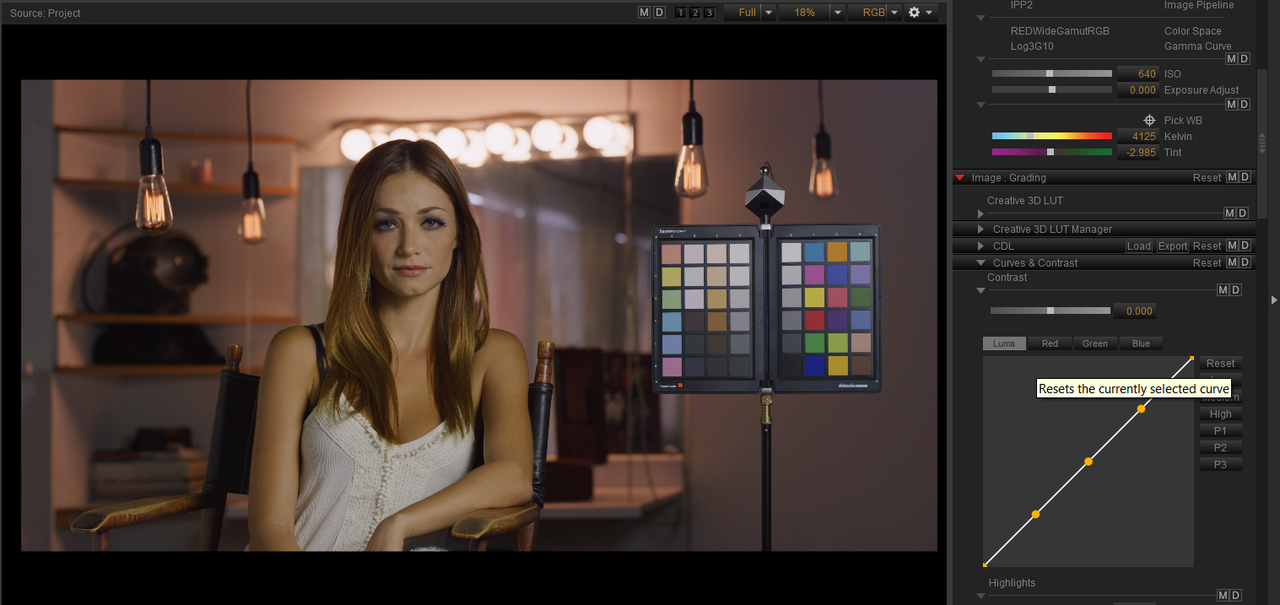
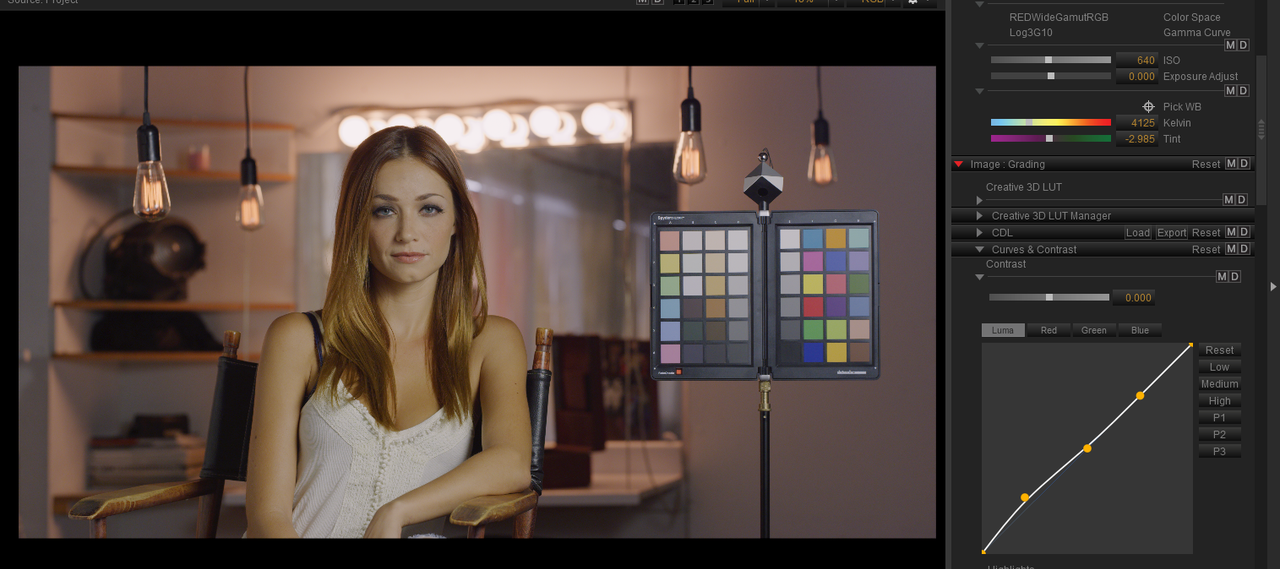
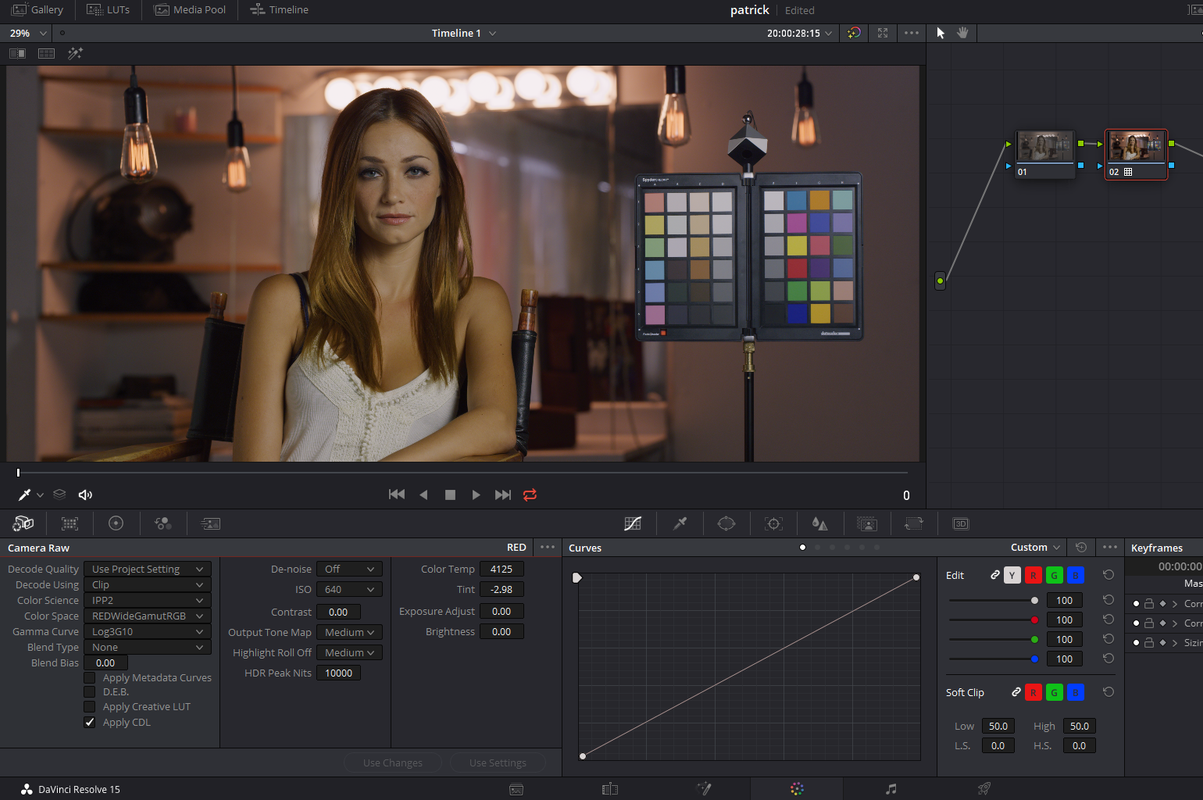
What is the proper settings for IPP2 these days in Resolve?

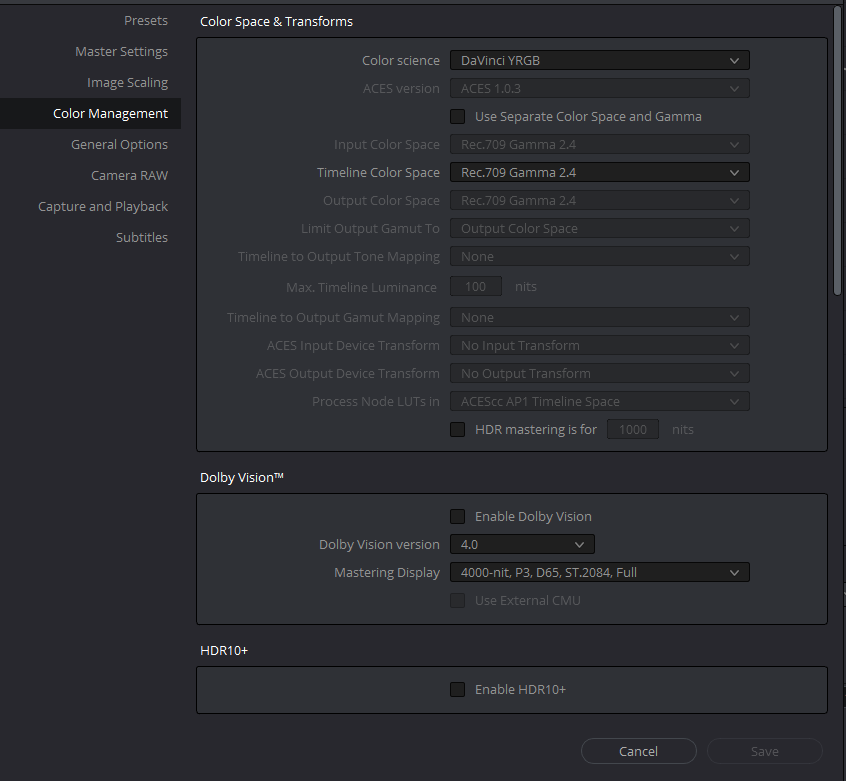
Also if we upload files for youtube should we still be using rec709 or use 2020 instead. After all color gammut is quite limited in rec709.

Best,
Andreas
 
I was wondering the same thing myself! Has anything changed with R15? What are people using for best results these days?
 
Andreas and Mark,

In "Camera Raw" you can use these settings below.


Screenshot-671.png


1) Decode Quality- You can chose a lower quality while you are editing high resolution footage then, Before you export your final edit, change this back to "Full Res. Premium".

2)Apply Metadata Curve-If you want to bring into Resolve a curve you made in Redcine-X or other method.


3)Apply Creative Lut- If you want to bring in a Creative Lut from like Phil Holland's "PhilmColor" Lut Pack you added in Redcine-X.


4) Apply CDL( I believe this was added in Version 15.2)- If you want to bring in the CDL grade from Redcine-X into Resolve


Screenshot-673.png


1)ISO- the default ISO you use most

2)Color Temp- I just leave this at the default 5600K

3)Output Tone Map and Highlight Roll-Off- these will have no affect inside Resolve since you will basically be using Output Transform Luts at the end of your Node chain or a "Color Managed" workflow.


Screenshot-674.png


Color Managed Work Flow


This will completely negate you Camera Raw "Color Science", "Color Space" and "Gamma Curve" Settings.

This will also completely negate your need to add an Output Transform Lut at the end of your clips node chain.


As Per the Settings of Peter Chamberlain of Blackmagic Design

Screenshot-670.png


1)Output Tone Map and Highlight Roll-Off- Use this here if you know you will only be using one Output Tone Map and Highlight Roll-Off for the entire project. Choose this carefully because changing these settings will fuck up your entire project.

2) I chose "Low" and "Soft" because I believe these are the new "Default" settings Red is going with, no longer "Medium/Medium". You can change this to whatever you want.


Here are the "Camera Raw" Settings in a Color Managed Workflow.

Screenshot-675.png


Here are the "Decode Using" "Project" and "Clip".

"Project"

Screenshot-676.png


"Clip"

Screenshot-677.png


The Color Managed Workflow also brought in the "Iso=1000", "Kelvin=4125" and "Tint=-2.985(in Redcine-X) -2.98 in Resolve as well as the CDL Grade, when using the "Decode Using" "Clip". But you could see those settings "greyed out" even using "Decode Using" "Project".


Screenshot-678.png


Screenshot-680.png
 
Last edited:
1) Decode Quality- You can chose a lower quality while you are editing high resolution footage then, Before you export your final edit, change this back to "Full Res. Premium".

You can also just leave it set to whatever plays back the best, and check a box on delivery called "Force highest debayer quality" or something along those lines.

That said, if you're running any kind of noise reduction, it's probably best to see what that's going to look like on a full-quality debayer before you trust what the delivery is gonna do. Depending on the debayer quality in preview, your noise reduction settings might need some tweaking.

But yeah for everyone else, you don't have to change it back in project settings, you can just do it on delivery.
 
Rand - THANK YOU! I'm still new to Resolve (edited one non-RED project so far) and I've got an all-RED project that's just about to start. This really helps. Much appreciated!
 
Don't use : Apply Metadata Curve! ;-) Or it will make things that you don't want... or you deliberately bake the shooting look in your footage.
 
Rand - THANK YOU! I'm still new to Resolve (edited one non-RED project so far) and I've got an all-RED project that's just about to start. This really helps. Much appreciated!

You're Welcome Mark!
 
Yes, IPP2, RedWideGamut, and Log3G10 are pretty standard these days. We will dig in and tweak the exposure settings if we think we can recover a little bit more highlight detail in post. I'm not a fan of LUTs and have not had to use CDLs, but I've provided CDL files many times when clients ask for them in dailies. We have generally not used color-managed workflows and choose to do it shot by shot, but there are pros and cons either way.

Note that Resolve gives you the opportunity to change color space transforms on a node-by-node basis. That can be useful in some circumstances.
 
EDIT: went back to my project to play around some more, and now I am not seeing the following...dunno how it fixed itself.

Color me confused, but I cannot get "Apply Creative LUT" to work with RCM. Using one of the RED Sample Images clips (epicdragon-skintone-6k-ff-24fps/A001_C018_1011KZ_001.R3D) and RC-X, I've applied a philmColor LUT to the clip and saved a new RMD (which also copied the philmColor LUT to the clip's containing directory). When I quit and re-open the clip in RC-X, the creative LUT is enabled and doing its thing. When I create a timeline with the clip in Resolve 15.2.1 and use Davinci YRGB as my Color Space and Transform (in Color Management), the Apply Creative LUT option works as expected. When I change to Davinci YRGB Color Managed, selecting or deselecting "Apply Creative LUT" has no effect.
 
Michael,


I believe there was trouble with this in an earlier Redcine-X Version, Maybe 50.3 or 50.4.


Download Version 50.5, I believe this cleared it up.

https://www.red.com/downloads/options?itemInternalId=16144&version=1


Try this.

In Redcine-X

Screenshot-689.png


1) Above you can see the sample .R3D in Redcine-X. I added a "Creative Lut" "WB Cooler" I created in 3DLut Creator Pro(Just some shit I made up for this demonstration) and applied it in the "Creative Lut 3D Manager"

2) Take note of the "Kelvin=4125" the "Tint=-2.985" and then "Output Transform-Medium/Soft" and "ISO=1000". Now you can close Redcine-X.


In Resolve


1) Create a new Project. Once you are in the empty project , before you start importing any clips, hit "Shift + 9" to go to the "Project Settings".


2) In the "Project Settings" first go to "Color Management" and make sure your project settings match the "IPP2 Monitoring" Settings in Redcine-X (Example Rec709/BT.1886 in Redcine-X then Rec709/Gamma 2.4(Bt.1886) in resolve.


Screenshot-697.png


Screenshot-690.png


3) Next go to the "Camera Raw" tab. Choose settings in the top two Areas. You can choose to select "Apply Metadata Curves", some have problems with this selection, I have not. Make damn sure you select "Apply Creative Lut" so as to bring in the creative lut you choose for your clips in Redcine-X. Lastly select "Apply CDL" if part of your grade in Redcine-X included CDL corrections, mine did.


Screenshot-692.png


4)Now I will import the sample .R3D I graded in Redcine-X. As you can see the creative Lut is NOT!! there.


Screenshot-693.png


5) Next I import the sample .R3d in the project and again the creative Lut is NOT!! there.

Screenshot-694.png


6)Now I go to the "Color" Page, Then to the "Camera Raw" tab. You will notice that the Settings are "greyed out" when "Decode Using" is set to "Project", the project settings from under the "Camera Raw" settings in the initial "Project Settings" main menu. To make these settings available, choose "Clip" next the "Decode Using" settings.


Now Remember back to those settings from Redcine-X, "Kelvin=4125" then "Tint=-2.985" and "ISO=1000". Enter these settings into the "Camera Raw" Tab. It starts to look like the Creative Lut from Redcine-X, however its not as dark a blue/purple color, we'll take care of this in Step 7

Screenshot-698.png


Screenshot-695.png


7)Create another Node and add the "Output Transform-Medium/Soft" to that node, the same one that was used in Redcine-X, and Bingo! It looks correct now.


Screenshot-696.png


From Redcine-X


W001-C005-1014-V3-0000000mt.jpg


From Davinci Resolve

I used a project setting of DCI 4096 x 2160 in Resolve so frame size is different


mt-1-1-1.jpg


Michael I hope this helped.


rand

BTW,

A "Color Managed Workflow" works terribly with Luts.
 
Last edited:
Hello Rand,

How do you create the creative lut in RCX? Mine stays greyed out... Or do you have to import a Lut and work with it?
 
Hey Patrick,

I create the Lut in 3DLut Creator Pro and import it in. I'm still trying to figure out how to maintain the look of the Lut in 3DLut Creator Pro inside of Redcine-X. They don't always look the same, something Phil Holland has figured out, which is why his Luts are the best. You can also create a lut in Resolve and import it into Redcine-X. However, you can only use the corrections from the "Primary" color grading area because "Secondary"color corrections won't translate.


Screenshot-700.png
 
Last edited:
Hello Rand,

Thanks for the infos.
Btw, I think you shouldn't use "Apply metadata curve" in Resolve. I see it allways triggered on on your import settings.
 
Patrick,

I always create a Luminance curve in Redcine-X that I want to automatically come into Resolve. I think if you only use the luminance curve without using the RGB curves you shouldn't have a problem. And It could be because I always start everything in Redcine-X and translate everything into the IPP2 workflow, I think if you import your clips directly from your camera in say a Legacy format, maybe that it causing the problem you are having.


Do you mind sharing a .R3d that you are having problems with when using "Apply Metadata Curve" in Resolve?
 
Last edited:
Patrick,


This is how I use "Apply Metadata Curve"


1) In Redcine-X, I choose These settings in the "Image Pipeline", hit "CTRL+," or "CMD+," on Mac I think.


Screenshot-697.png


2) I will use the same sample .R3D file as in the previous demo, In the "Metadata" tab, in the Top Right-Hand Corner, you can see that it transformed this clip from a Legacy format to the IPP2 format.


Screenshot-701.jpg


3) You see next that the IPP2 Output Transform that was used was Medium/Soft, which the file was originally shot with "REDgamma4/DRAGONcolor2"


Screenshot-702.jpg


4) Below I changed the first image's ISO down to 640 and in the Next Image I kept the same ISO of 640 but I raised the Brightness in the shadows with a Curve.


Screenshot-708.png


Screenshot-707.png


5)Now when I bring This .R3d into Resolve with the "Apply Metadata Curves" box enabled, It brought it in with the Curve I used for the Increase Brightness in the shadows in Redcine-X along with it. When I disable the "Apply Metadata Curves" box, it reverts back to the original 640 ISO image without the curve added.


Screenshot-704.png


Screenshot-705.png
 
Last edited:
Hello Rand,

Only that when I shoot (in less controlled situation like in documentary) I usually put a curve to darken a bit the low lights so I stay a bit more conservative evaluating the image to set the aperture.

So I have to desable the Apply Metadata curve while in post, otherwise it will apply something to the picutre I don't have access to.

See you.

Pat
 
Back
Top