Leonardo Newman
Well-known member
- Joined
- Aug 12, 2018
- Messages
- 108
- Reaction score
- 25
- Points
- 28
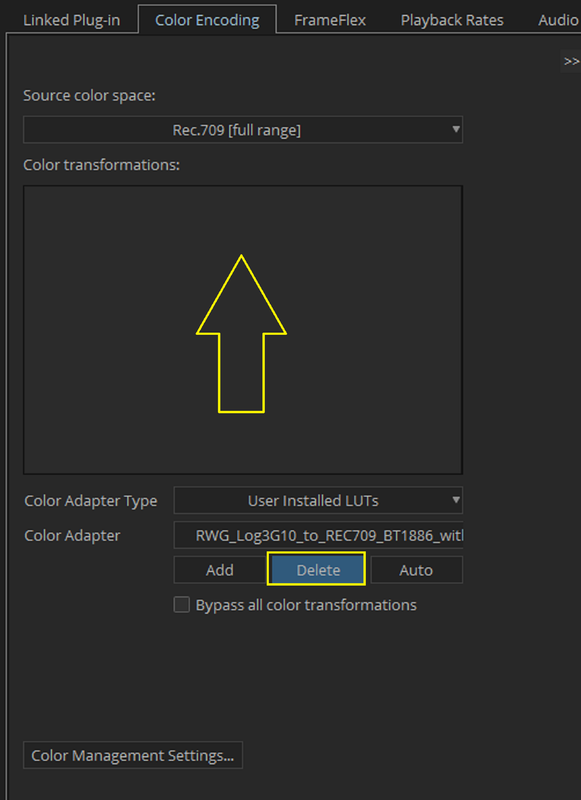
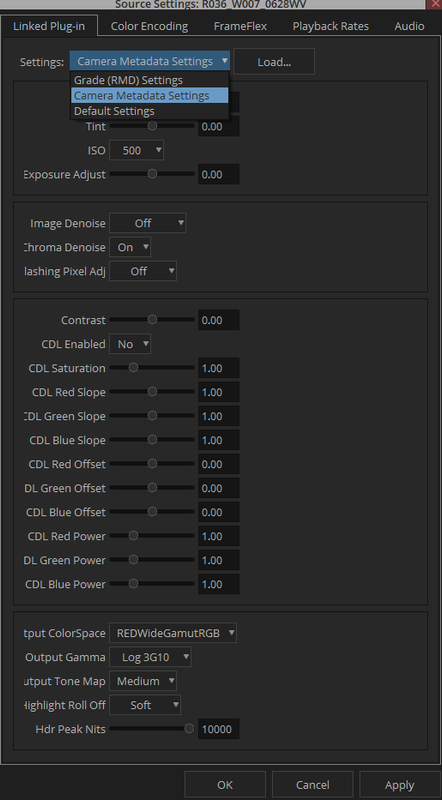
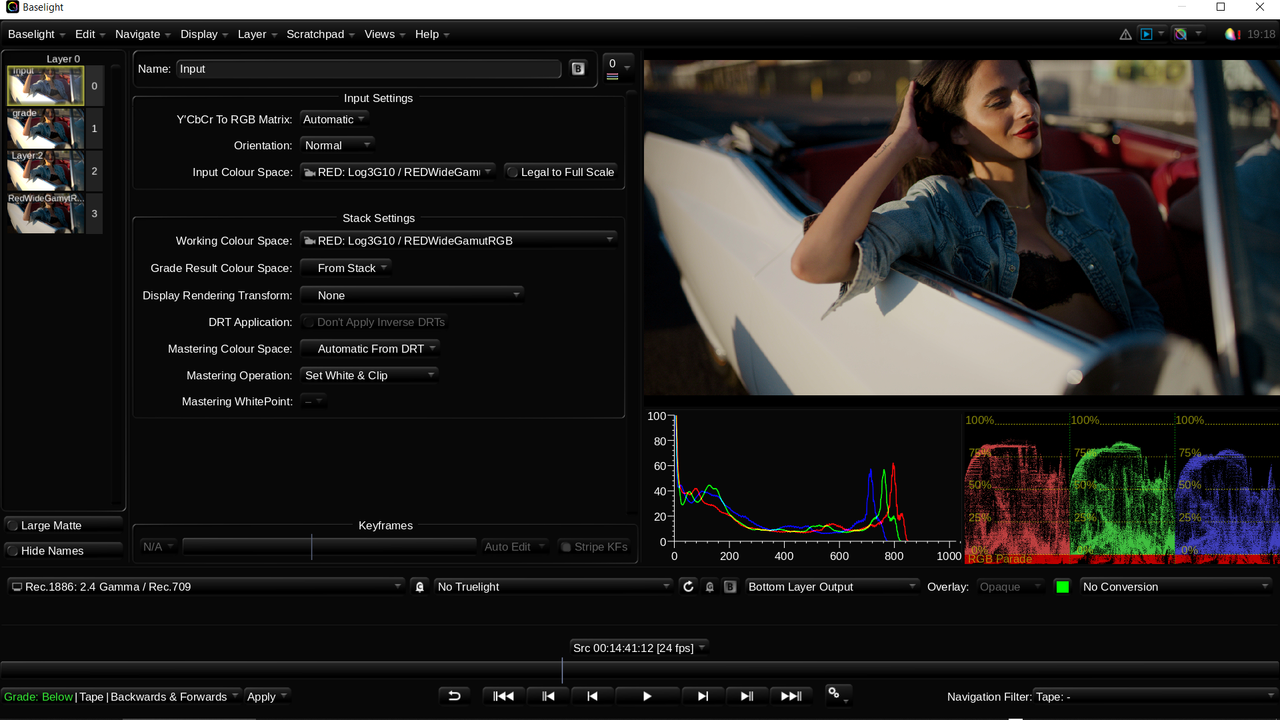
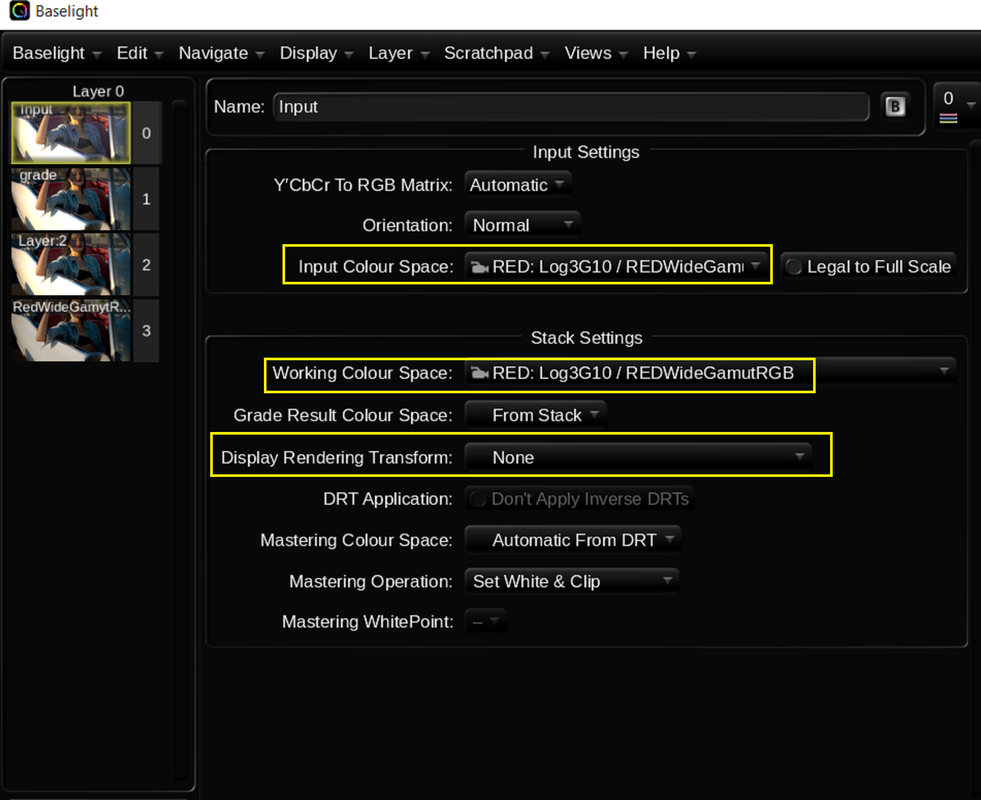
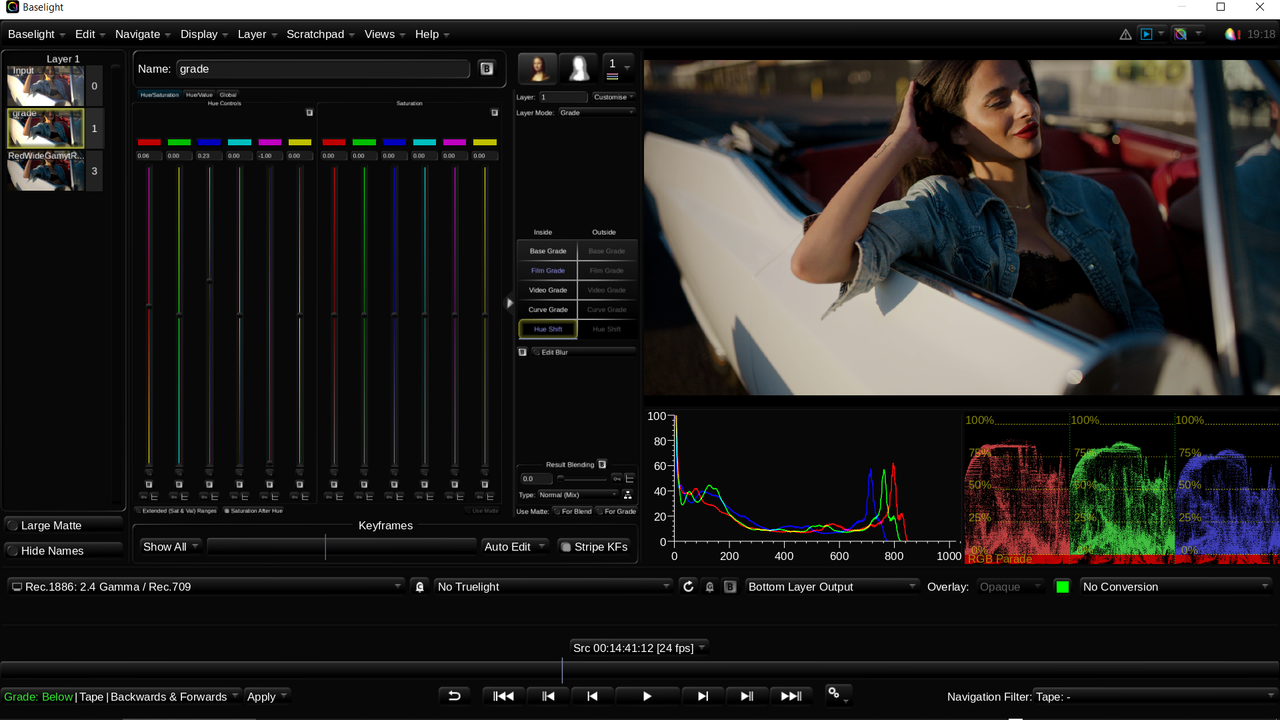
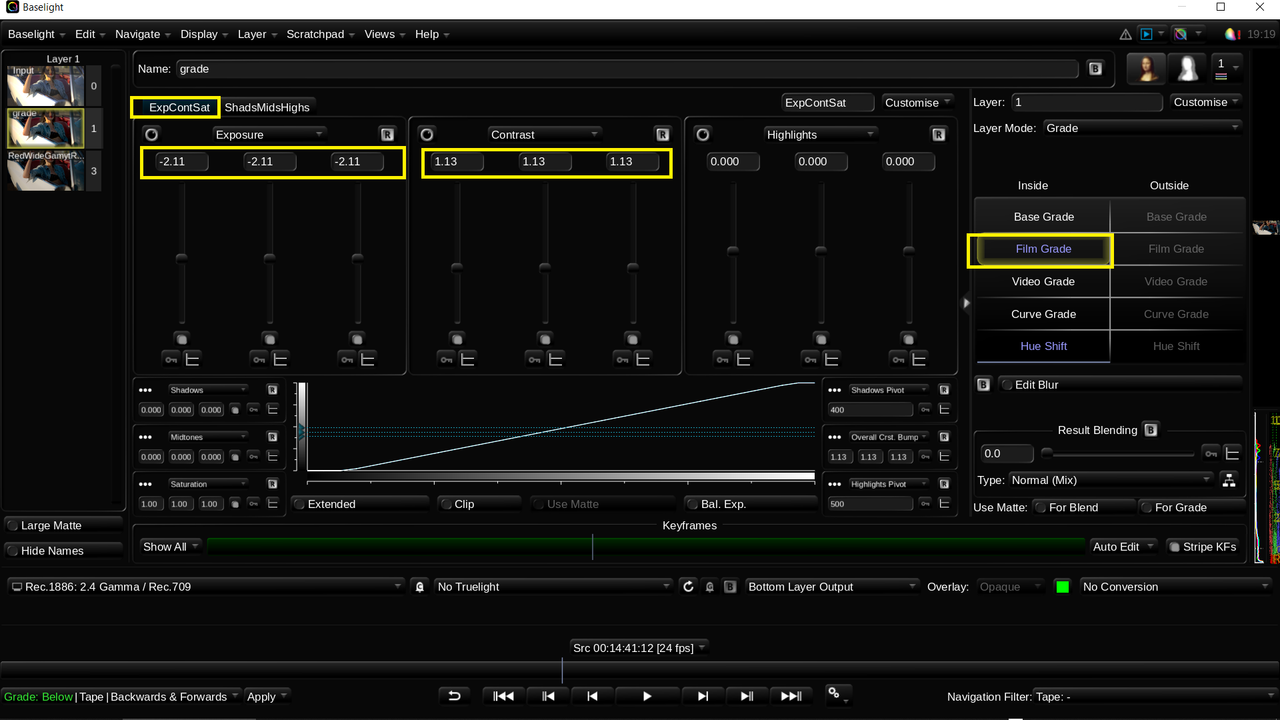
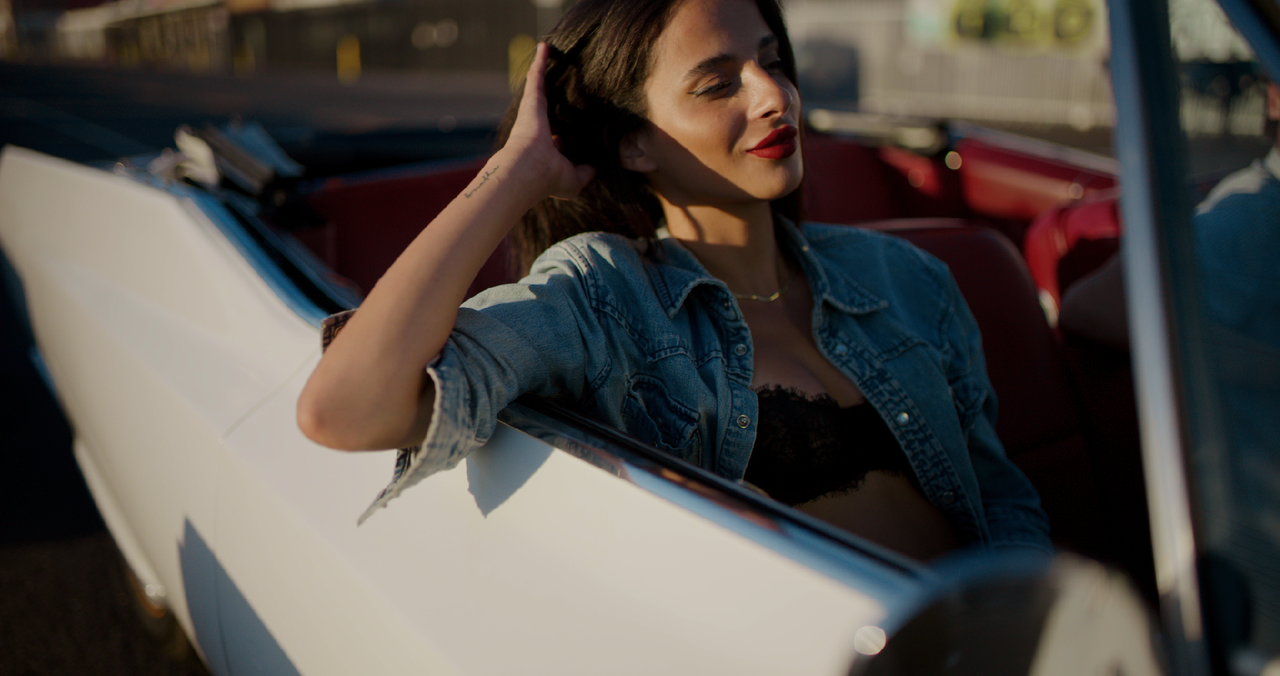
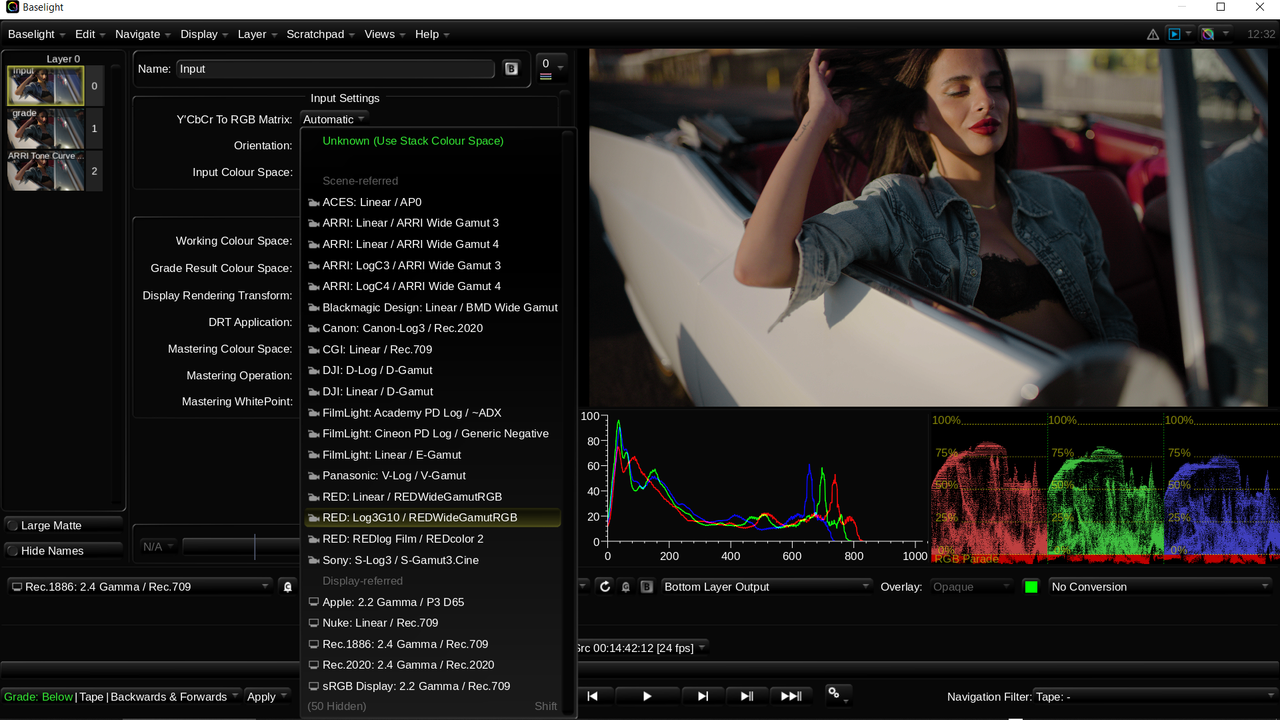
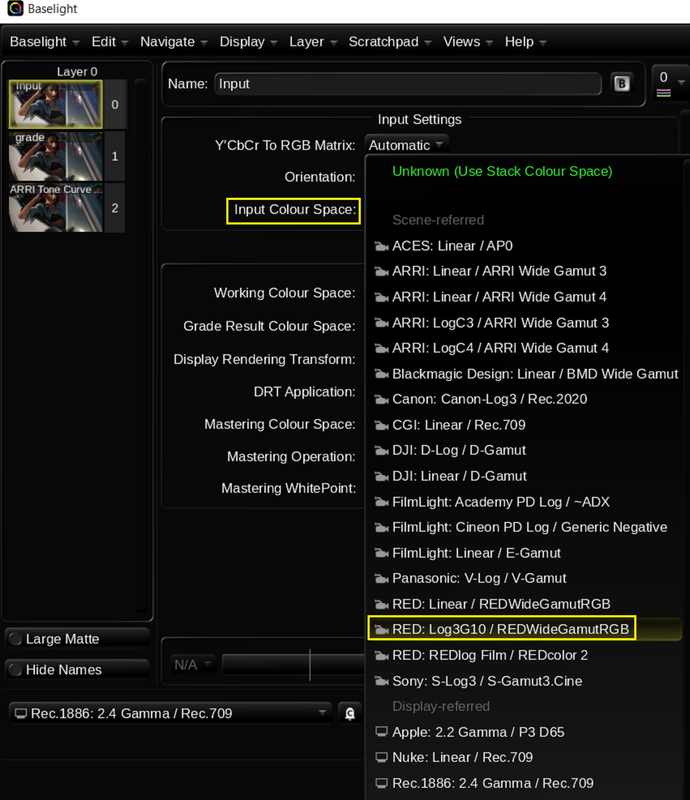
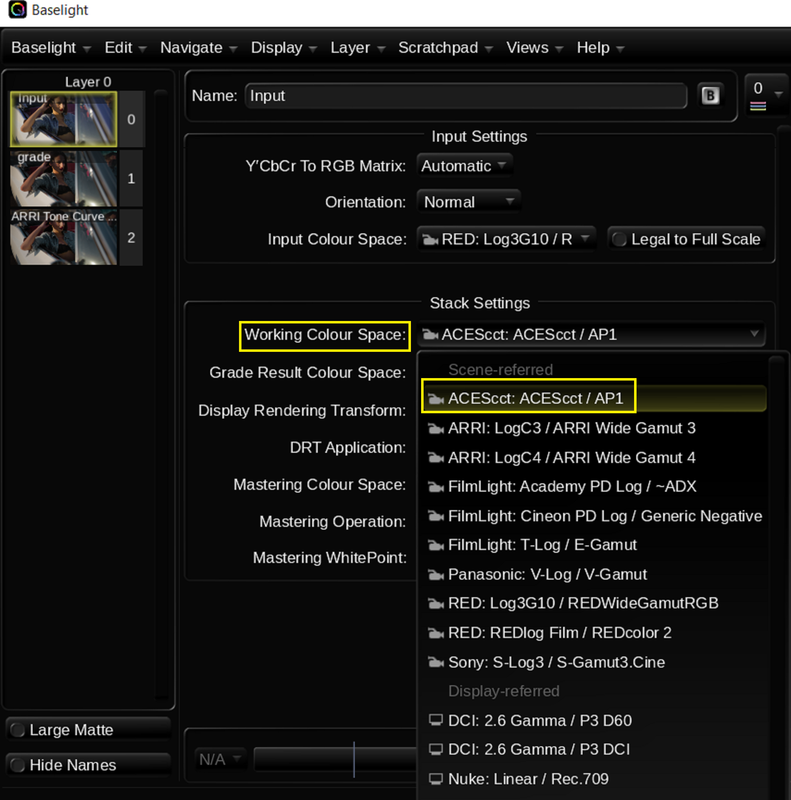
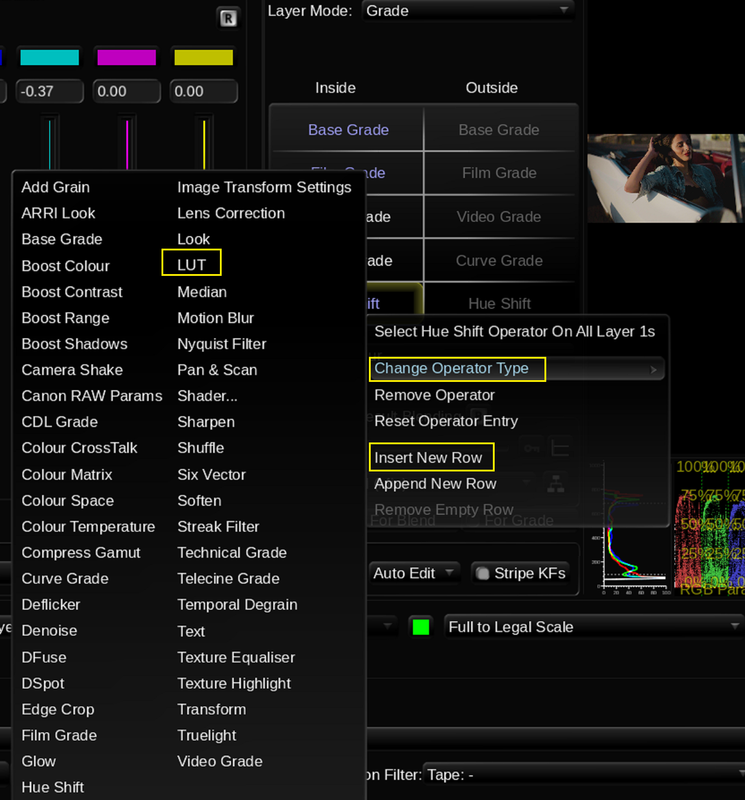
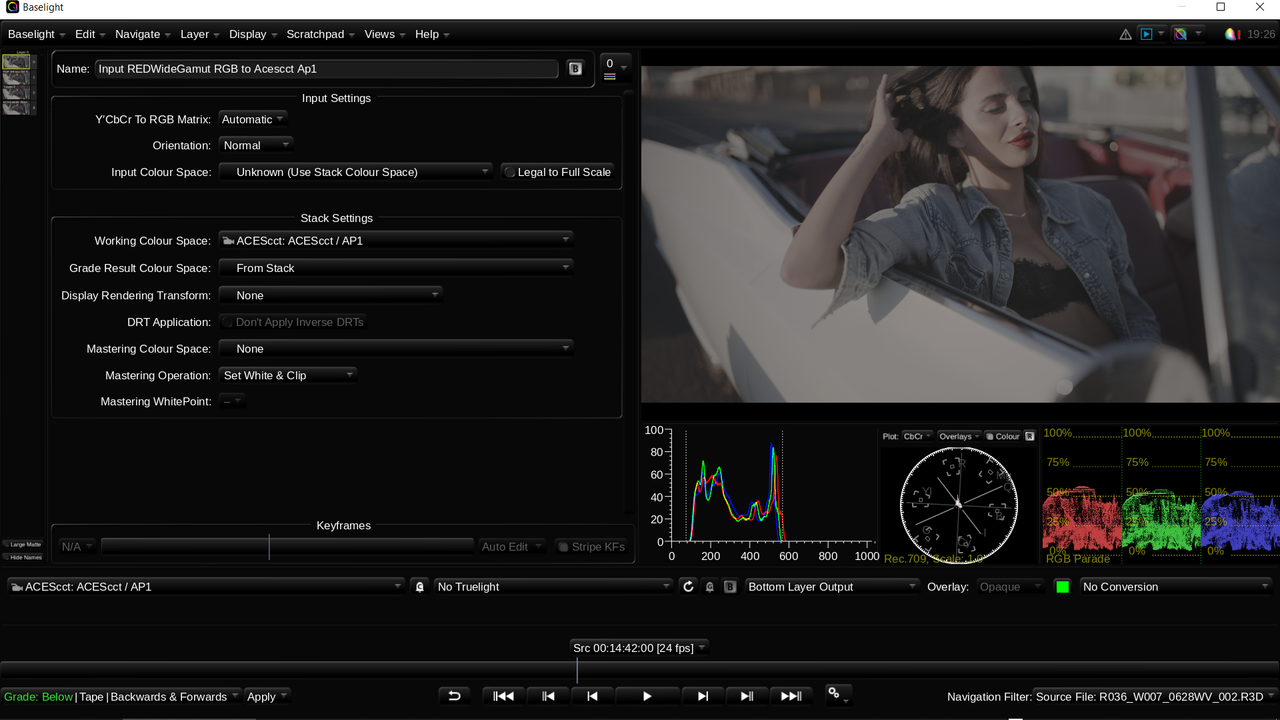
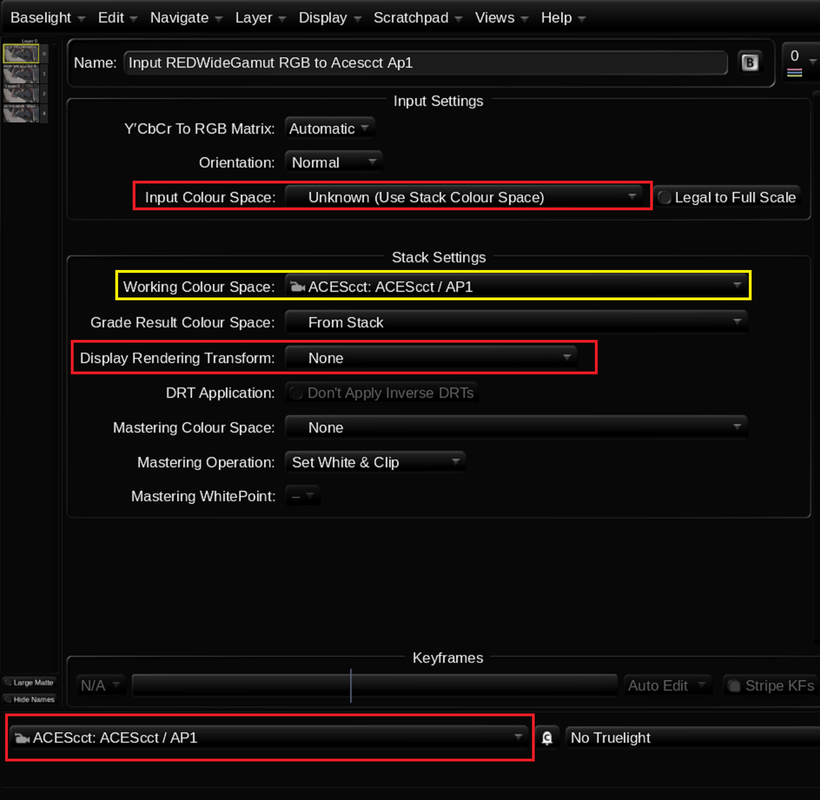
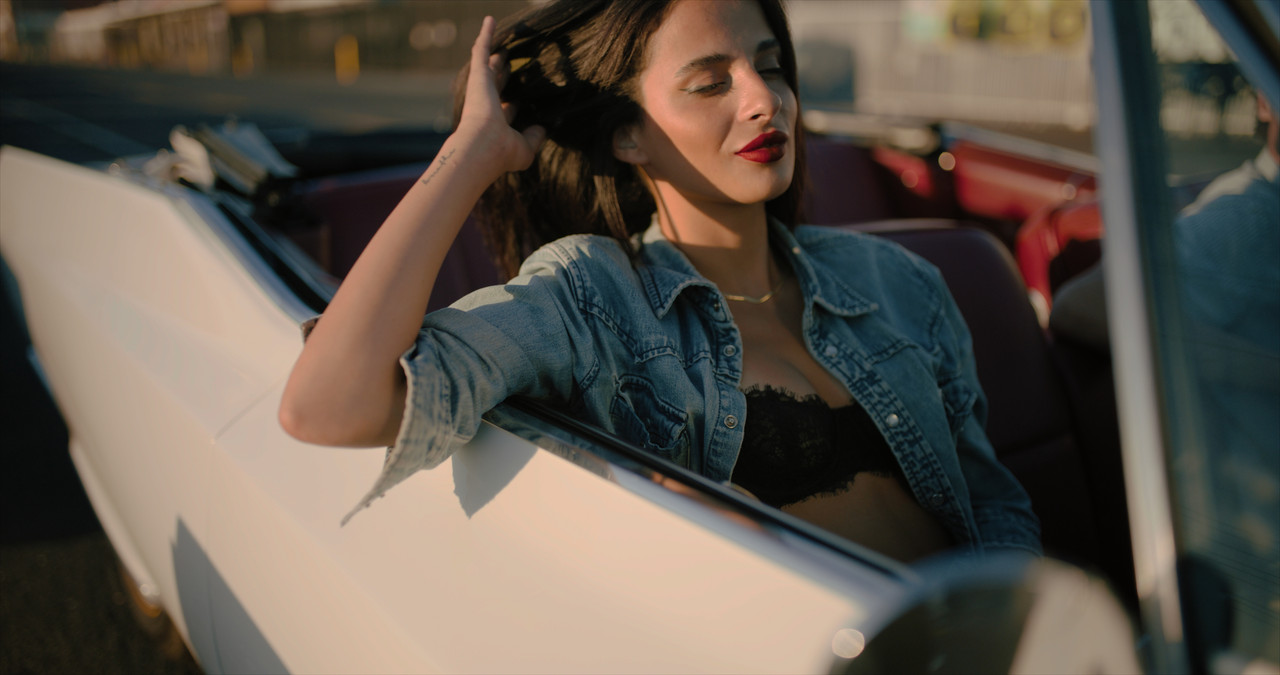
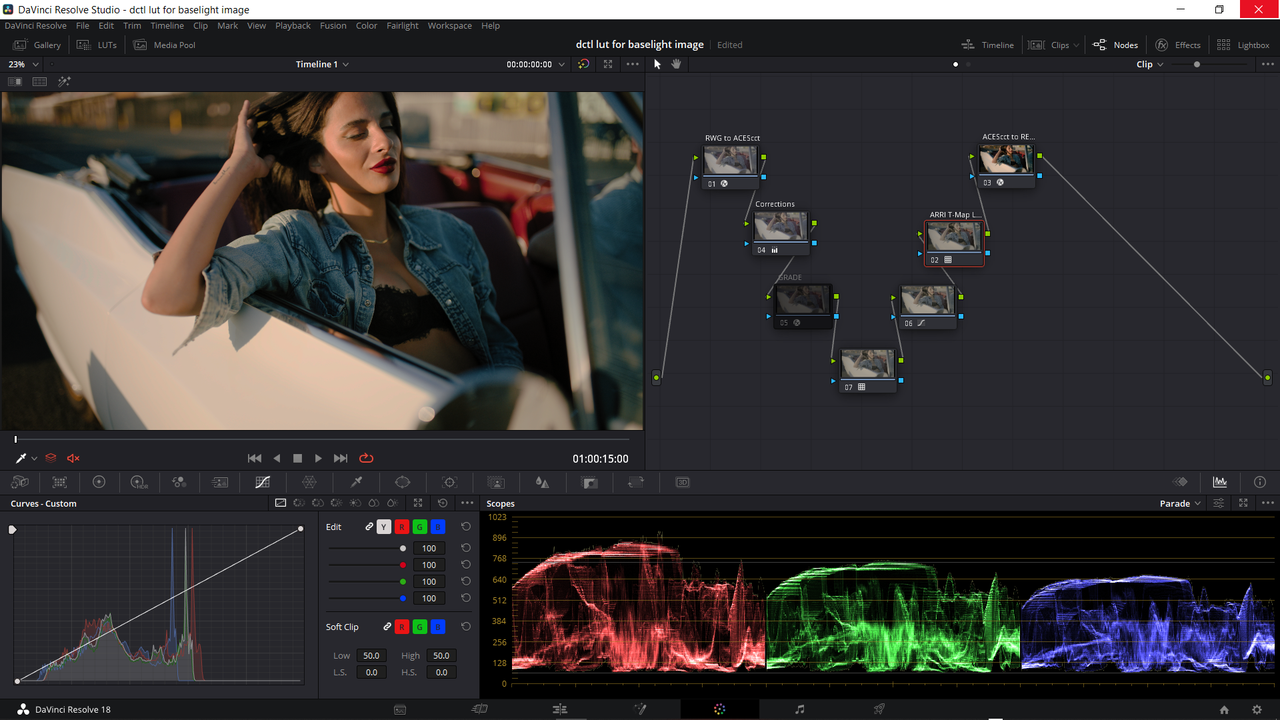
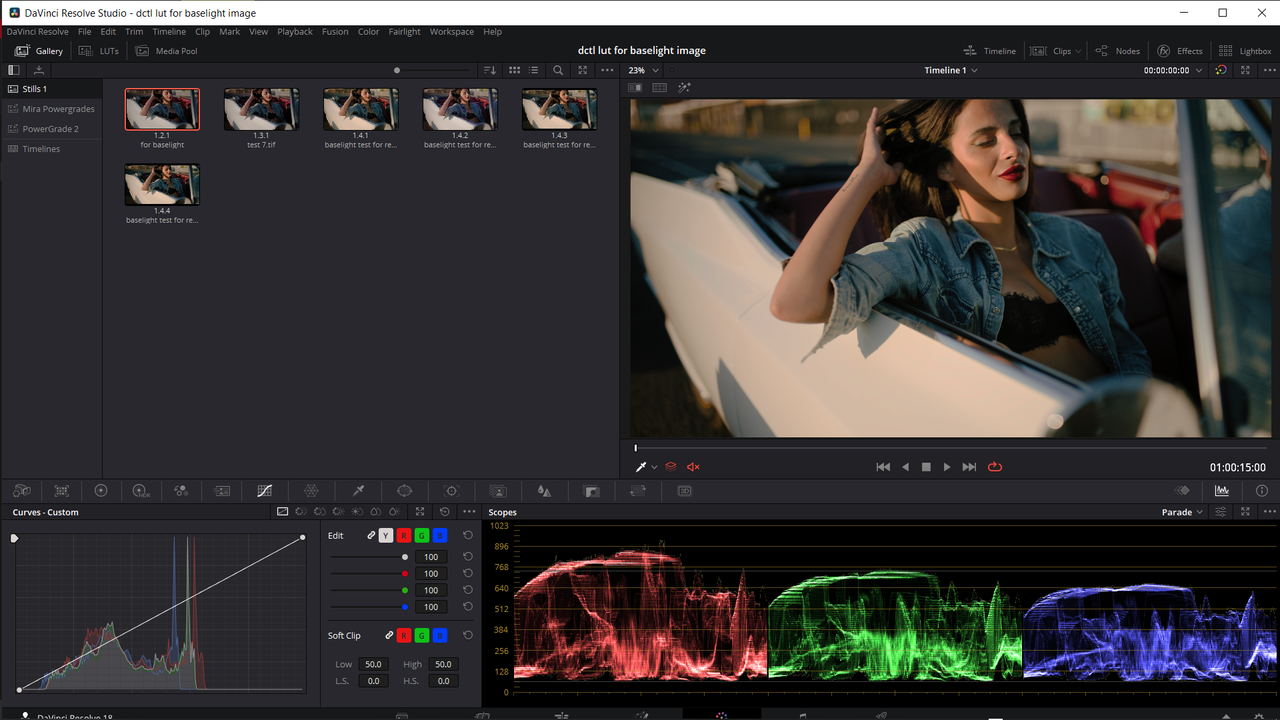
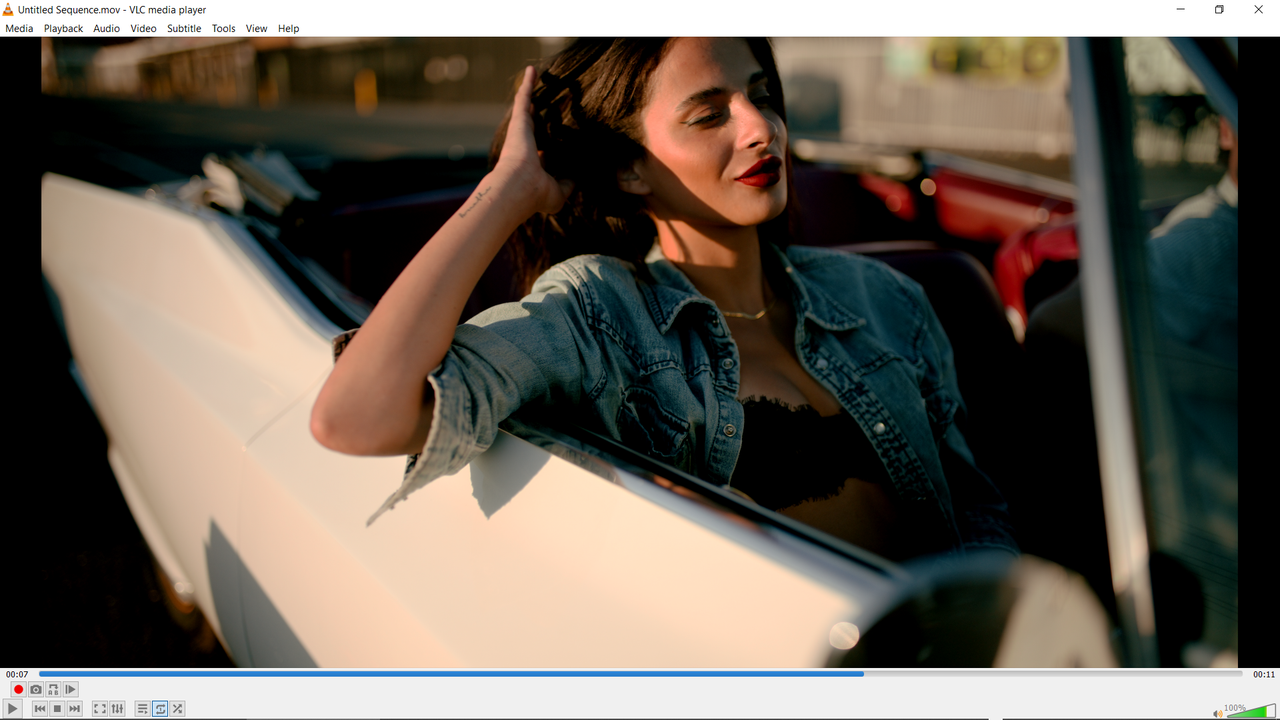
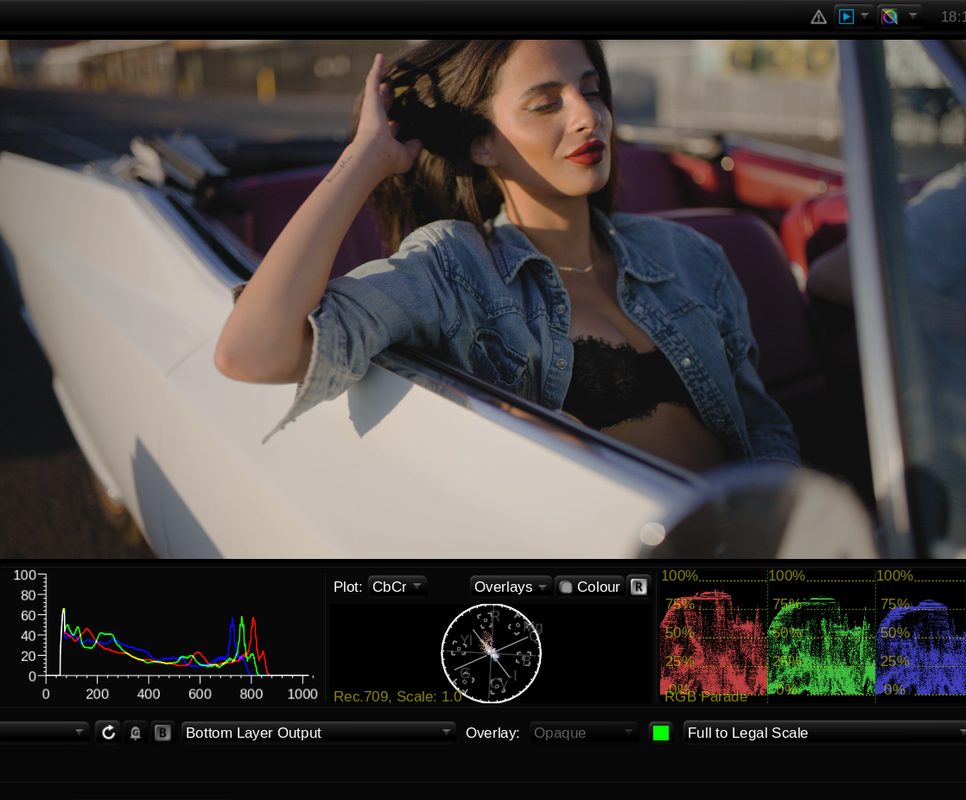
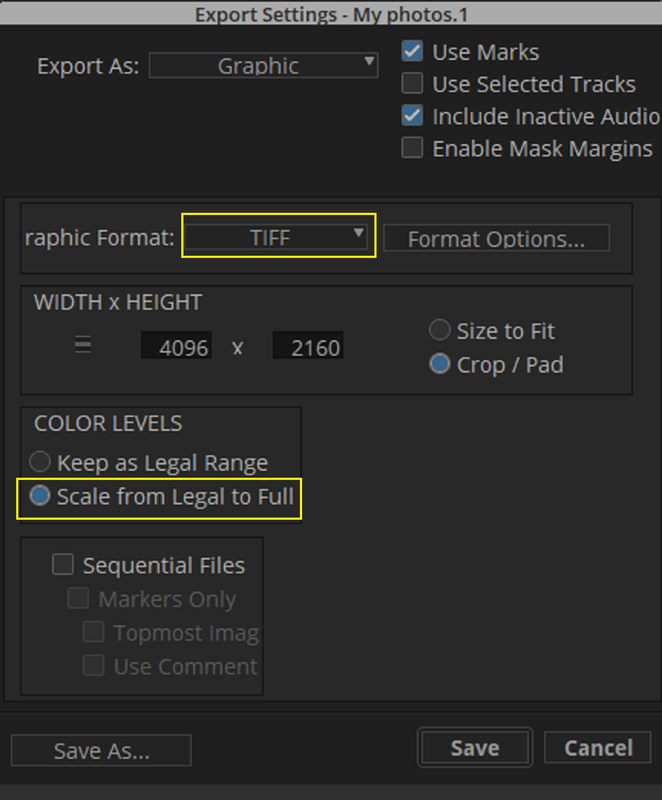
Rand, the s35 is no more than 2/3rd of stop “better” in the highlights, VV is atleast 2 stops better in the shadows. You showed where s35 could be corrected to match vv, but you didn’t take into account that VV could’ve also been pushed further and denoised and corrected. VV also has less need for color correction in the underexposure. Yes you’ll get similar results in most case because for total DR they aren’t that far, 17 & 16.5, but this just says they can see the difference in the patches, it’s doesn’t show that VV would have much less noise, or that it would hold more color information down there. So sure they are close, but in extreme circumstances, you’ll always be able to squeeze more from VV than s35. As Nick said, many shoot VV at 1280 or 1600, I shot a shot a few weeks ago at 6400 to protect highlights, the frame is in a forum post somewhere here. No one’s going to be shooting 6400 on s35. Even Jarred said on Scott’s live stream that he probably wouldn’t shoot above 1600 on s35 but would comfortably shoot 6400 on VV.
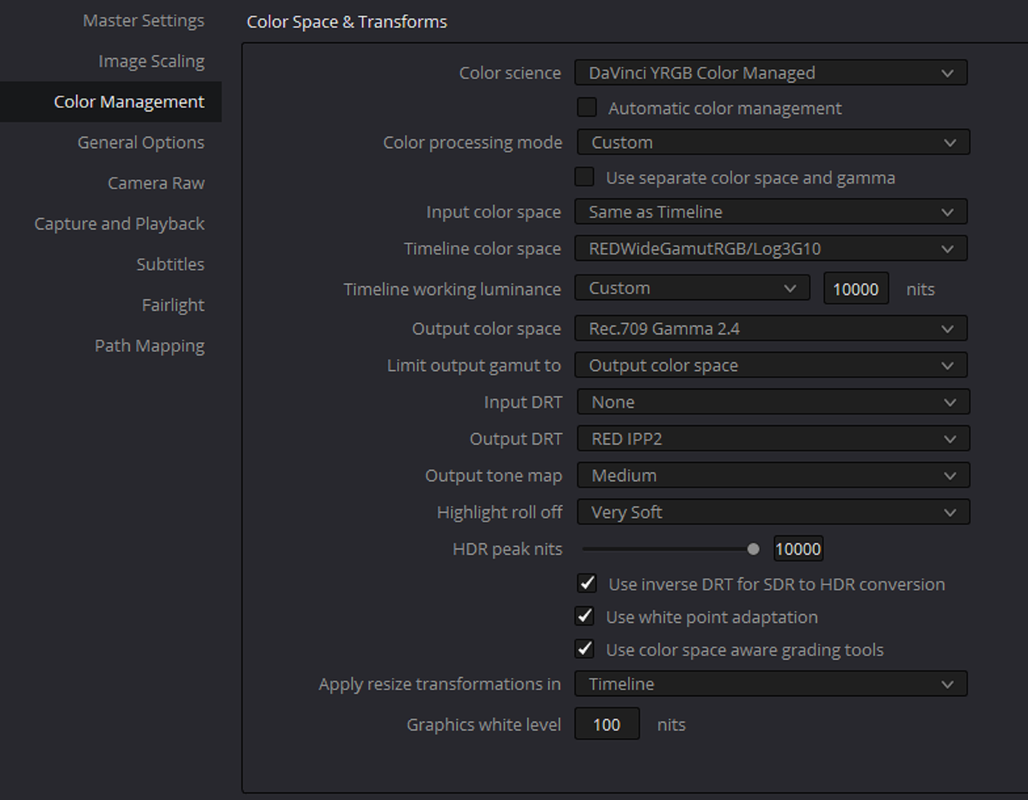
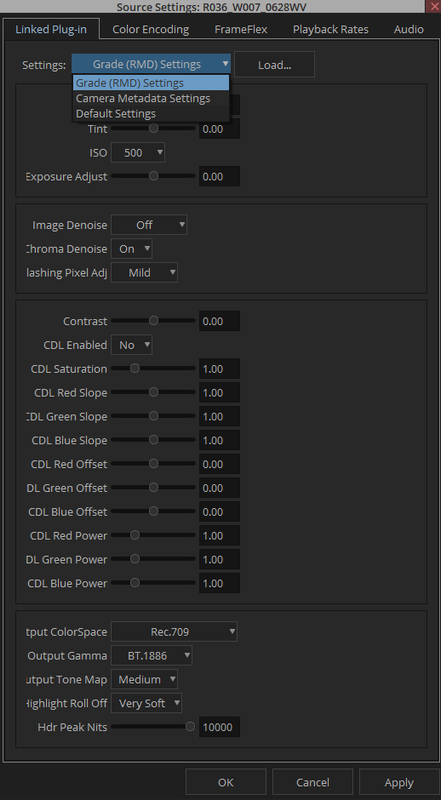
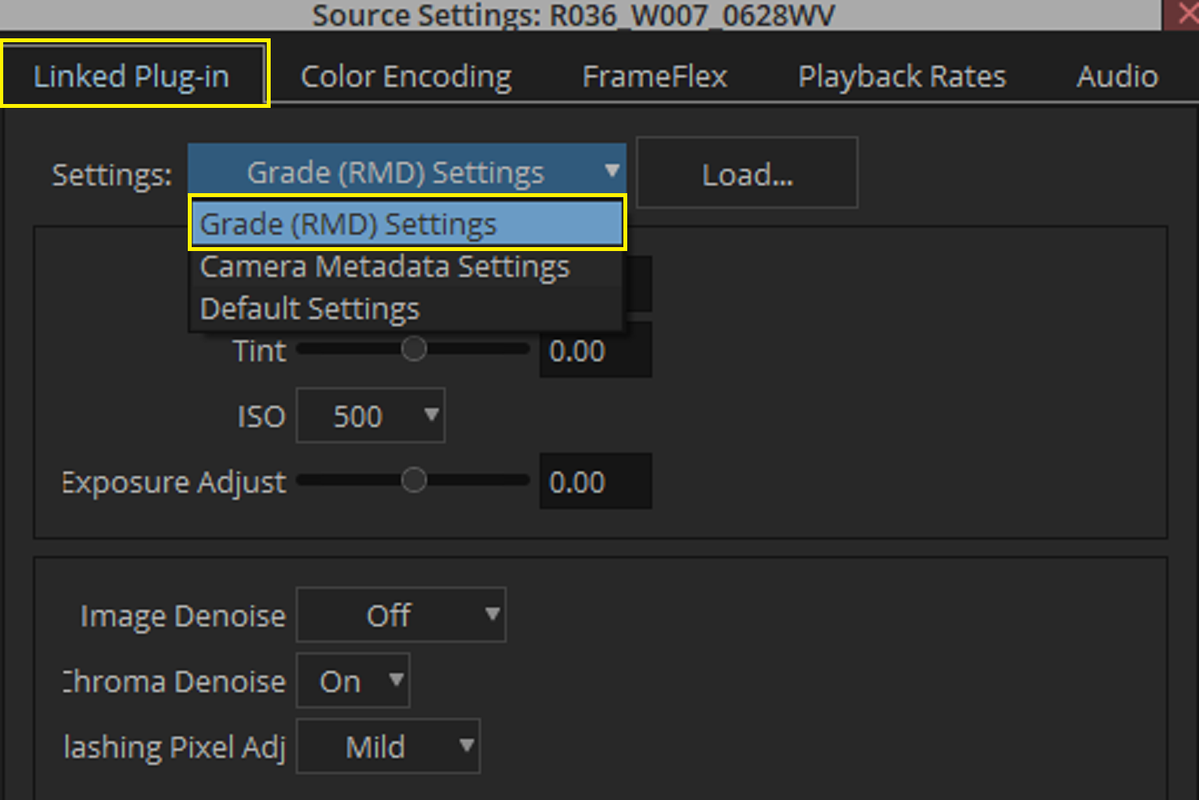
In the same post where Graeme mentioned the difference in the Gain for s35, I asked Jarred if they could do the same with VV and he said they are considering it.
In the same post where Graeme mentioned the difference in the Gain for s35, I asked Jarred if they could do the same with VV and he said they are considering it.