Welcome to our community

Be a part of something great, join today!

  • Hey all, just changed over the backend after 15 years I figured time to give it a bit of an update, its probably gonna be a bit weird for most of you and i am sure there is a few bugs to work out but it should kinda work the same as before... hopefully :)

Inexpensive gadgets and accessories you can't do without.

Herbert, Will Kier, and anyone else interested....Please excuse the crude photos, they are from a cell phone in bad lighting...You'll notice that I'm showing you the 'gaps' necessary to get the corrugated cardboard to 'bend.'

Thanks! I will definitely try this DIY.
 
Herbert, Will Kier, and anyone else interested....Please excuse the crude photos, they are from a cell phone in bad lighting...You'll notice that I'm showing you the 'gaps' necessary to get the corrugated cardboard to 'bend.'

K5tAqf8.png


I also straighten it out (this was pulled from a case) and show you what that looks like.

hZ4lhiC.png


Finally you'll see it from the TOP, in which you should really understand what is happening...

SimLQor.png


Essentially, you're cutting the top half of a 'tube/rectangle' out of the cardboard, so that when you try to bend it, the section left in the middle gets mashed or smooshed against the missing piece, and since it's now smaller, it bends. (I hope I explained that right.)

I'm including the pictures of the finished cases again, so it's all in one spot.

MVTc7XZ.png


Typically, I make the 'cut off' of one piece right after a 'curve.' Don't ask why... that's the way the "store bought company" did it, I made my pattern after theirs, so...

U6av90X.png

You might notice the "pull tabs" from the "store bought insert" company... I had some left over, so I used them in a few cases... On the 'stakes' that don't have the tabs, like on the right side above, those are still the longer sprinkler stakes, I just don't have pull tabs on them. You can see a few more under the mattebox on each side. This is also a good image to see how the 'curve' works and how one cuts the piece just after the curve too.


Included are pictures for my 1550 cases. I've made some for 1610s too. I've even made some for some HPRC cases I use too! It's kind of easy and fun when you get the hang of it!

That looks like corrugated plastic but what kind of foam is that?
 
Ok... I've received a few PMs about it...

Don't those metal pins cause issues with TSA for carry-on? Or is this strictly a checked-bag concept? Are the TrekPak parts metal as well?
 
That looks like corrugated plastic but what kind of foam is that?
It's a closed cell foam. I got it an a fabric store. It's NOT identical to the "store bought" foam, but it's just as durable and the same thickness.


Don't those metal pins cause issues with TSA for carry-on? Or is this strictly a checked-bag concept? Are the TrekPak parts metal as well?

The TSA has never said a word to me. I use these for carry on and for checked luggage. I've never had an issue. Yes the 'other brand of store bought' parts are indeed metal as well.
 
Curt,

Thanks so much for going above & beyond. I might just try this.

No problem! That's what this forum is for, right? Helping one another? If I can do anything to help, please don't hesitate to ask... I'm available here, on the net, the phone, etc.

+1 Curt! Thanks so much!

You're quite welcome David! I'm glad you find the info useful!

Thanks! I will definitely try this DIY.

Curran, no reason not to! It's really easy, it's kind of fun too! I must say, brilliant use of common materials! I've enjoyed the challenge of 'saving money' and being resourceful at the same time!

I've tried to share as much info as possible so anyone else who tries it won't make the same mistakes I did. (I was asked to do one of my review style videos about this... as kind of a 'how to...' But I'm not sure how that would go over with 'manufacturers' of other products. So I've shared info, but not shown it, in a step by step situation.)
 
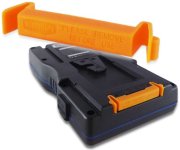
V-mount battery contact-covers!

V-mount battery contact-covers!

My little addition to keep this FABULOUS thread going (thanks to All!!)
- with Kudos to Ketch Rossi for pointing these out on the "Traveling with Batteries" thread on the forum.
These fab V-mount contact covers, made by BlueShape - are available at $2 a pop and fit ANY (well, my cheep chinese V's…so…??) V-mount's
contact pins. John at Blueshape was happy to mail (!!) me a set of 6 even tho I am not (yet) a BlueShape customer.
These are a BIG assurance to TSA and Air Cargo-types who might get nervous with just tape over the contacts when your shipping.
Looks "Safe" (is!) and "Pro". $$ well spent when you are in the TSA line I think.

Stu Aull
SX199
Alaska
 

Attachments

  • 01-CProtection_600_500.jpg
    01-CProtection_600_500.jpg
    39 KB · Views: 0
Hi, Regarding the inexpensive 3D-printed lens gears from post #291: After sweating the time it took to design these and fit them to my lenses, I am not that keen to make the effort open source. Sorry. But I'll do the next best thing and offer the Cooke Speed Panchro gears for sale for $28 each on the shapeways website.

I made the outer diameter of the gears 3" to keep them proportional to the Arri-mount bodies and the 77mm filter adapters I use on mine. 3" is a nice size to get control over the focusing but not end up with awkward flying-saucer lens accessories.

Lens Gear A for Cooke Speed Panchro Series II / III:

This lens gear fits snugly onto the following Taylor/Hobson Cooke Speed Panchro lenses:

18mm Cooke Speed Panchro Ser. III (fits FOCUS and IRIS barrels)
25mm Cooke Speed Panchro Ser. III (fits FOCUS and IRIS barrels)
32mm Cooke Speed Panchro Ser. II (fits FOCUS and IRIS barrels)
40mm Cooke Speed Panchro Ser. II (fits FOCUS and IRIS barrels)
50mm Cooke Speed Panchro Ser. II (fits FOCUS and IRIS barrels)
75mm Cooke Speed Panchro Ser. II (fits IRIS barrel ONLY! Use "Lens Gear B" for 75mm FOCUS BARREL)
100mm Cooke Deep Field Panchro Ser. II (fits FOCUS barrel ONLY! Use "Lens Gear B" for 75mm IRIS BARREL)

Lens Gear B for Cooke Speed Panchro Series II:
This lens gear fits snugly onto the following Taylor/Hobson Cooke Speed Panchro lenses:

75mm Cooke Speed Panchro Ser. II (fits FOCUS barrel ONLY! Use "Lens Gear A" for 75mm IRIS BARREL)
100mm Cooke Deep Field Panchro Ser. II (fits IRIS barrel ONLY! Use "Lens Gear A" for 100mm FOCUS BARREL)


Made from strong & flexible plastic, these gears are plenty solid for follow-focus duties without straining the material, but just flexible enough to squeeze onto the barrel of the lens. These gears work great! I use them on my own set of Cooke SPs.

If there is interest I will also make my gears for many Contax Zeiss lenses available.

thanks so much for this Sean. I'll devinitely be trying these out in the new year.
 
Two new additions to my personal arsenal:

+1 reading glasses (of run'n'gunning). I don't really need reading glasses, but damn do they help me when using a shoulder rig where the monitor is very close to the face. they cost around 2 euros and you can buy them anywhere. Also, they are really really ugly.

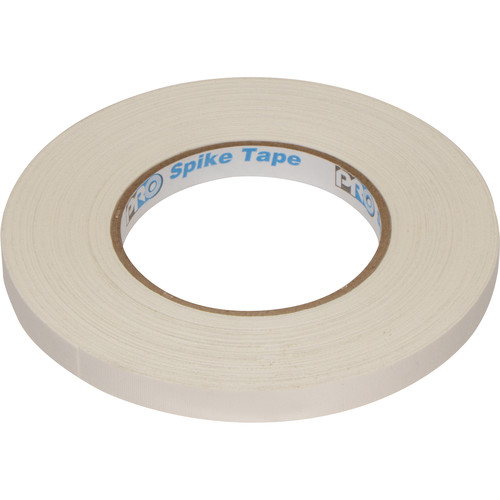
AmazonBasics Backpack for SLR Cameras - Just bought one for all the inexpensive gadgets and accessories I take with me. It's quite small. Wouldn't put a camera in there, but tape rolls and walkie talkies fit there just fine. 30€ - Good quality for that price.
 
Herbert, Will Kier, and anyone else interested....Please excuse the crude photos, they are from a cell phone in bad lighting...You'll notice that I'm showing you the 'gaps' necessary to get the corrugated cardboard to 'bend.'

K5tAqf8.png


I also straighten it out (this was pulled from a case) and show you what that looks like.

hZ4lhiC.png


Finally you'll see it from the TOP, in which you should really understand what is happening...

SimLQor.png


Essentially, you're cutting the top half of a 'tube/rectangle' out of the cardboard, so that when you try to bend it, the section left in the middle gets mashed or smooshed against the missing piece, and since it's now smaller, it bends. (I hope I explained that right.)

I'm including the pictures of the finished cases again, so it's all in one spot.

MVTc7XZ.png


Typically, I make the 'cut off' of one piece right after a 'curve.' Don't ask why... that's the way the "store bought company" did it, I made my pattern after theirs, so...

U6av90X.png

You might notice the "pull tabs" from the "store bought insert" company... I had some left over, so I used them in a few cases... On the 'stakes' that don't have the tabs, like on the right side above, those are still the longer sprinkler stakes, I just don't have pull tabs on them. You can see a few more under the mattebox on each side. This is also a good image to see how the 'curve' works and how one cuts the piece just after the curve too.


Included are pictures for my 1550 cases. I've made some for 1610s too. I've even made some for some HPRC cases I use too! It's kind of easy and fun when you get the hang of it!


One of the best parts is the simple face that the color is NOT black. Black is a rotten color for equipment case interiors, especially when all the gear is black. Whose idea was it to make it nearly impossible to see inside of cases? Henry Ford wasn't talking about case interiors, it's time for manufacturers to understand what the needs are for working out in the field. Great idea Curt!
 
Love it too. So what can we use to replace those little pins? Could use gaf tape or velcro, but that defeat the multi purpose of this system.
 
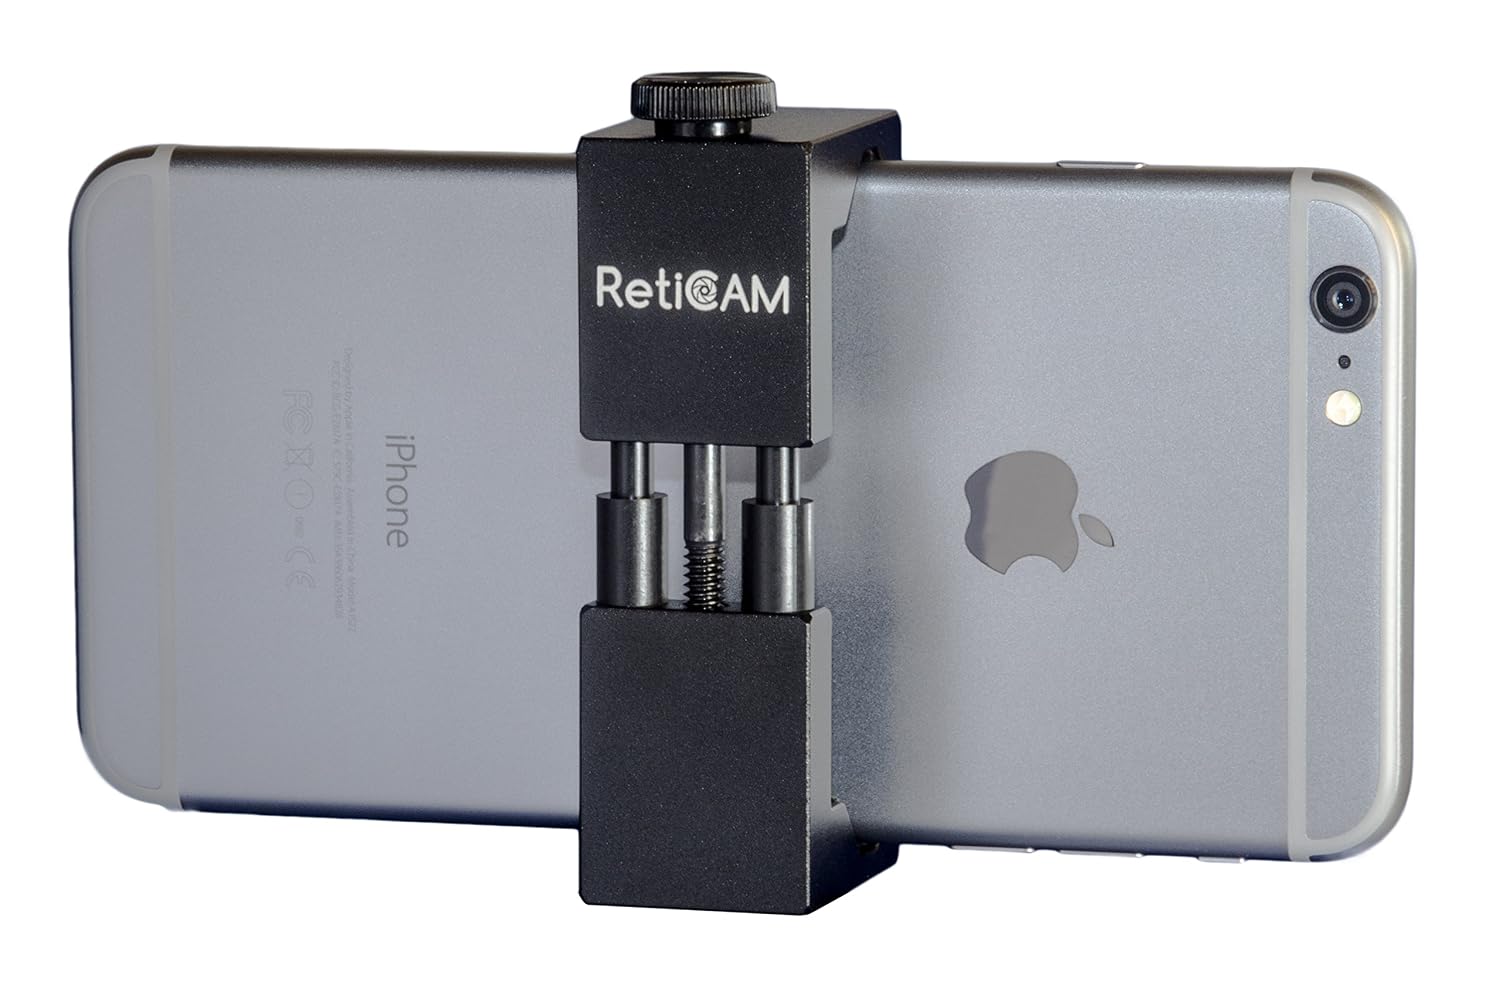
I use that mount also for a couple of small accessories. Wish it had tapped holes on the other surfaces, but still the best cellphone - small gadget type mount for cheap that I've found.
 
I use that mount also for a couple of small accessories. Wish it had tapped holes on the other surfaces, but still the best cellphone - small gadget type mount for cheap that I've found.

If it's metall, ask a metall shop to drill/cut those for you. If the have the possibility to do it, this should be relatively easy stuff for them.
 
Back
Top