Welcome to our community

Be a part of something great, join today!

  • Hey all, just changed over the backend after 15 years I figured time to give it a bit of an update, its probably gonna be a bit weird for most of you and i am sure there is a few bugs to work out but it should kinda work the same as before... hopefully :)

Use Redcine X for moving media around?

K. Rixon

Well-known member
Joined
Mar 30, 2021
Messages
71
Reaction score
2
Points
8
I'm working on getting a new reel together and am combing through hundreds of terabytes of old footage from the past 1.5 years. I've found Redcine X the easiest way to quickly comb through footage on network drives while adding selected clips to a Project Bin.

I've quickly realized that I don't see a way to transfer the selected files from the project bin (which exist on numerous network drives) to my internal edit drives. While I could right click, click 'open file location', then copy each file manually - this is pretty clunky and is going to take way more time than it should.

Is there an easy way to tell Redcine X to move the files in my project bin to a target output destination? There's an export option called 'R3D Trim', but I haven't found much information on what exactly that does - does it simply copy the footage, or reprocess it?

Thanks for any help!
 
K.Rixon

You can do this


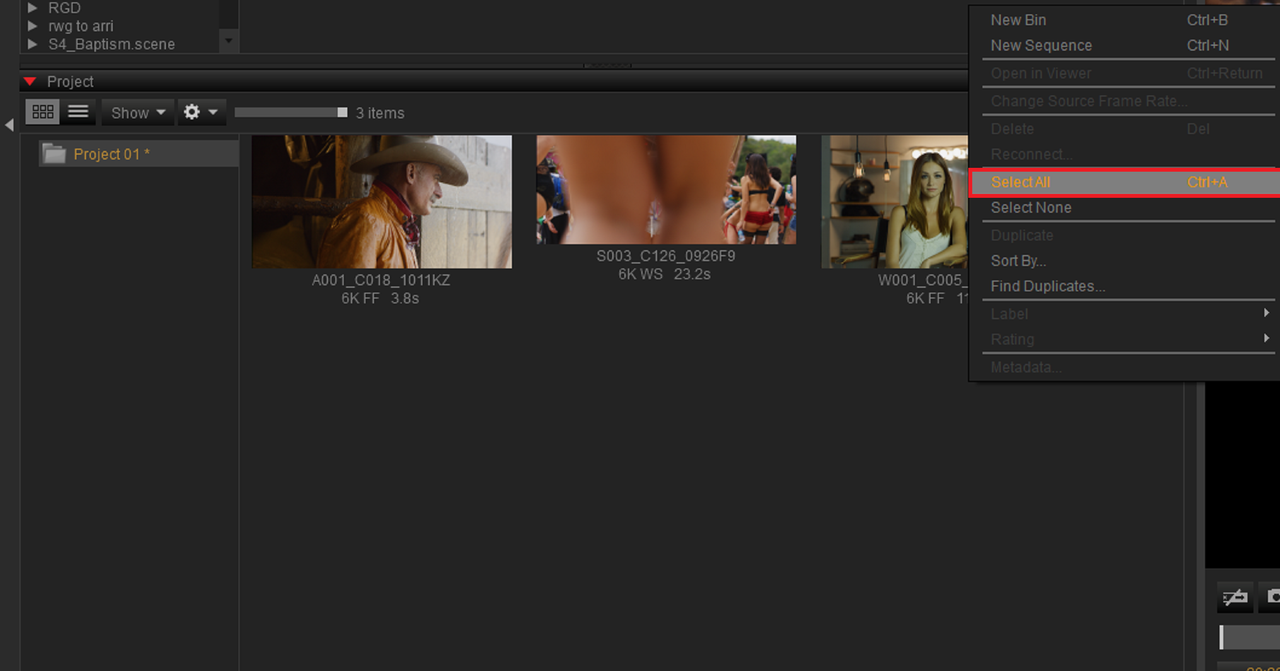
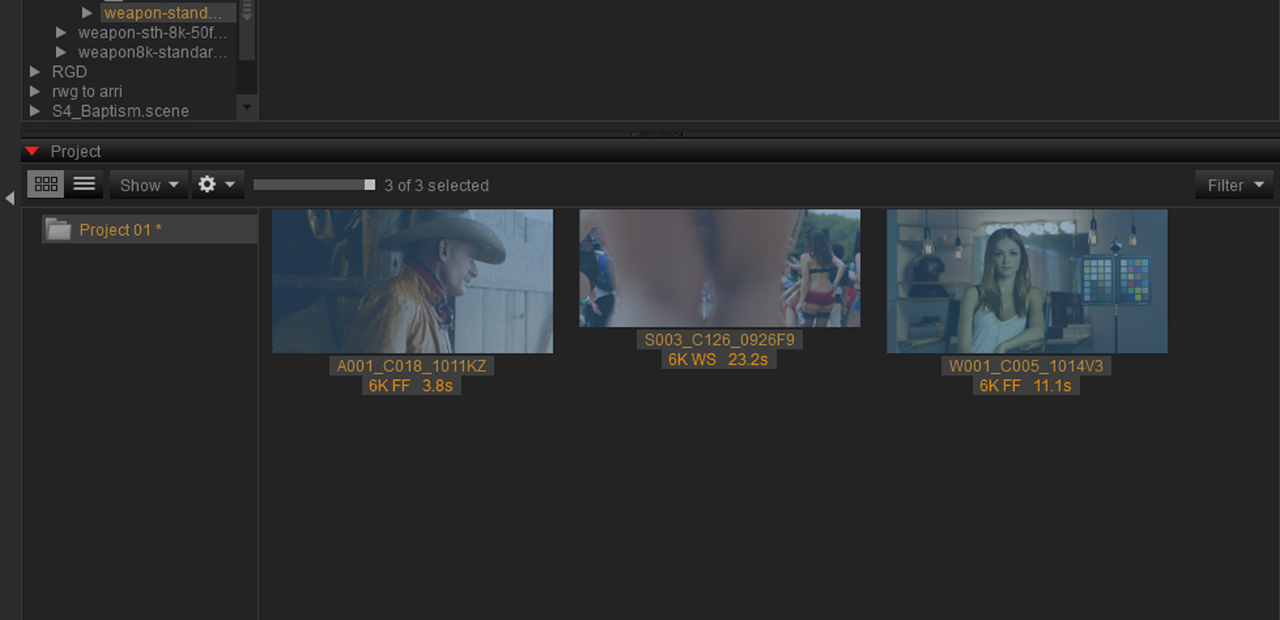
Import the R3D files you wanted to use into the "Project". Next, in the empty space in the box containing the clips, "Right-Click" and either select the ones you wanted to export or just select " SELECT ALL"


1.png


2.png


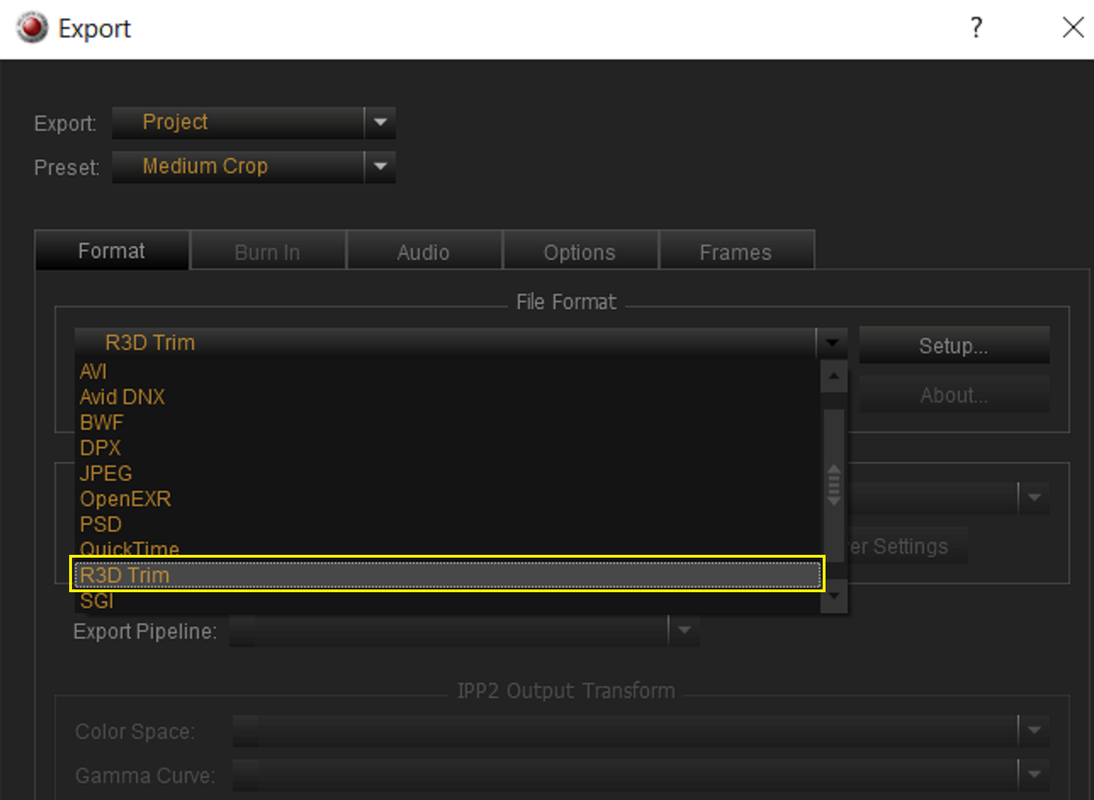
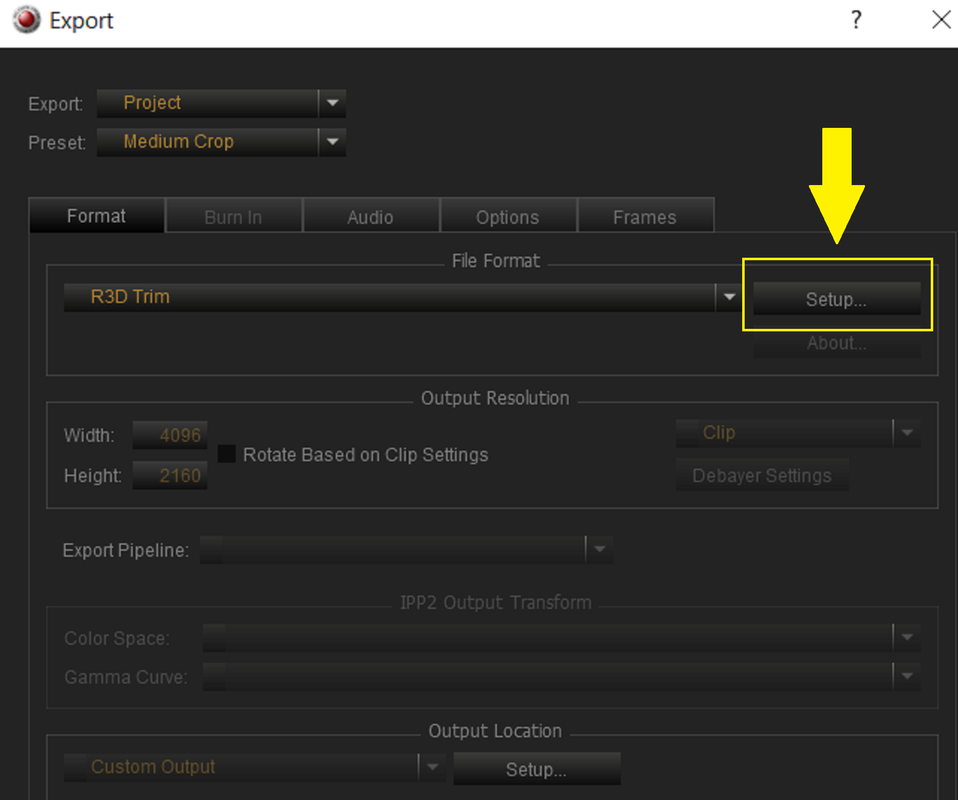
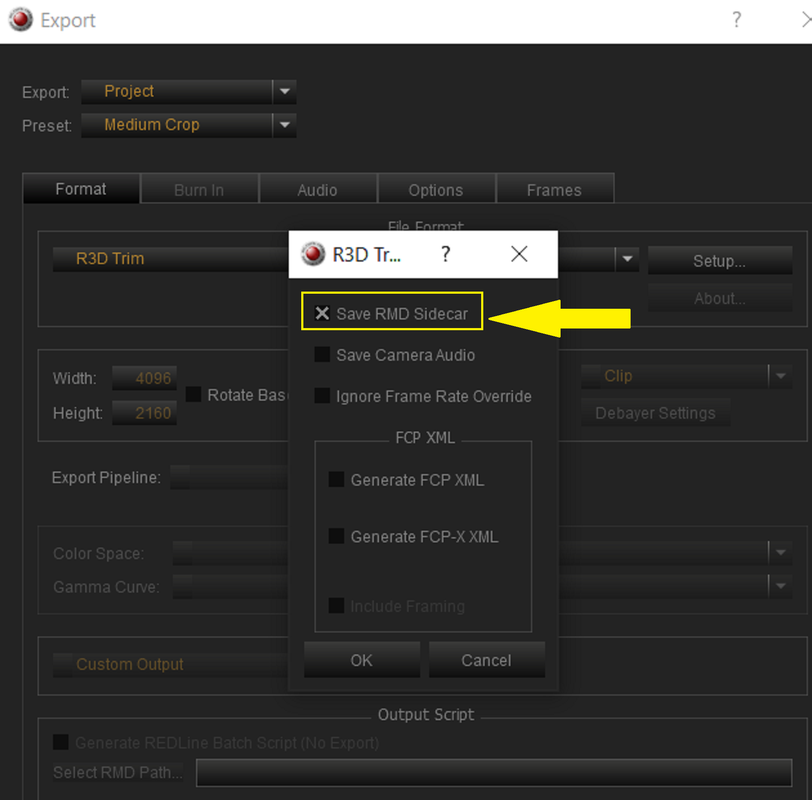
Now use "CTRL + E" to go to the "EXPORT" settings. Select "R3D TRIM" from the Dropdown menu. Then Under "SETUP" be sure to select "SAVE RMD SIDECAR" so that the associated .RMD file will be included. You can also select to "SAVE CAMERA AUDIO" as well.


3.png


4.png


5.png


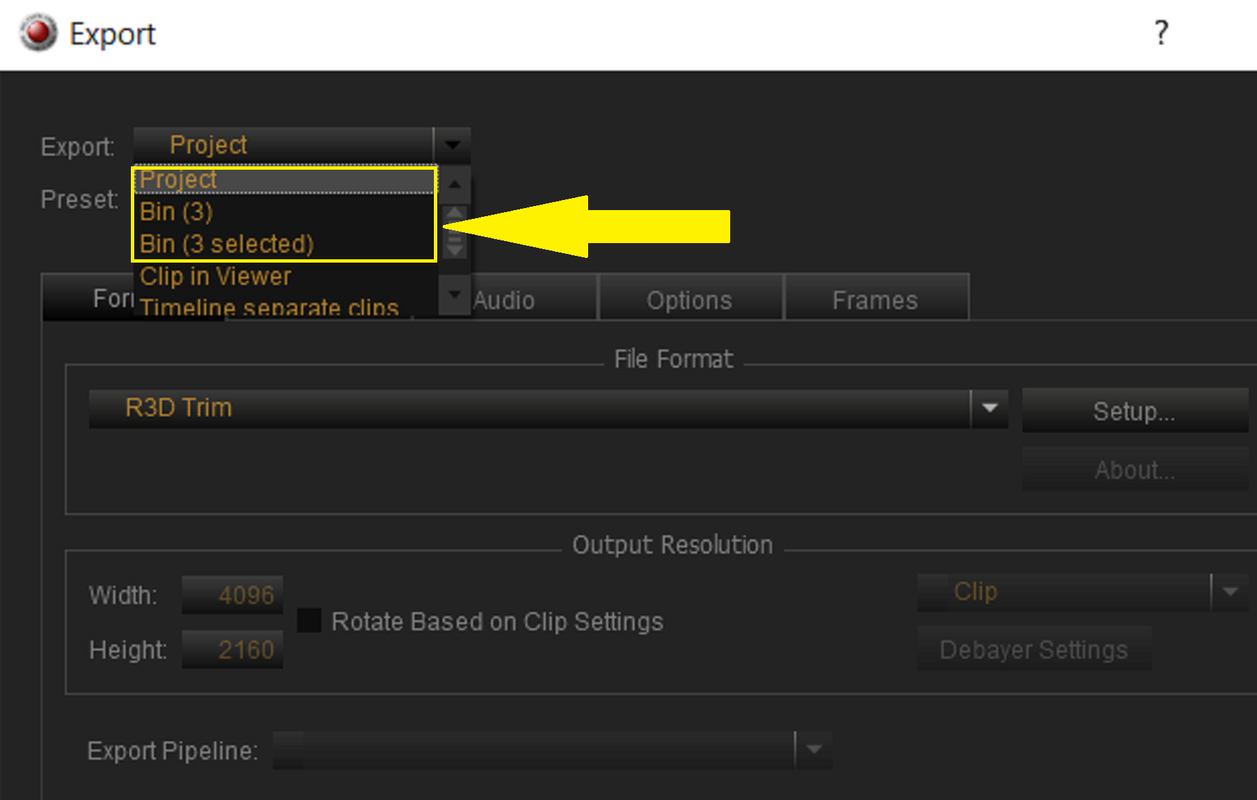
Next to "EXPORT", You can select either "PROJECT" or "BIN (X)(X being the number of clips you have selected in either the Project or Bin) or BIN (X) selected it really doesn't make a real difference. This will tell REDCINE-X the number of R3D files to export or the "Project" or "Bin" to export from.


6.png


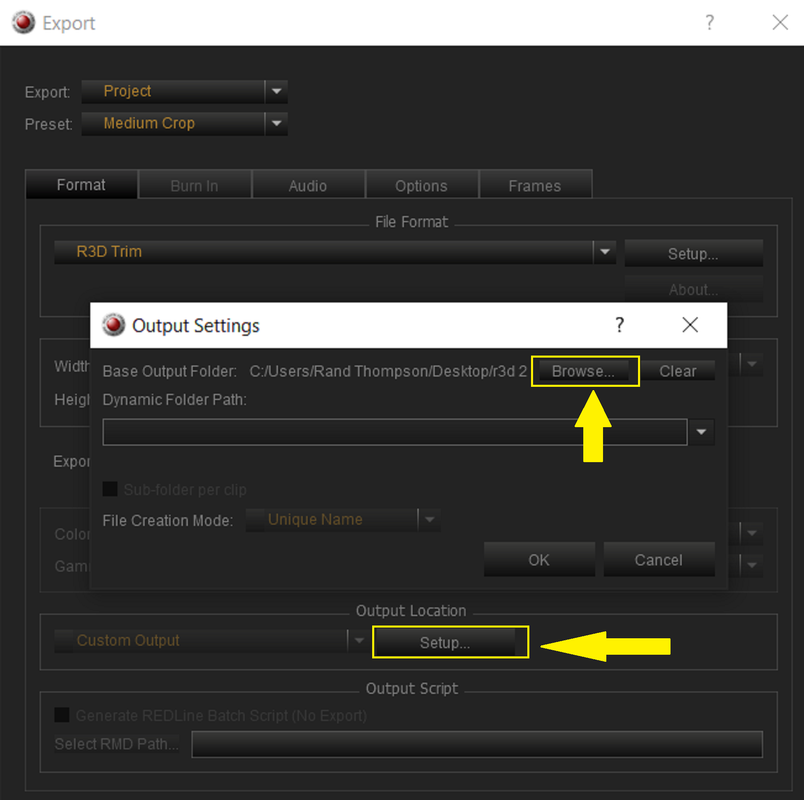
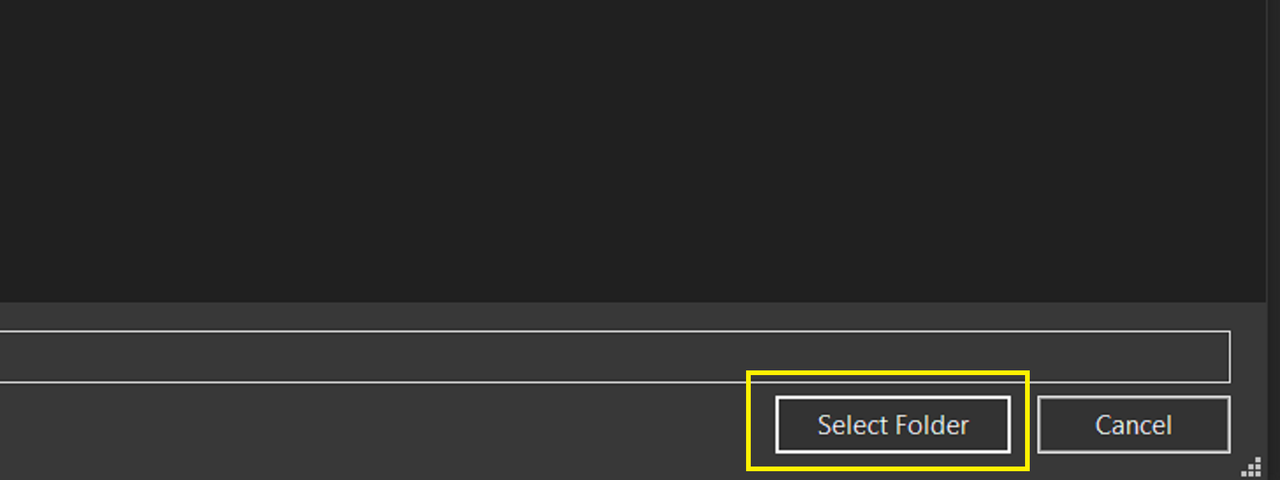
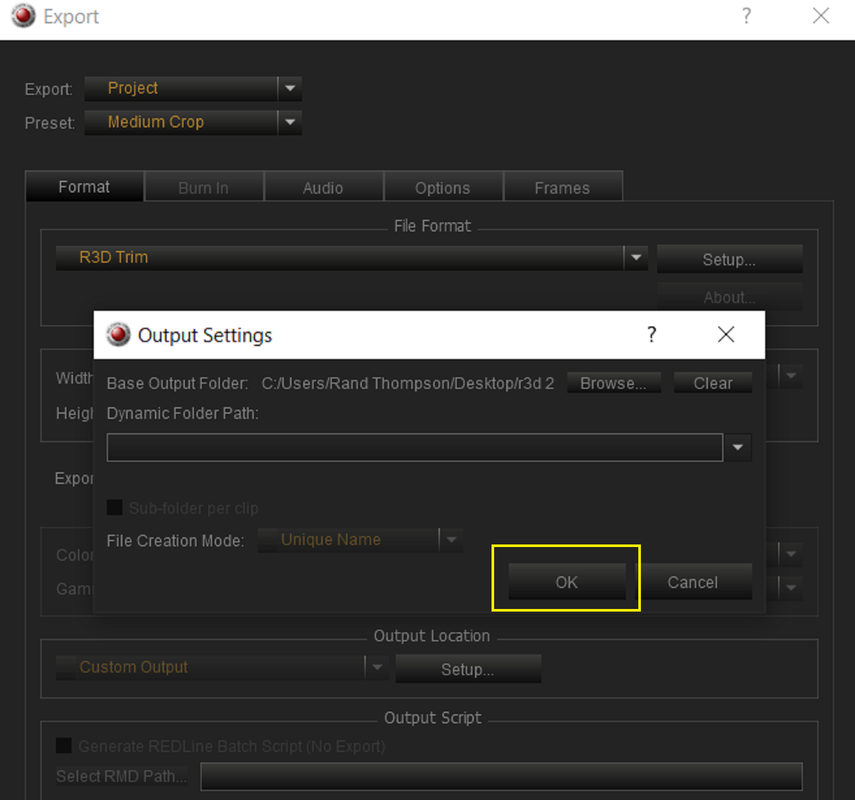
Now under "OUTPUT LOCATION" select "SETUP" then "BROWSE" to choose the location where you want the files to go. Then after you selected the location of the Files choose "SELECT FOLDER" then "OK" then "EXPORT" and the export process will start.


7.png


8.png


9.png


10.png


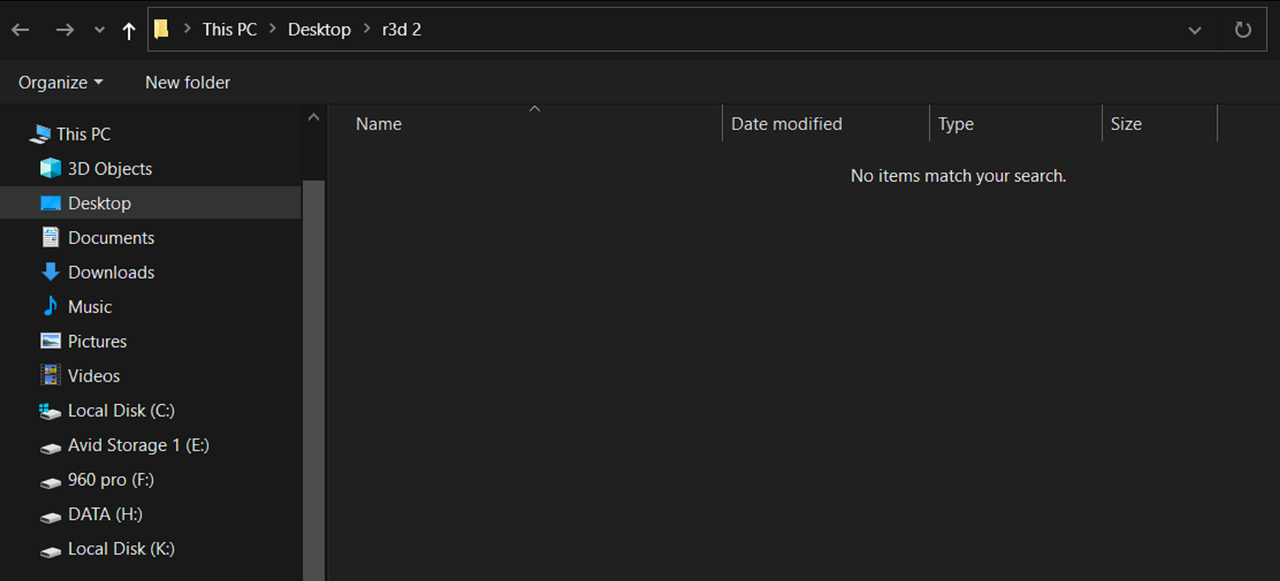
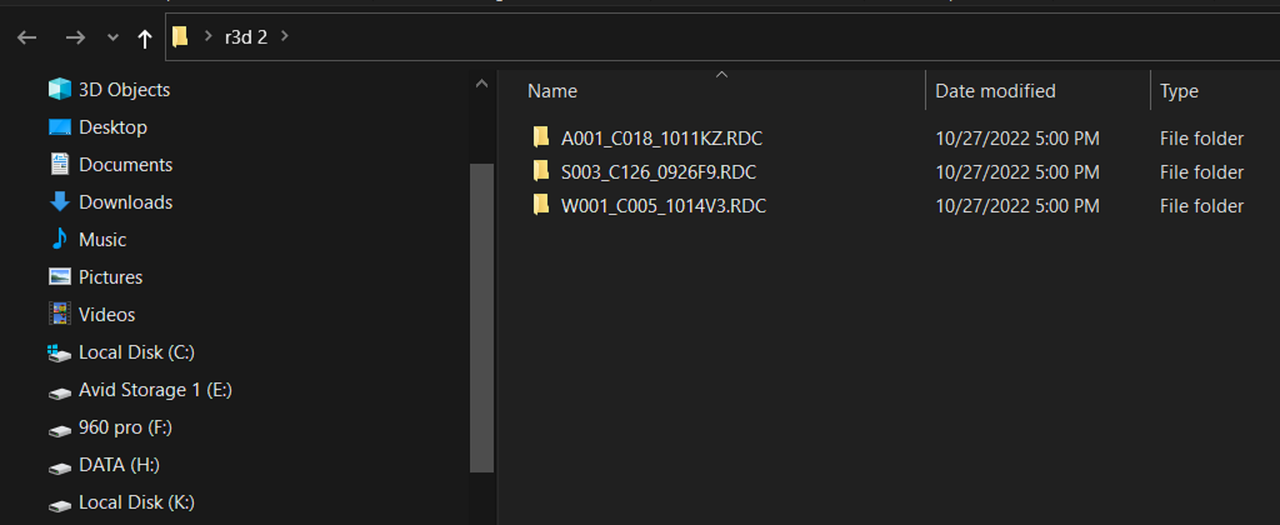
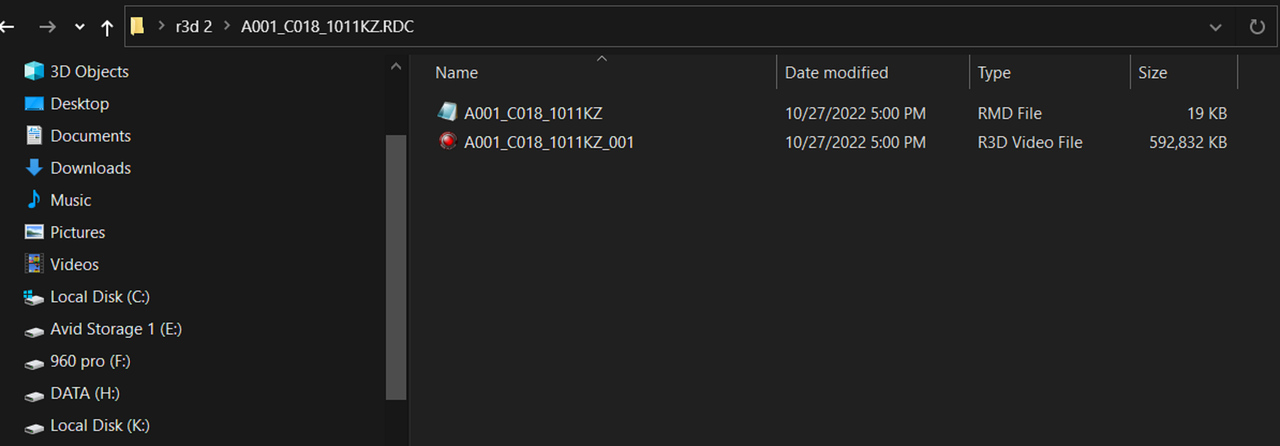
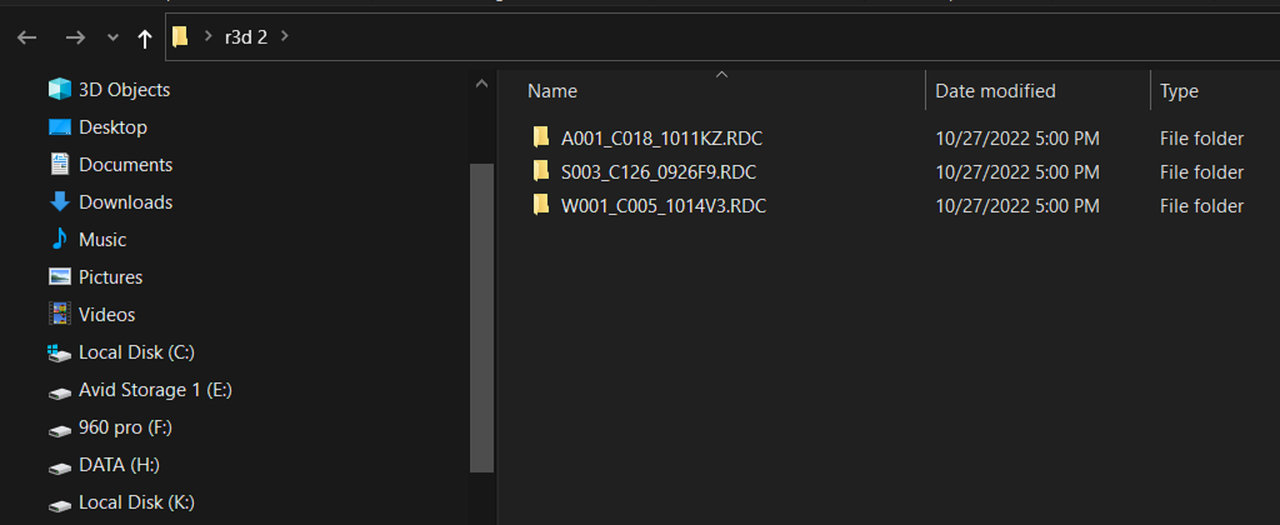
I chose to send the 3 R3D files I selected in REDCINE-X to a folder called " r3d 2". The .R3d files are all in a separate folder with their corresponding .RMD file.


11.png


12.png
 
Last edited:
Also "RED TRIM" also allows you to Trim the length of the .R3D file from a longer clip to a shorter length clip


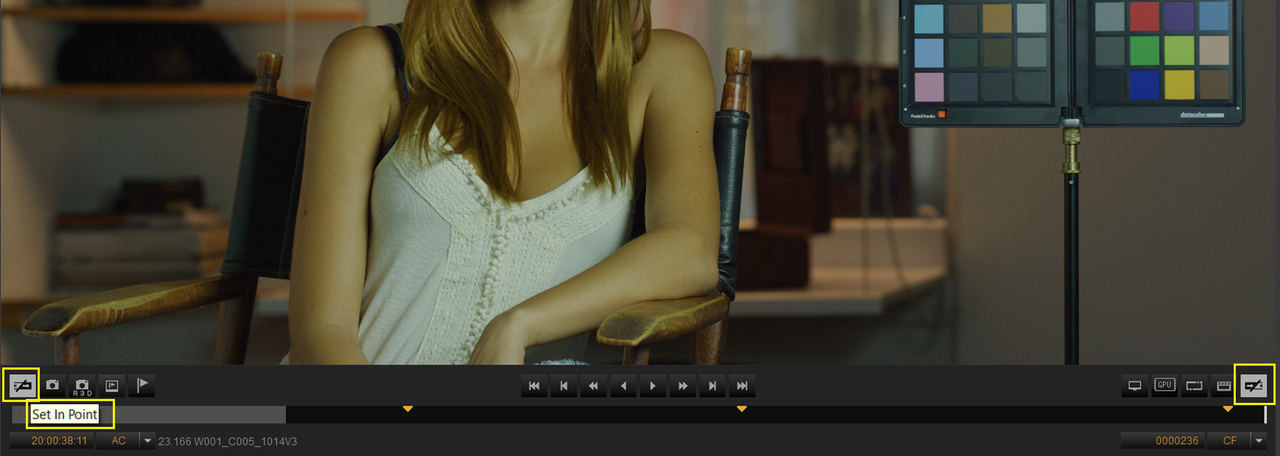
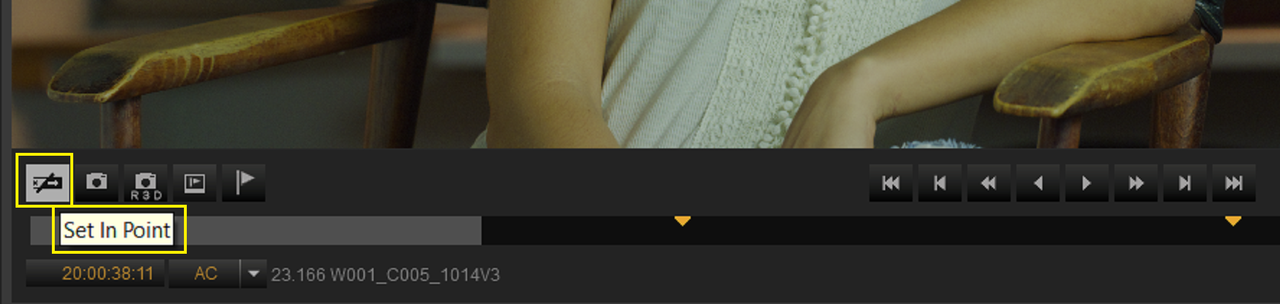
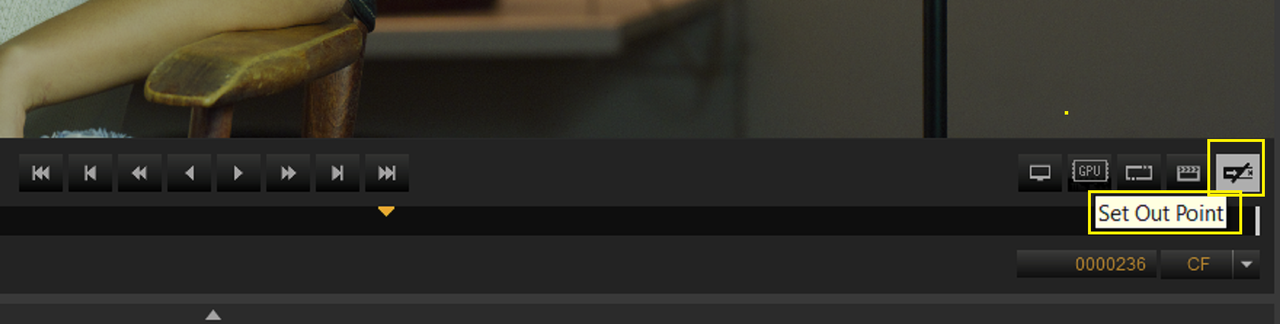
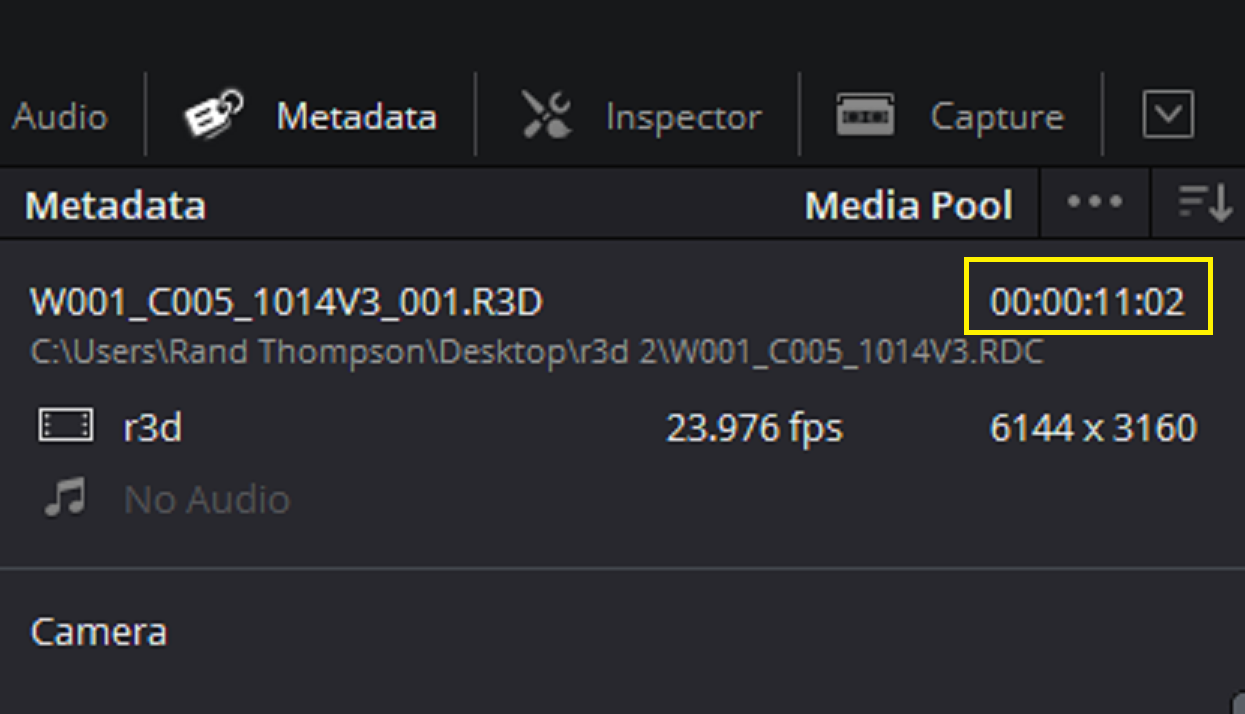
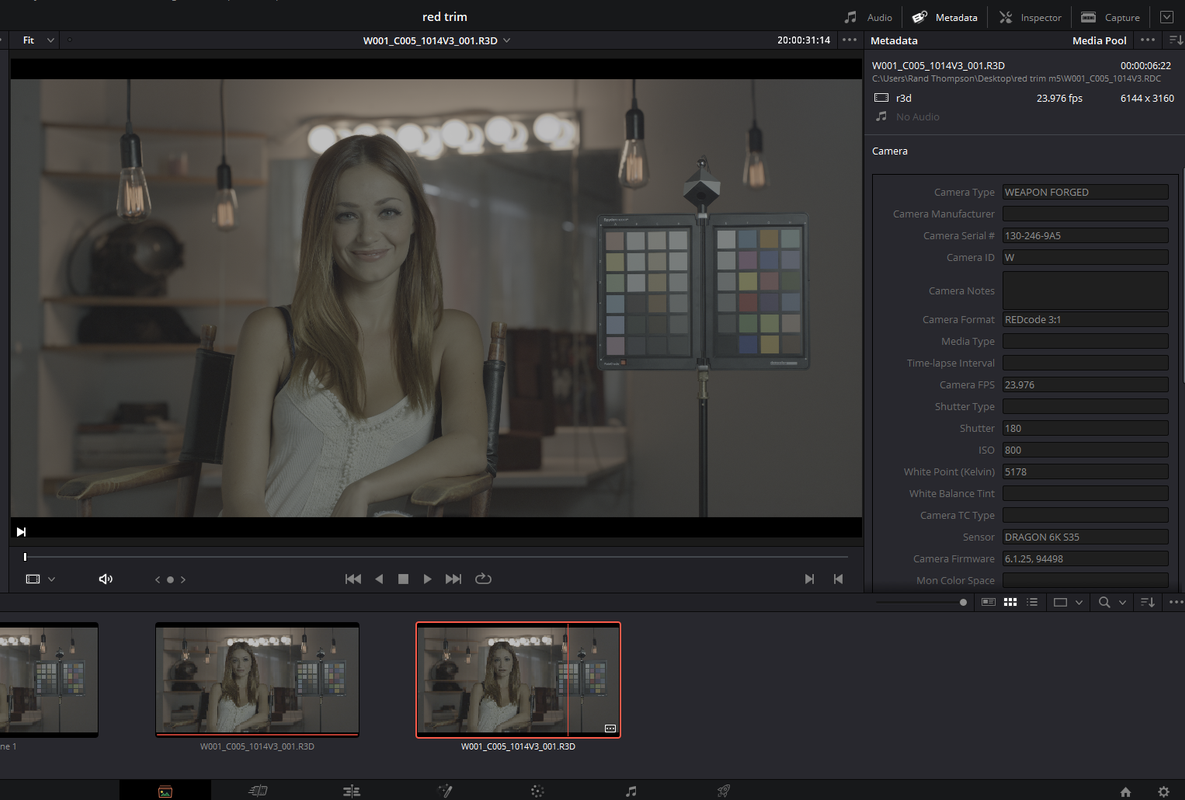
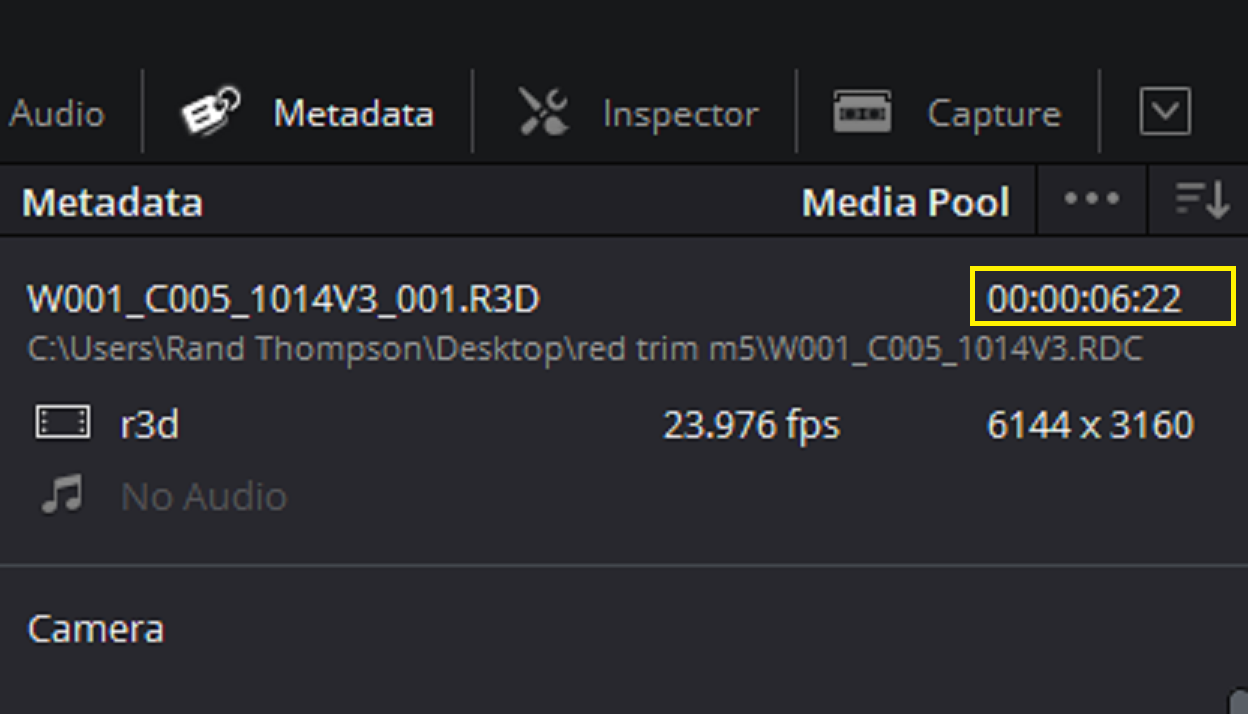
Here is the Same RED.R3D File that I exported out as a "RED TRIM" in two different time lengths, with one being the original length of the .R3D file and one being a shorter length of the same .R3D file. I did this by selecting a different "IN" and "OUT" point for the shorter clip in REDCINE-X.


17.png


18.png


19.png


13.png


14.png


15.png


16.png
 
Last edited:
Just to add, the 'R3D Trim' will copy the RAW D3D files at full resolution even if you're viewing them in Redcine-X at less than full resolution.

And as Rand said, any cropping or other image adjustments (except shot length if you shorten the clips) are saved in the RMD sidecar file.

Could still take a while to export if the clips are coming from slower drives, but the 'R3D Trim' feature is probably the easiest way for you to collect actual R3D copies of the original files to a new location.
 
Les,

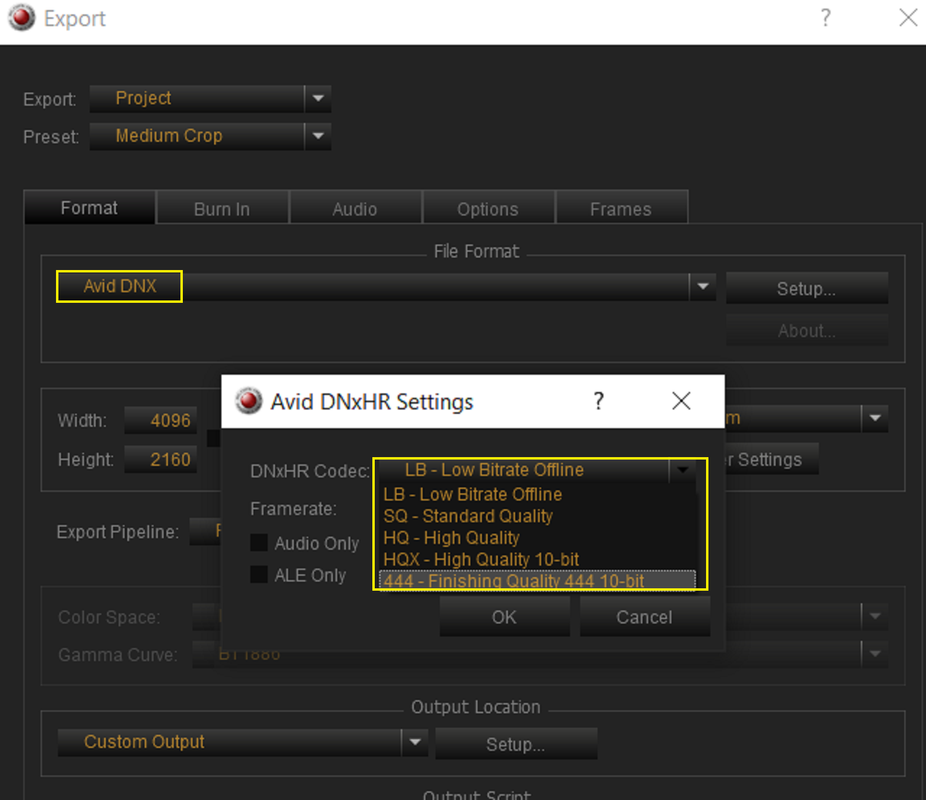
I think my "MEDIUM CROP" setting next to "PRESET" might have given the impression that you could crop or modify the aspect ratio of a .R3D file and save it back as a .R3D file. Unfortunately you can only export a Cropped .R3D file out as transcoded file type like ProRes or Avid DNx. That "MEDIUM CROP" preset is not active with a "RED TRIM" export setting. So I apologize for giving that impression.


Screenshot-7303.png


Screenshot-7304.png
 
Thanks for clarifying Rand, I didn't know you couldn't save a cropped R3D as an R3DTrim.

It's not something I've tried to do, but it definitely could have tripped me up in the future.
 
Les,

Yeah, when I first started using REDCINE-X I thought we should be able to save the cropped .R3D back as a .R3D file.
 
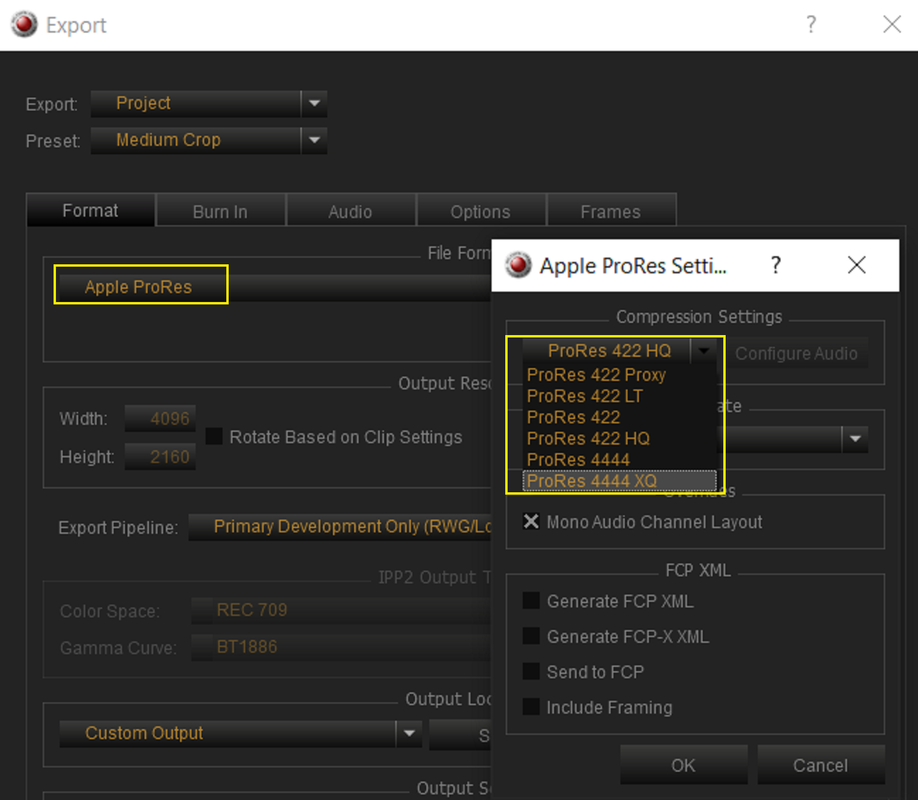
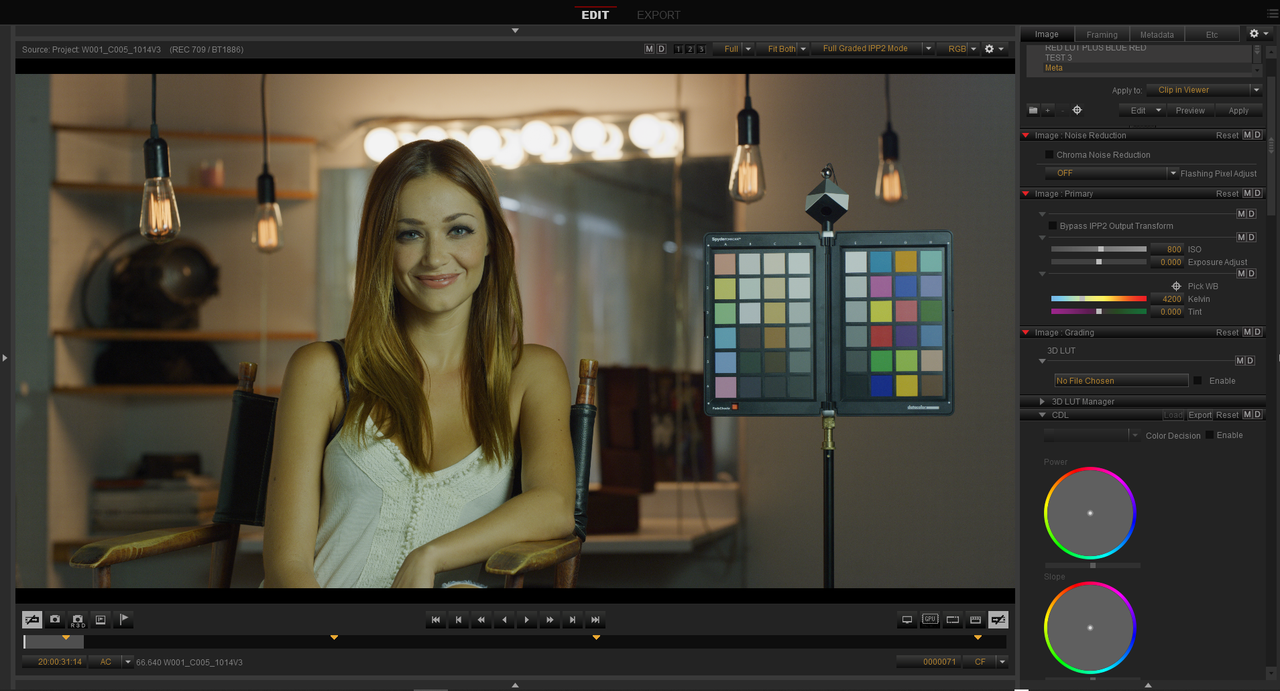
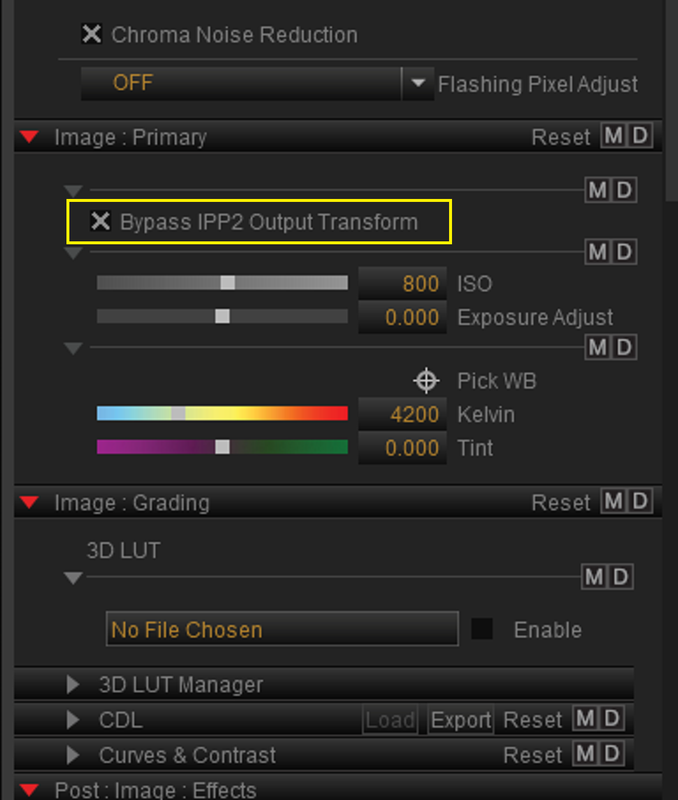
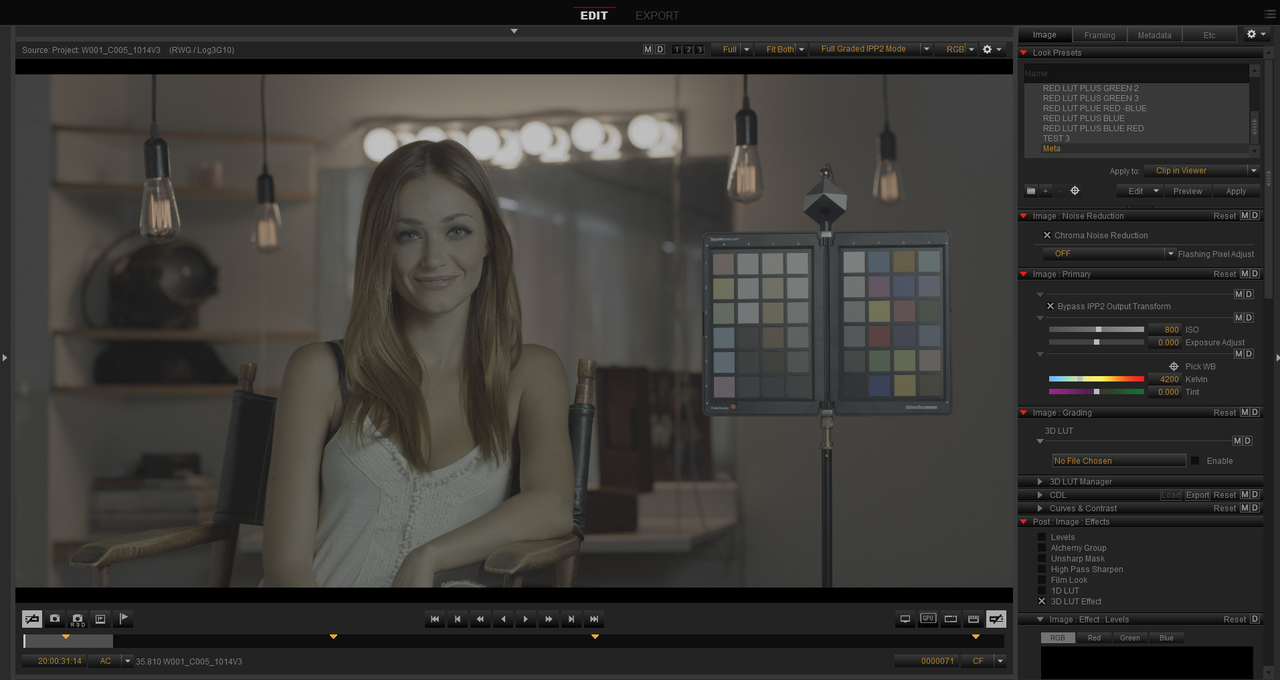
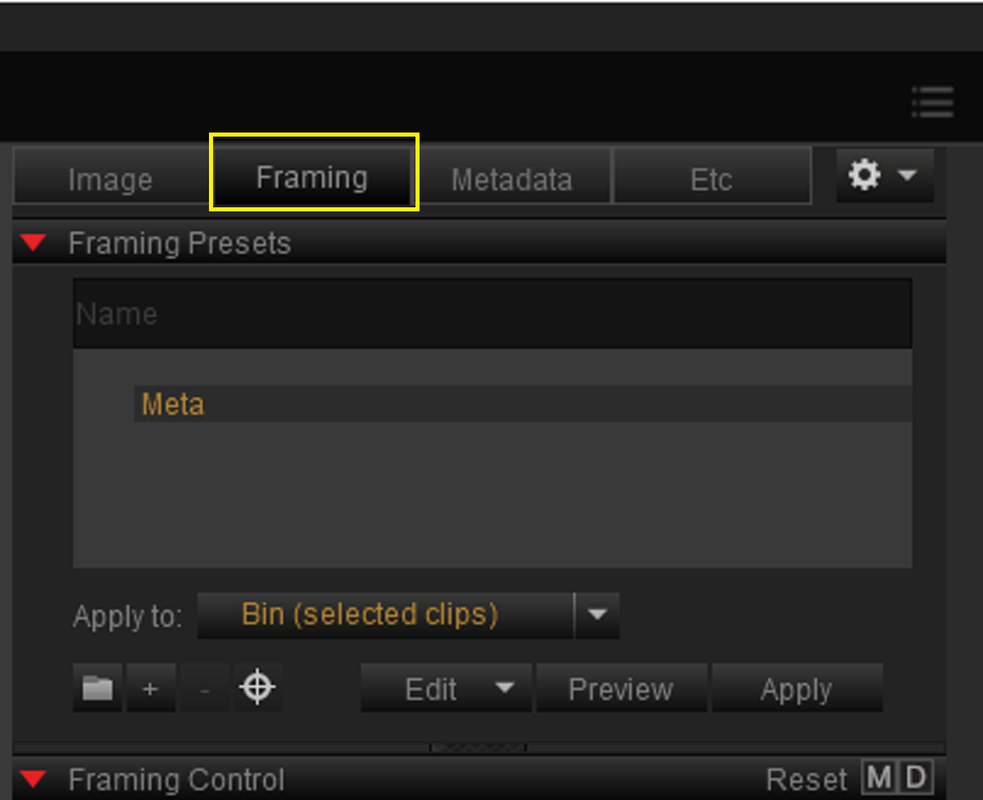
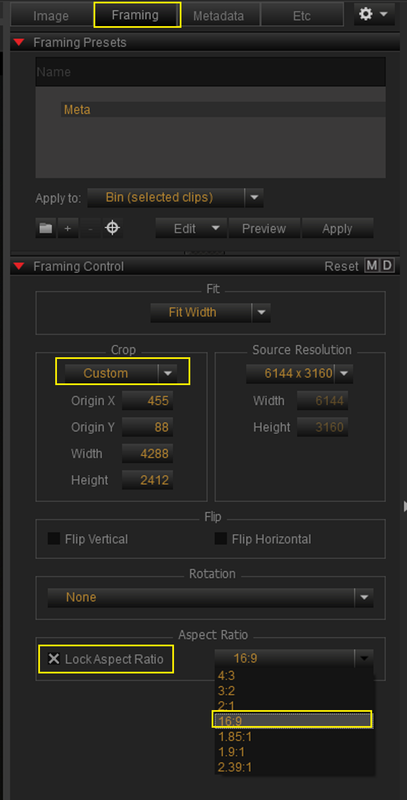
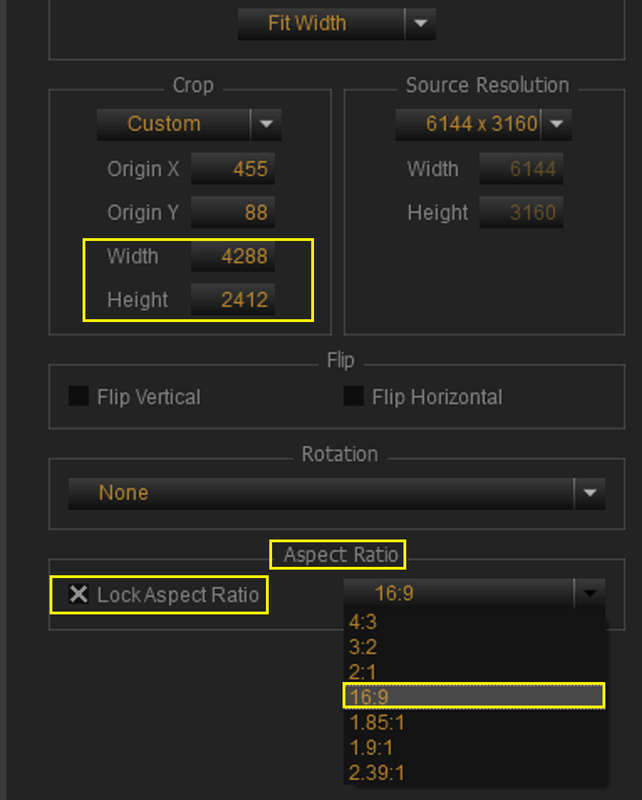
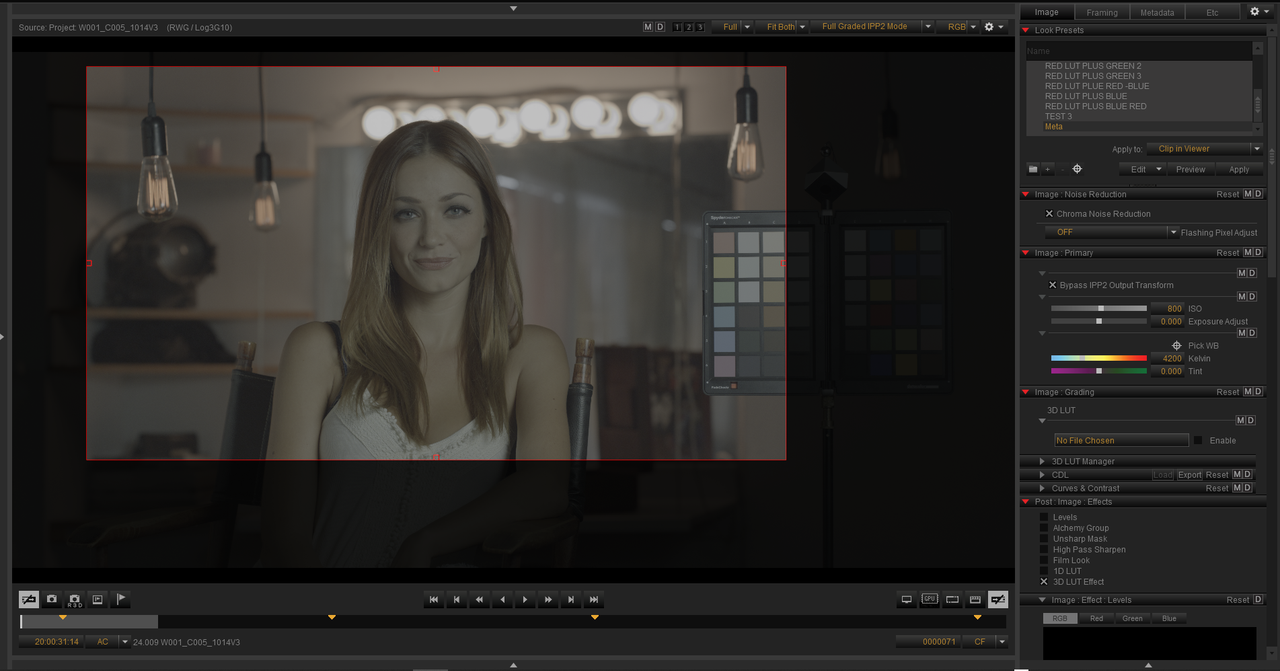
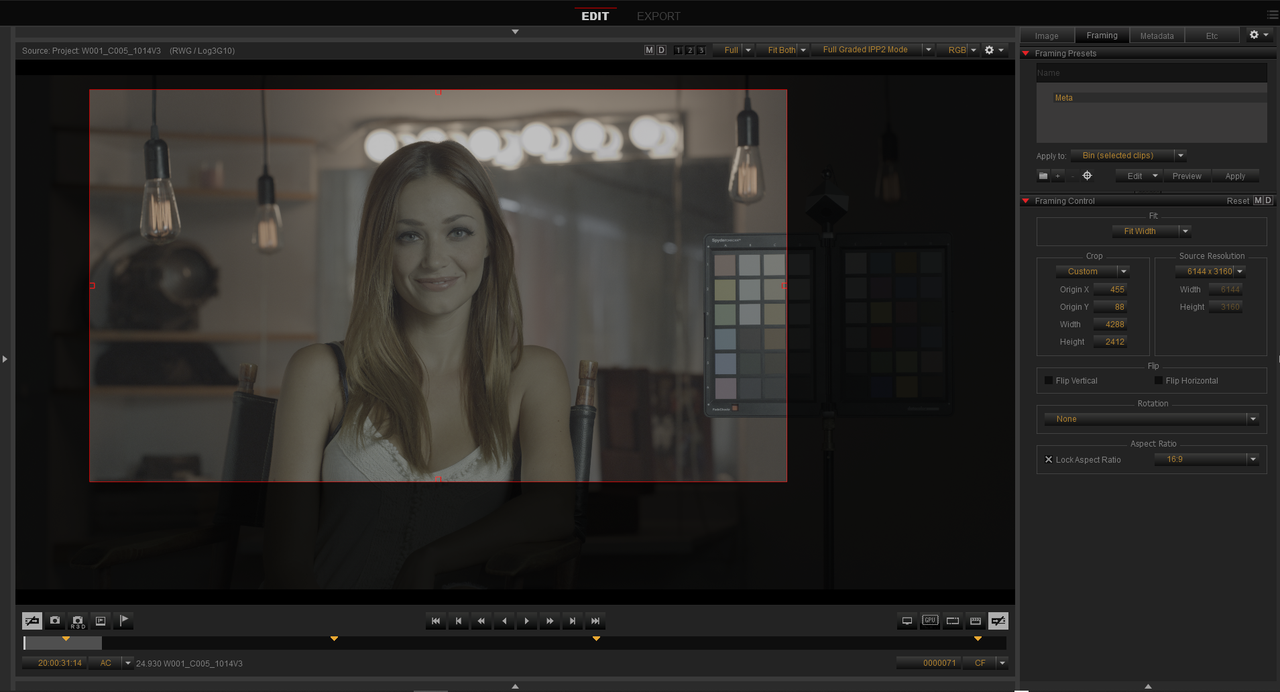
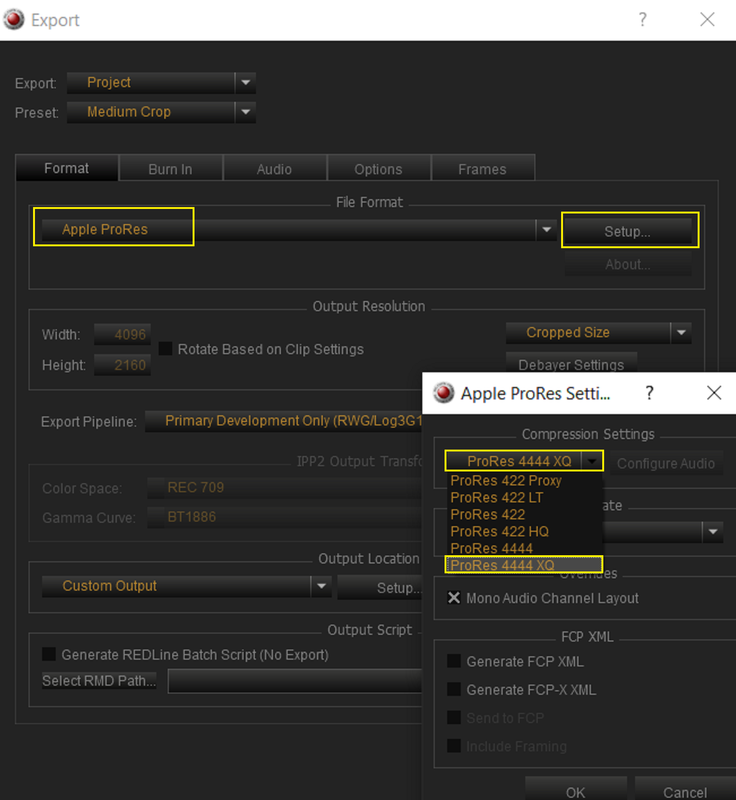
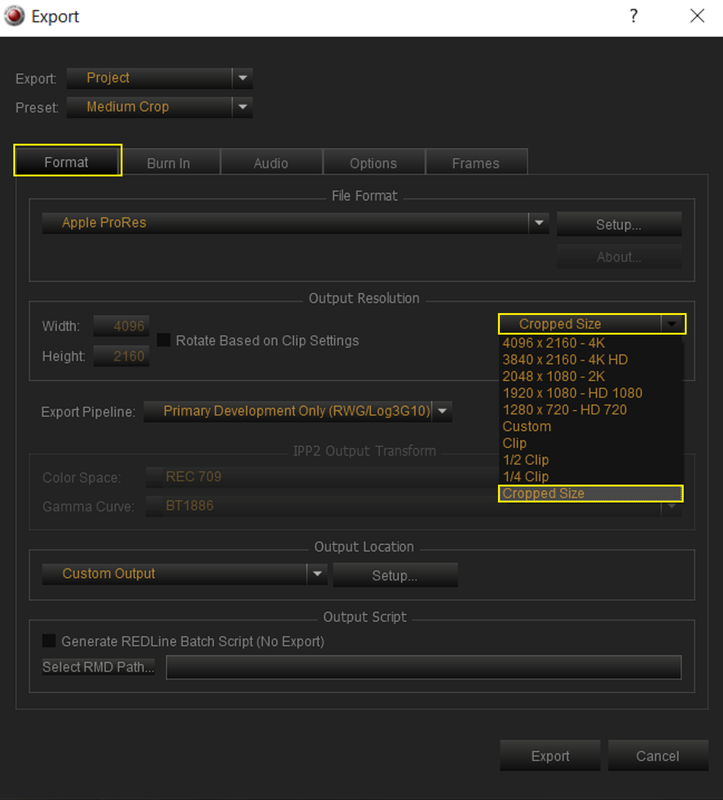
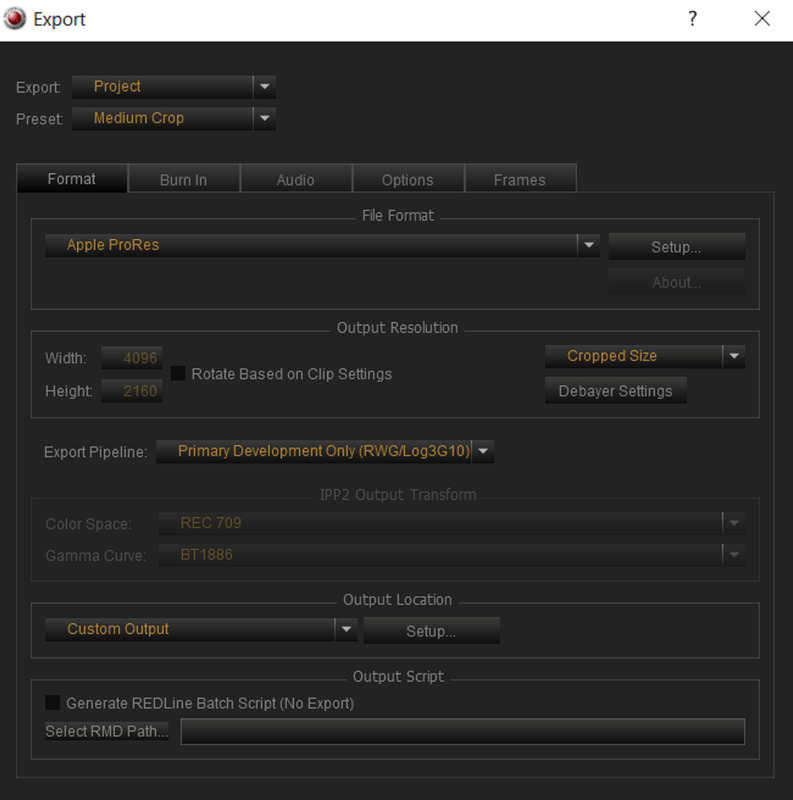
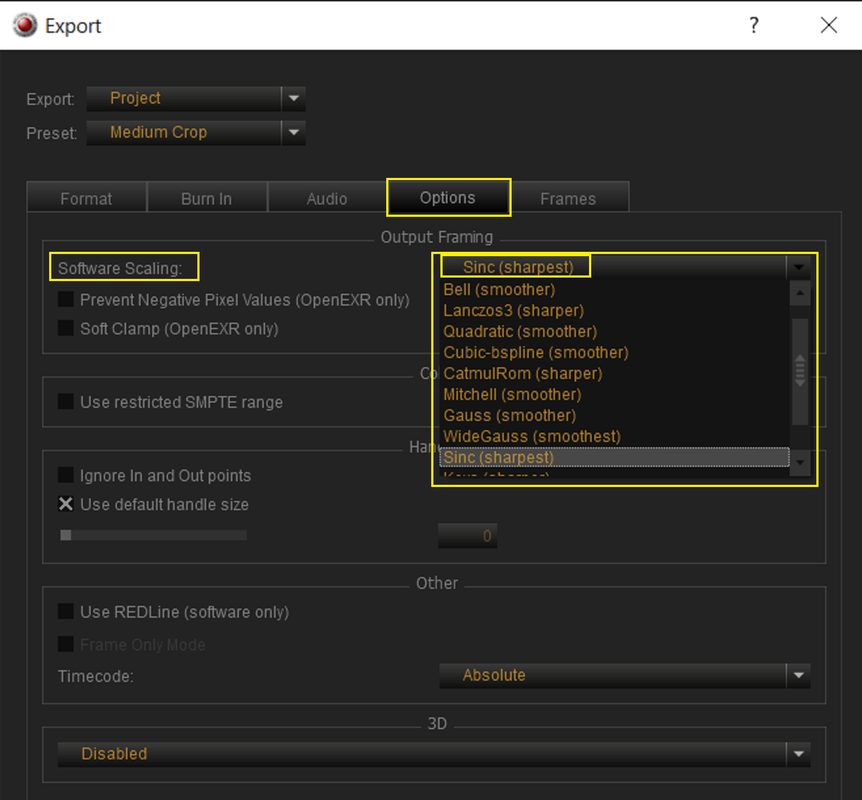
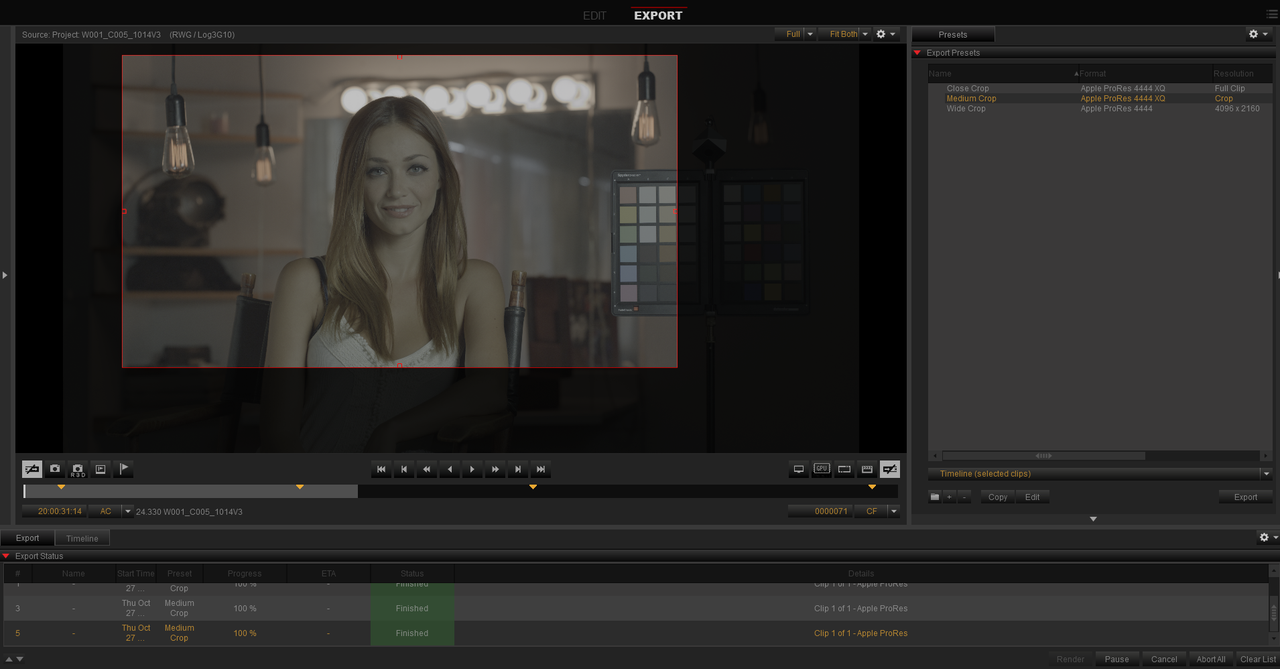
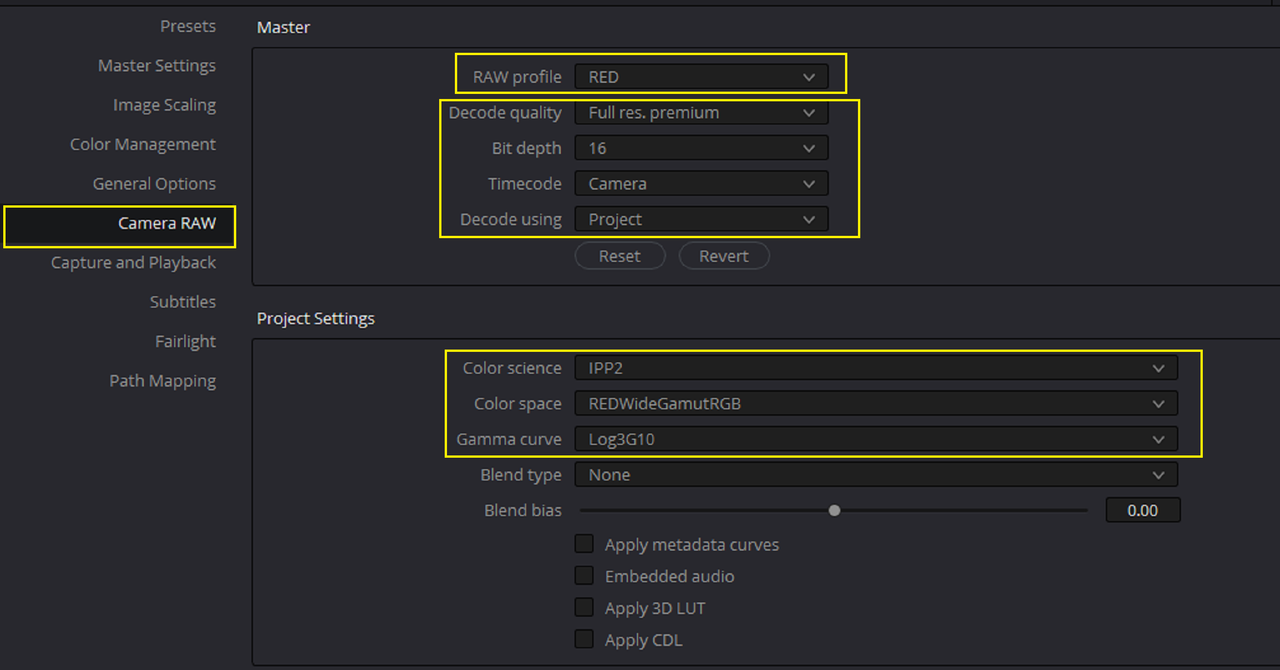
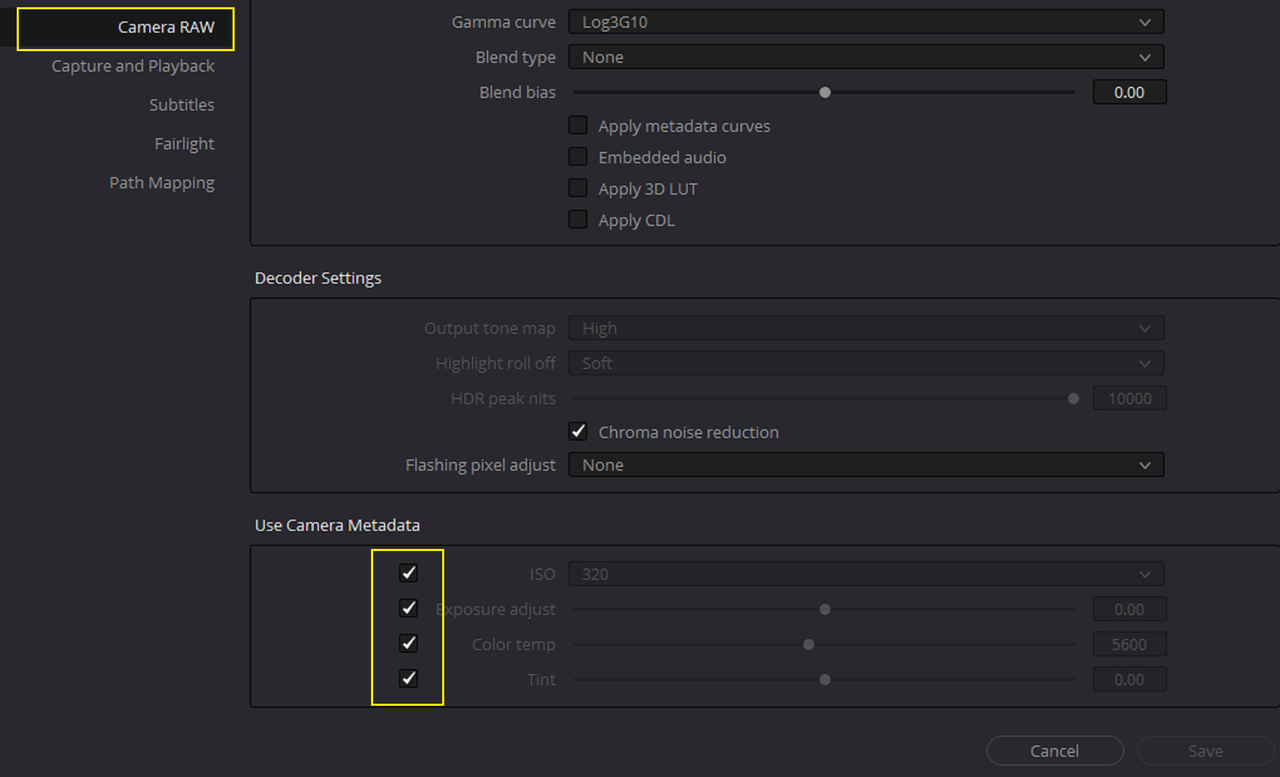
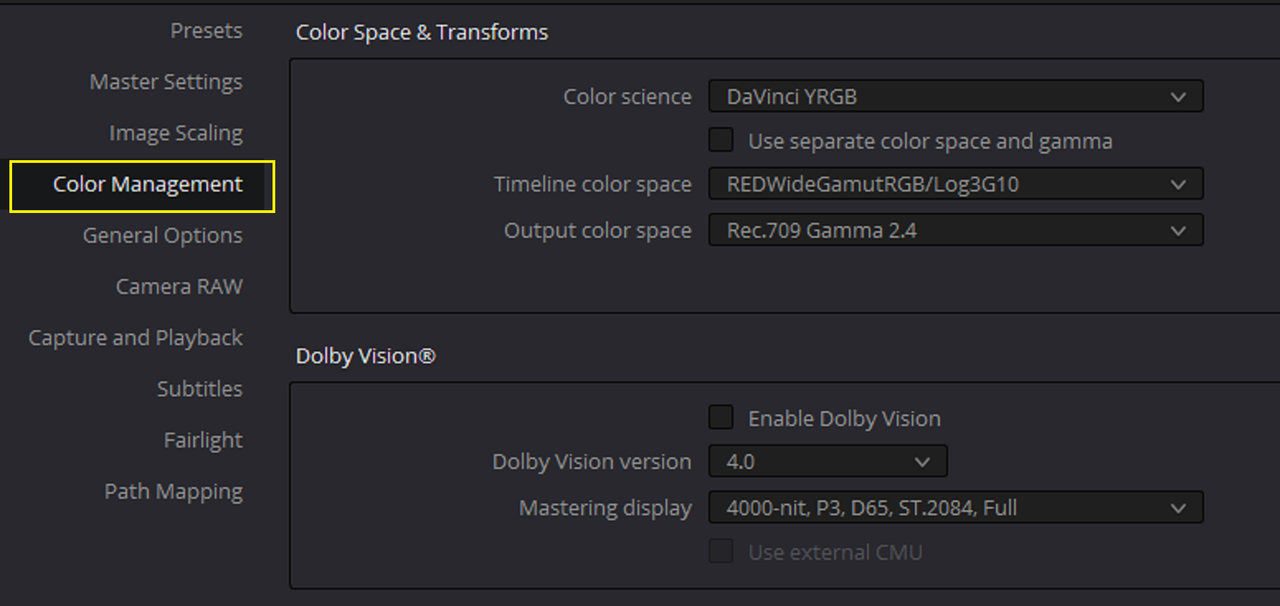
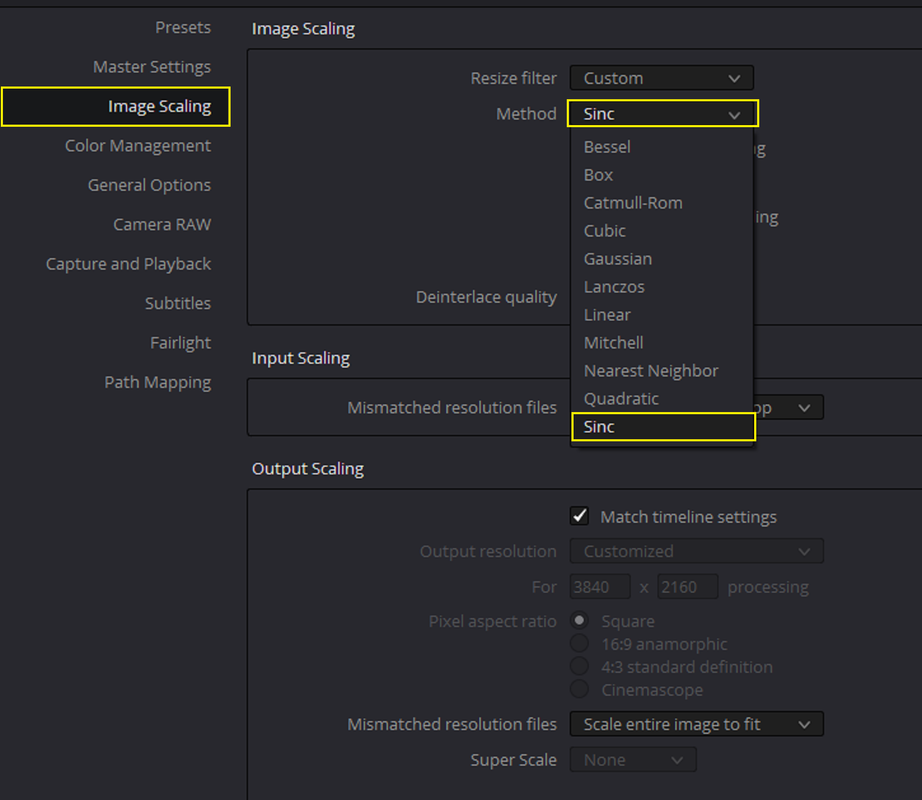
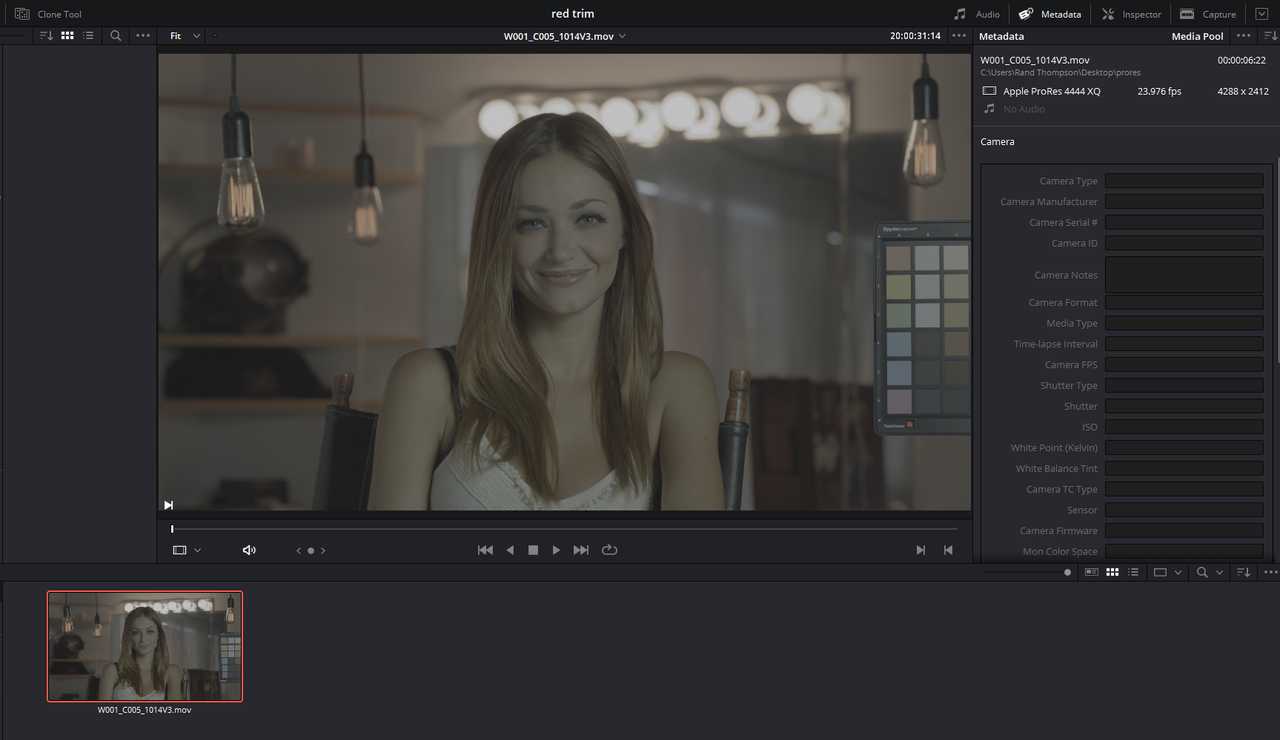
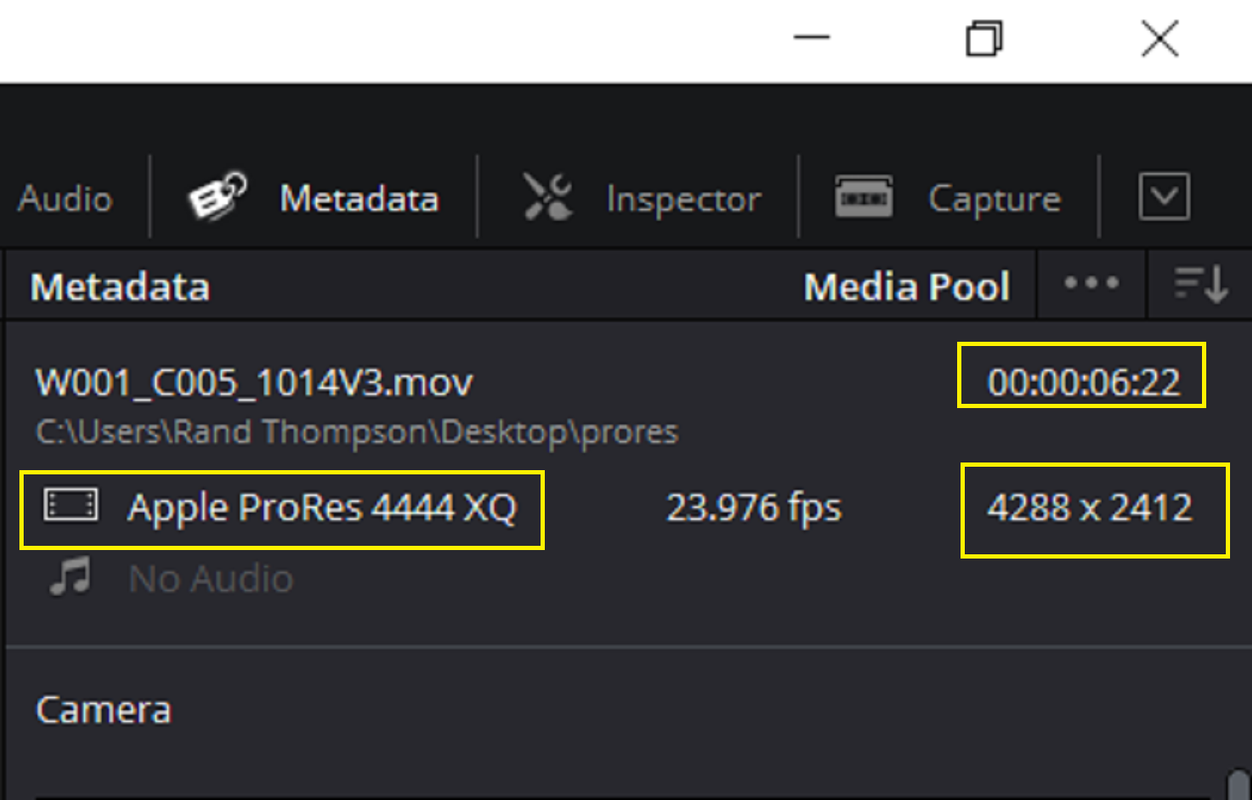
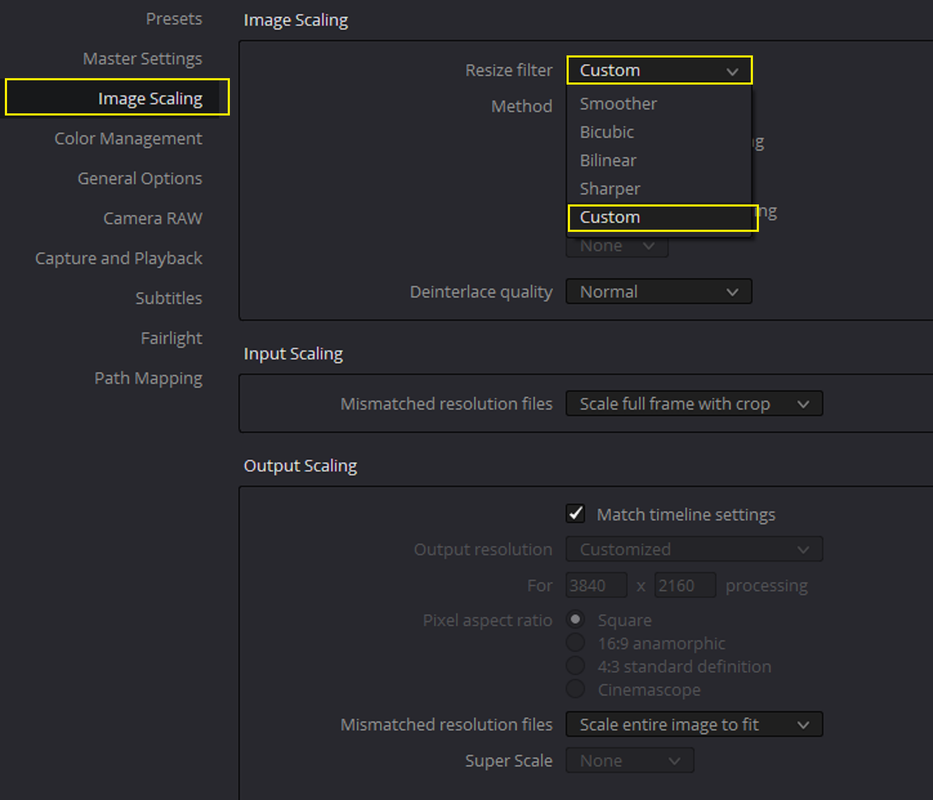
Here is a almost quick way to Crop a .R3D file then export it as a ProRes file in REDCINE-X. If any parts need explaining, let me know.


REDCINE-X

0.png


0A.png


1.png


3.png


4.png


5.png


5A.png


6.png


Screenshot-7336.png


7.png


Screenshot-7337.png


8.png


9.png


RESOLVE


1.png


2.png


Screenshot-7160.png


Screenshot-7339.png


Screenshot-7340.png


10.png


11.png


12.png


122.png


13.png


14.png


W001-C005-1014-V3-1-1-1.jpg
 
Last edited:
K.Rixon

You can do this

Thanks a ton, Rand. You're a legend. I suspected that the Trim option was the solution - I really appreciate you saving me hours upon hours of manual copy-pasting transfers. I have no idea how you find the time to provide as much detailed support as you do on these forums.
 
Thanks a ton, Rand. You're a legend. I suspected that the Trim option was the solution - I really appreciate you saving me hours upon hours of manual copy-pasting transfers. I have no idea how you find the time to provide as much detailed support as you do on these forums.

You're welcome! and I really appreciate your comment! Most of the tutorials I post here are things I made for myself so that I wouldn't forget how to do them over time. So when I see someone trying to solve the same problem I had myself at one time, I can just post what I already made for myself. Sometimes I do do tutorials from scratch but I use screengrabs I already had in different places so it doesn't take long at all.
 
K.Rixon,


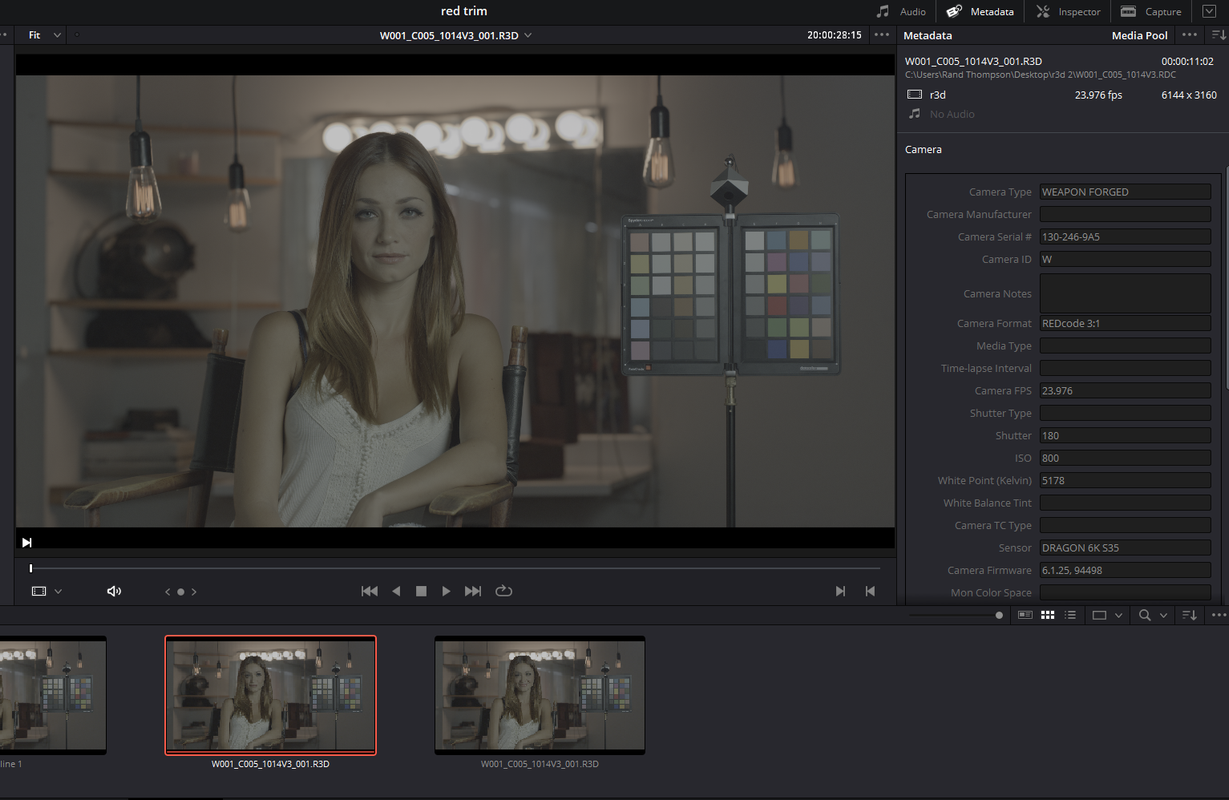
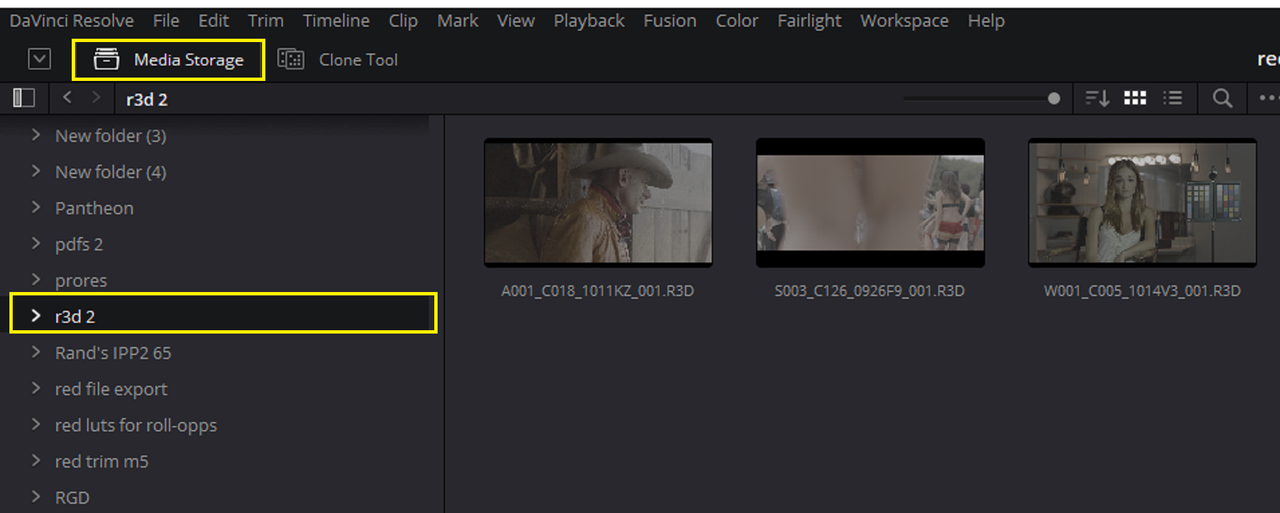
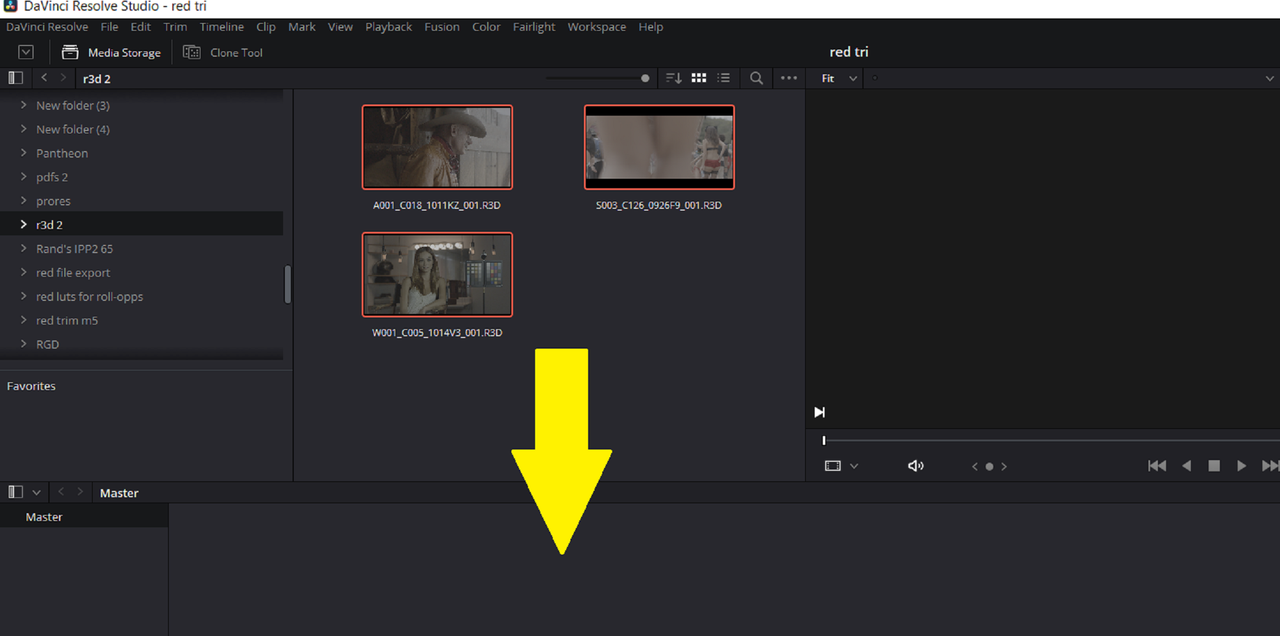
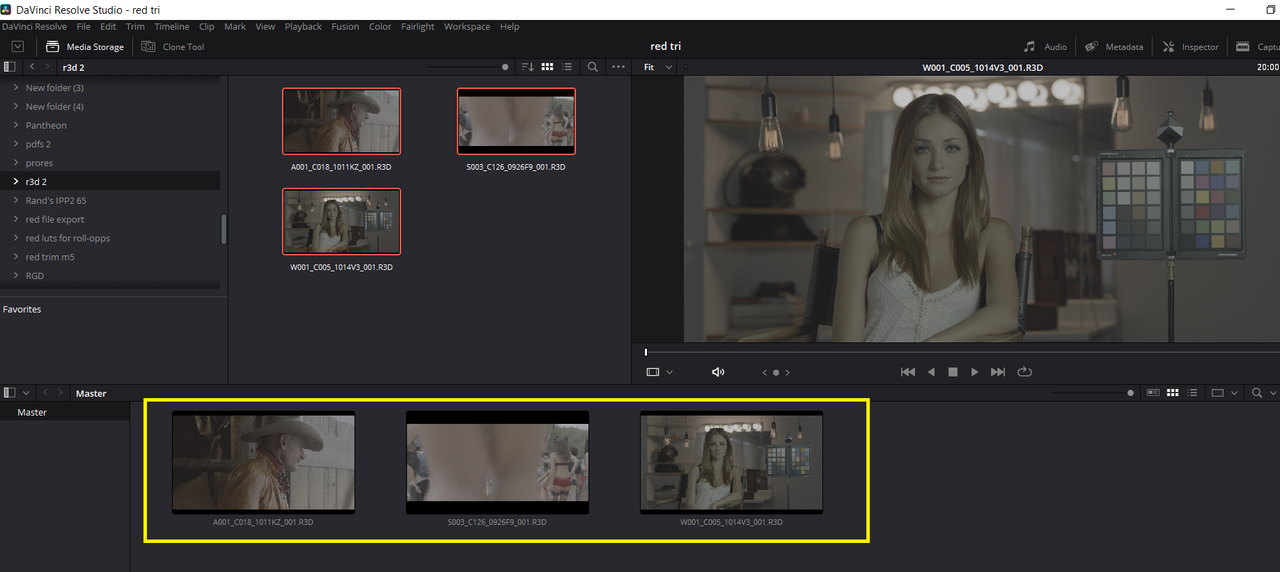
Another big time saver, If you are using Davinci Resolve, is if you go to the "MEDIA STORAGE" tab in the top "Left-Hand" corner and select the folder you stored your "RED TRIM" files in from there, you will be able to see all of the clips in each of those folders altogether in that window. You won't have to go in each of those "RED TRIM" folders to get them or see what's in them. So you will be able to drag and drop the Specific group of clips you want into the "Master" bin to create a timeline from.


11.png


Screenshot-7364.png


Screenshot-7368.png


Screenshot-7366.png
 
Back
Top